Shader Properties
Use this setting to define which color values will be used in the allocation, or if the shaders should be allocated uniformly across all clones.
The shaders will be allocated uniformly across all clones (e.g., for Radial and Linear clone modes, the following would be true: If 2 shaders are applied to 10 clones, the first 5 clones will be assigned the first shader, the last 5 the second shader. For other clone modes, the U-coordinate will be used for the orientation of the UVW-coordinate system).
The clone’s grayscale value.
A clone’s individual grayscale value.
A clone’s individual grayscale value.
A clone’s individual grayscale value.
Average Color (Euclidean Color Distance)
Average Color (Hue Difference)
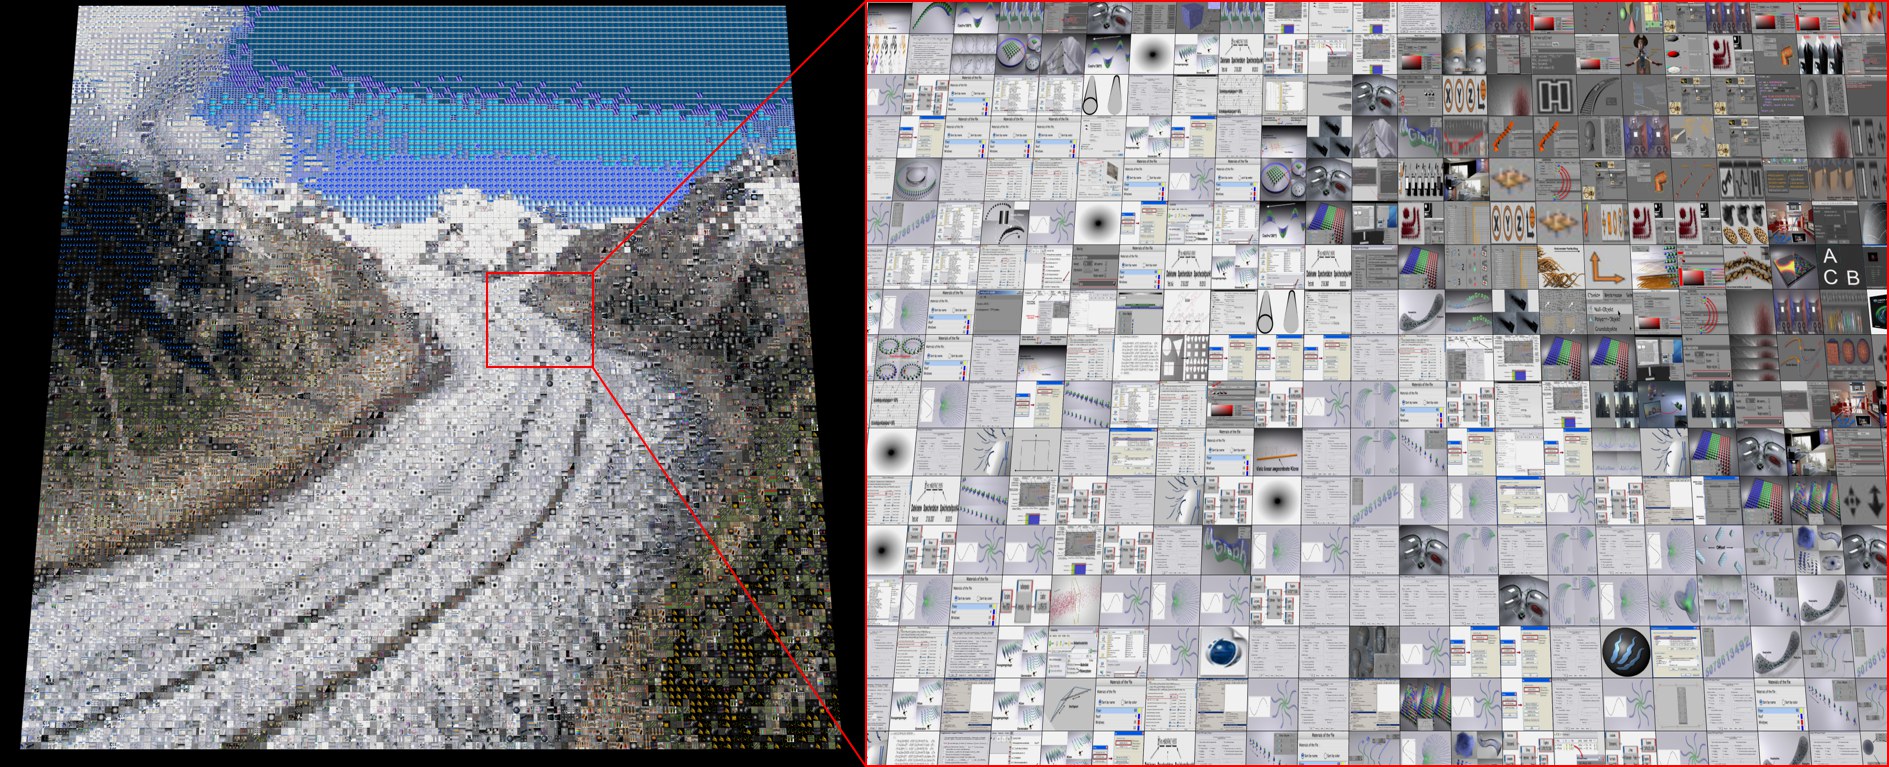
 A mosaic of a glacier created from 1000 different helper images.
Both of these modes ascertain an average color value for each image that is loaded (this can take a moment or two when rendering, depending on the number of Shaders used). This color value will then be compared with the clone color by one of these modes. The Shader that is closest to this clone color will be used for that clone.
What’s this good for? This lets you use images (which should have as many different average color values as possible) to recreate a texture that is projected onto a collection of clones (see Channel). To keep a long story short: you can create your own mosaic image in which each clone represents a mosaic tile.
Average Color (Euclidean Color Distance) is the recommended setting because the colors will more closely represent the original colors. Average Color (Hue Difference) ignores brightness and saturation and will produce a more colorful result without details.

- First, a clone conglomerate is needed (e.g., cloned layers in Grid mode).
- A Shader Effector will be used to affect this Clone object. Assign a Material tag (it should be attached to the Shader Effector but doesn’t have to be) with a Flat projection to the Shader Effector. You will need a material with an image (any image) in the Color channel (in the example above we used the glacier image), which you will assign to the Shader Effector. Scale and rotate the projection in Texture mode (Texture tag enabled) so the entire clone conglomerate is included.
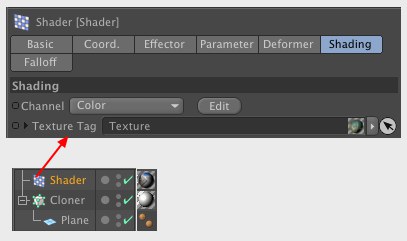
- In the Shader Effector’s Shading menu, drag the Material tag into the text field of the same name and set Channel to Color.
- Create a new material (which will be applied to the Clone object) and load the Multi Shader into its Color channel. Set Mode to Average Color (Euclidean Color Distance) and load a sufficient number of images into the Shader. Done.
You can improve the quality of your mosaic images by increasing the size of the Blur Offset in the, source image’ (the glacier in the example above). This will subdue areas in which the Shader Effector had made out too many details, which will result in a more harmonious mosaic image.
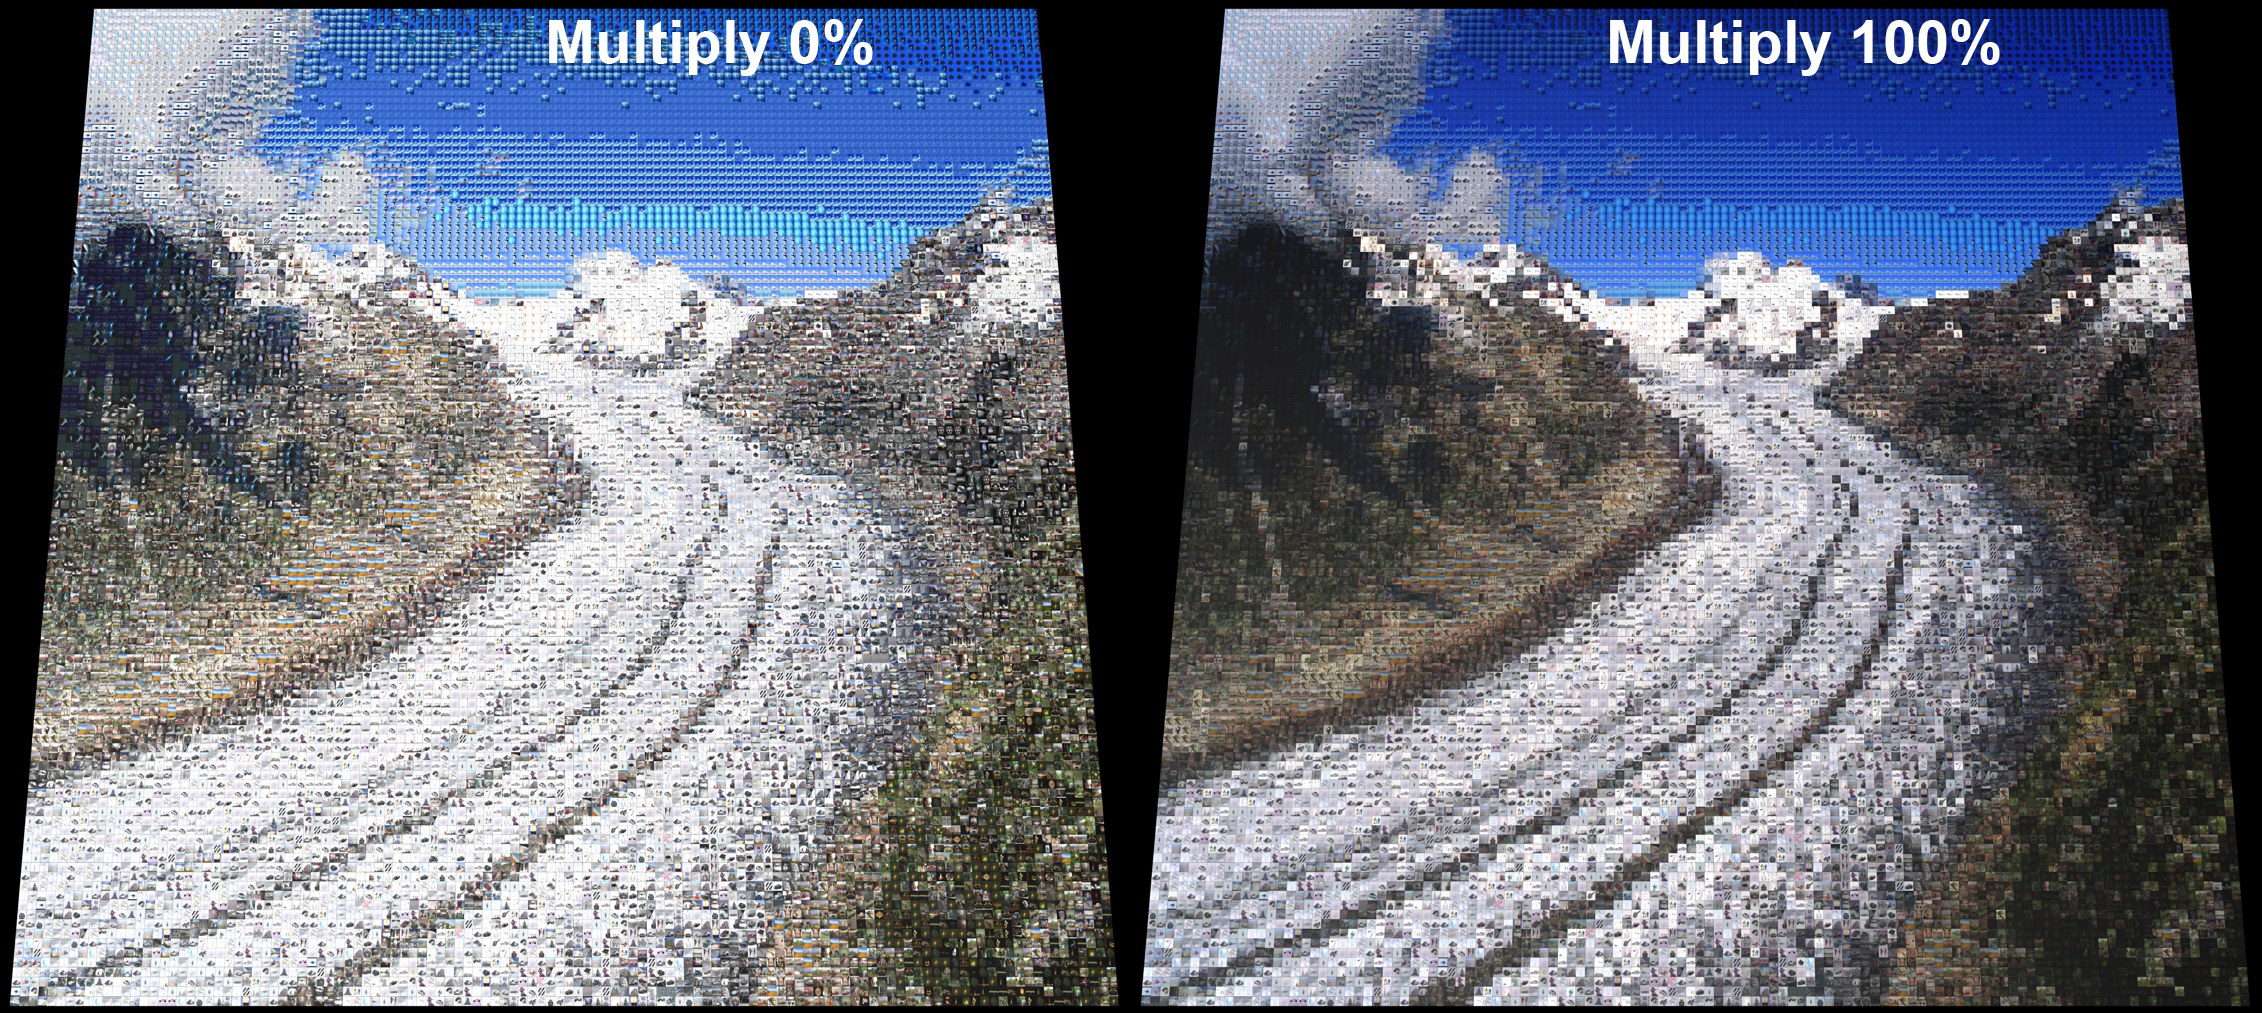
 Multiply is set to 100% a much more harmonious mosaic image will result.
These settings will only be made available if one of the Average modes is selected (the arrangement of the mosaic images will remain the same). In order to achieve good mosaic images you will need a great number of images with a wide variety of color variation among them. It can, however, be quite a task gathering the required number of images. Using the Blend Color and Mode, cheats’ can help in that they blend the mosaic images with the cloned colors from the Shader Effector.
- Blend Color: Use this value to define the strength of the blend effect. A value of 0% will basically disable the effect; a value of 100% will maximize the effect.
- Mode: Here you can select from 3 Blend Modes. Which one is best suited for your images has to be tested by trial and error.
Click this button to add a new empty shader selection.
Pressing this button will delete all shaders. Two empty shader selection fields will remain (incl. all loaded shaders/textures).
This button will be active if a video has been loaded into the shader. As soon as the button is clicked, each (!) frame of the video will be viewed as a separate shader. Make sure short videos are loaded. Otherwise your computer will be bogged down for quite a while …
A Multi Shader can contain several individual shaders that it can assign to clones using differing criteria.
This also works for image sequences (an image viewing application will rename the images accordingly). Load the first image of the sequence into the Multi Shader. Then click on either the image name or on the preview image to access the bitmap shader properties. Click on the Calculate button in the Animation tab. The bitmap shader now knows it is dealing with a sequence of images. Now switch back to the Multi Shader and click on the To Layers button.
Use this command to select a folder from which Cinema 4D will import all bitmaps / videos contained in that folder (not including any files in existing sub-folders).
![]() Shaders
Shaders
The Multi Shader can contain several individual Shaders, which can be assigned to Clones according to different criteria.
Lets you activate or deactivate a Shader. If disabled, the given Shader will not be available to the Multi shader.
Deletes the selected Shader.
Moves the selected Shader one position up or down.