Displacer
![]()
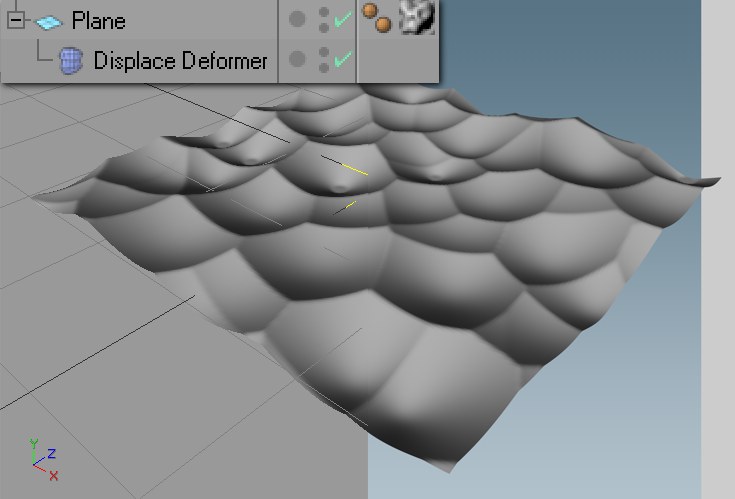 At left the editor view, at right the rendered view. The plane has a relatively height subdivision.
Wouldn’t it be nice if you could create Displacement-Mapping effects (see your Cinema 4D reference manual) using a deformation object and have those effects visible in the editor view? Have you ever spent a lot of time simply experimenting and test rendering just to see how far-reaching the displacement is so you could finally align objects to it? Now your frustrations have an end: The Displace Deformer shows the displacement object per object deformation in the editor view, and does not have to be rendered in order to make the effect visible.
The Displace Deformer functions as a deformation object and must therefore be made a child of the object to be deformed (or be in the same hierarchy, below a common parent object). Make sure the object to be deformed contains enough subdivisions.
Of course the Displace Deformer also functions in conjunction with all other MoGraph objects. In the example below, a ring was deformed using a Displace Deformer and a noise shader. Subsequently, a sphere was cloned using the Cloner in Object mode:
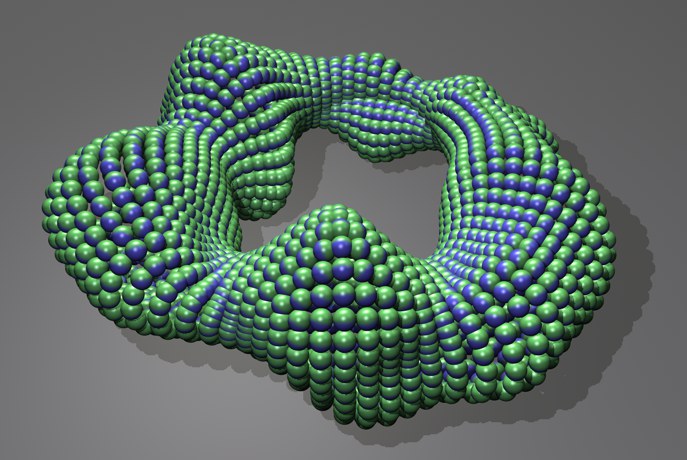
If this ring were to be animated in its current position with the noise set to world coordinates (Space = World), really cool morphing, blobbing effects will result.