Brush
![]()
The Brush tool works in all three modes (point, edge and polygon). When the Brush tool is selected, you will see a sphere appear in the view. All of the object points that are inside this sphere will be affected by the tool.
The Brush tool enables you to deform existing polygon meshes in different ways (however, the Sculpt Brush offers many more possibilities).
The brush works similarly to the ![]() Magnet tool and also has most of the same settings. The fundamental difference (see Image):
Magnet tool and also has most of the same settings. The fundamental difference (see Image):
- The Magnet tool is restricted to the region at which the cursor initially lies when the mouse button is pressed
- The Brush tool works continuously wherever the curser is while the mouse button is being pressed
In most of the brush modes, the object point closest to the sphere’s center will be highlighted. The highlighted point will act as the center point of the brush effect.
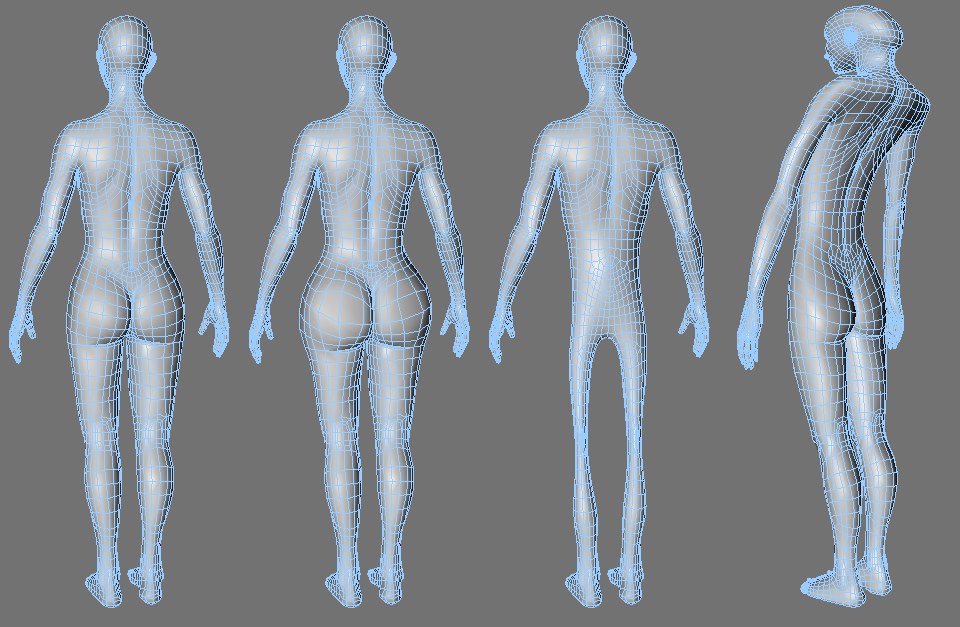 From left to right: the original mesh, Repel brush mode, Smooth brush mode, Twister brush mode.
The Brush tool gives you exciting new ways to model interactively. For example, you can use it to shape tentacles or other growths. The possibilities are endless!
Keep in mind that the Brush tool can only work with existing points — the objects must be sufficiently subdivided for the effect that you want to paint.
Using the Brush tool
The Brush tool works in much the same way as a real brush: the more you paint over an area by dragging, the greater the effect. To invert the effect of the brush, hold down Ctrl/Cmd while you drag.