Projection Painting
Apply Projection
Discard Projection
Detach Projection Plane
Project on Hidden Polygons
The advantages of projection painting
Projection painting is your best friend when it comes to painting objects without distortion. Take a look at the picture below. The top object was painted in the normal painting mode — note how the brushstroke is massively distorted. Contrast this with the perfect brushstroke on the bottom object, which we painted in projection painting mode.
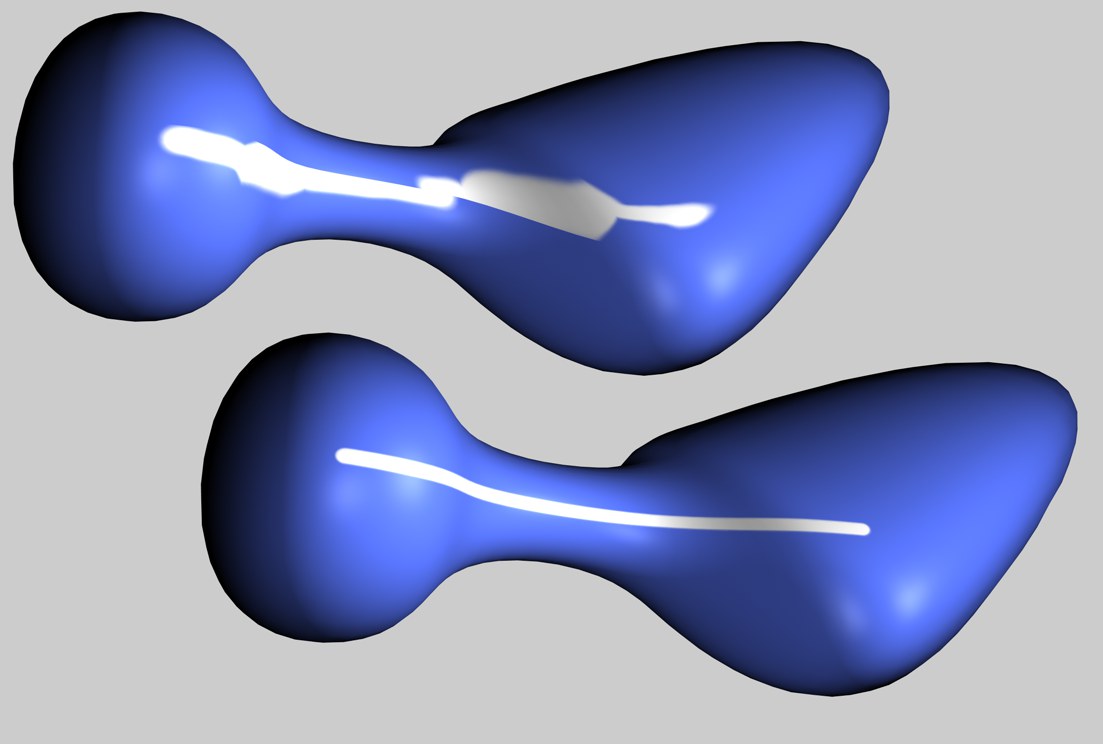 Projection painting mode off (top) and on (bottom)..
However, even projection painting will not save you if the UVs are completely out of shape. Therefore you should create at least a reasonably good UV mesh before you switch on projection painting. you will be pleased to know this is an easy task thanks to BodyPaint 3D’s powerful suite of UV editing tools.
Painting on multiple materials and objects

Another advantage of projection painting is that it lets you to paint on several materials or objects at the same time, even if their textures are different sizes. You can even smear over multiple textures and objects!
When you paint in the viewport using projection painting, a virtual projection layer is created perpendicular to the camera.
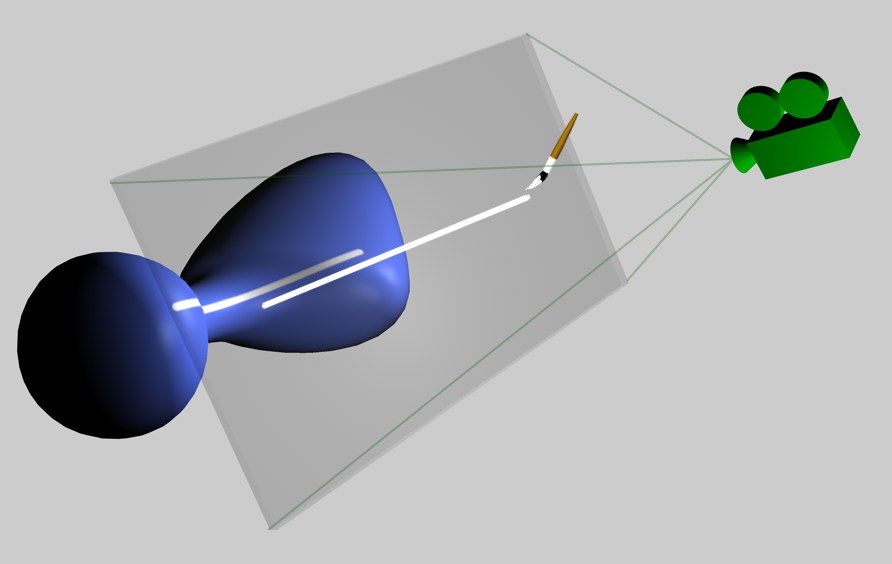 Projection painting is based on a planar projection.
Projection painting and the Layer Manager.
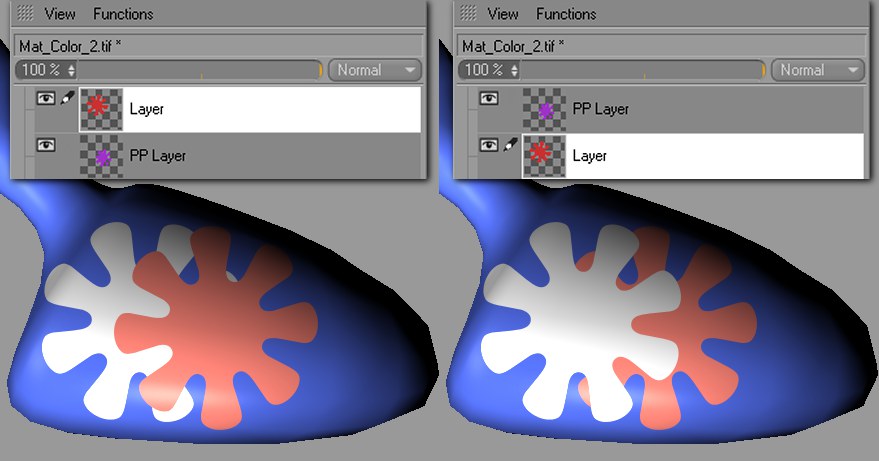 As long as the projection has not been applied, temporary sub-layers can be added, created, etc.
When in Projection Painting Mode, it is now possible to work with temporary layers using the Layer Manager. As soon as you activate the Projection Painting Mode, a PP Layer will be created in the Layer Manager. Using customary commands, you can now add new layers, change the order of layers per drag & drop (even add layer sets), make a different layer active, etc. – even in conjunction with blend modes!
Temporary layers will be discarded as soon as projection painting is ended, the camera view is changed or the Discard Projection command is selected. In the first two instances, the temporary layers will be permanently projected onto the texture.
However it is possible to save temporary layers as Photoshop files (and later load them) using the Save Texture As command. Although you should first take a look at the Freeze 3D View command:
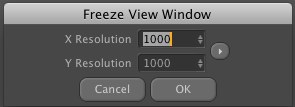
In the BP-3D layout you will find the Freeze 3D View command, which will freeze the 3D view in the current perspective with the scale that was defined (the X and Y resolution displayed reflects the current view size in monitor pixels). The view will then be frozen until the Freeze 3D View command is executed again. This command can be useful if you want to edit a texture in Photoshop and subsequently reload it.

Let's say you want to paint in Projection Painting mode using temporary layers in the Layer Manager. Before a layer is created, freezed the view. When working with higher texture resolutions (and smaller views), make sure to increase the scale factor. Otherwise you can end up painting with too low of a resolution in Photoshop.
If you now select Save Texture (in Photoshop .psd format) the temporary layers will be saved within the .psd file (with the resolution defined in the dialog window) and the file can be opened and edited in Photoshop.
The .psd file can be loaded back into the still temporary layers in Cinema 4D/BodyPaint 3D after it has been edited. To do so simply use the Merge Texture command (right-click on a layer: Texture / Merge Texture). This lets you switch textures seamlessly in Project Painting mode using Photoshop.