![]() Camera Deformer
Camera Deformer
Camera Deformer
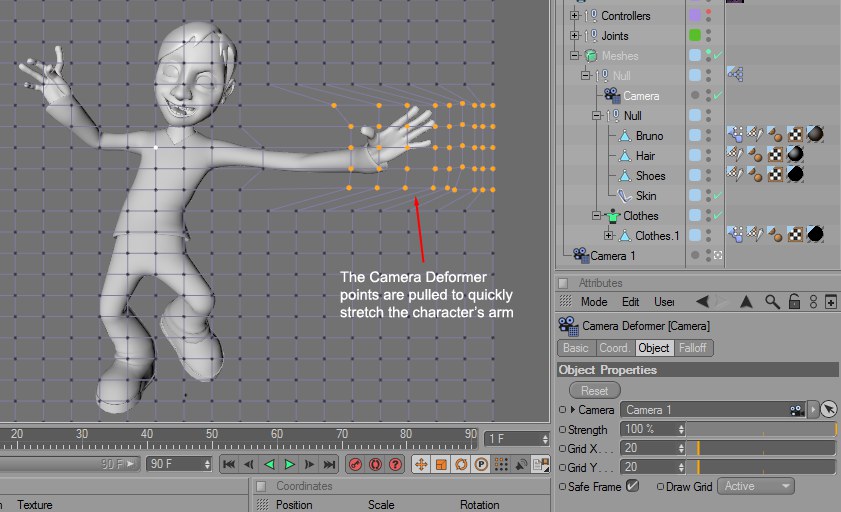
Use this Deformer to deform an object based on a grid overlaid on top of the camera view. This is very useful to create free deformations that are static compared to the camera view. Think of it as using a smear tool, except it will deform the object's volumes.
For example, you can stretch objects as they approach the frame boundaries, or even Pose Morph the points of the Camera Deformer to mix the effects. Another example would be to use the deformer to create quick squash & stretch on one or several objects.
To use the Camera Deformer, simply add it to your scene and drop it as a Child of the object to deform. To affect several objects at once, place the deformer at the same level as the objects to deform, inside a Null Object. Select the Deformer and switch to Points mode to modify the deformer's points and deform the object(s).
 The Camera Deformer is a great tool to make final pose and shape corrections when working with static images. Of course, it can also be used during animation, for a different effect.
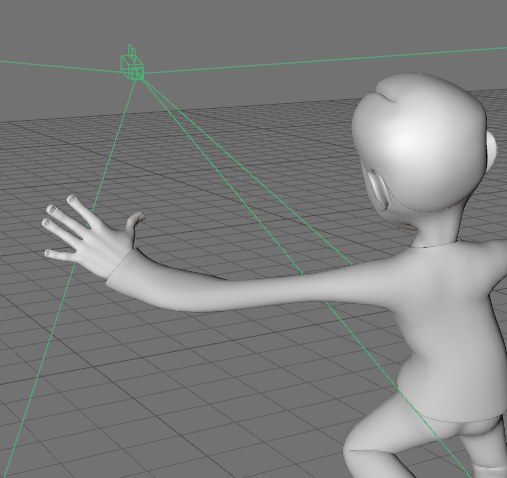 Seen from another angle, you can see that the deformation - here linked to a specific camera - preserves the volumes of the objects
Since the Camera Deformer coordinates are linked to the current view, its falloff handling is a bit different. You can still use regular falloffs, as explained in the Falloff tab manual, but here you need to change the Offset coordinates and not the deformer's position, in order to move the falloff.