![]() Morph Deformer
Morph Deformer
Morph Deformer
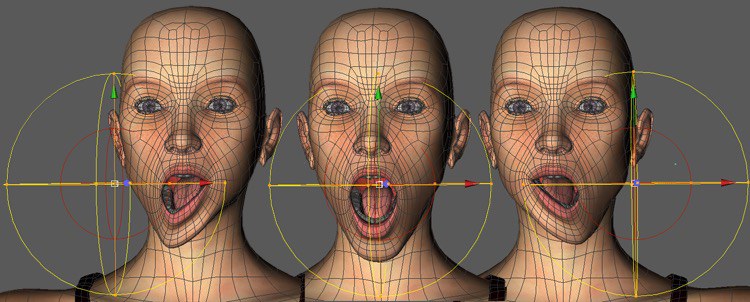
This deformer allows you to blend in morph targets that are within the deformer's region of influence. It is at its most useful when it is assigned a falloff shape, so its influence can be altered based on its positioning and/or orientation.
To use the morph deformer, you assign it to the object that is to be deformed. As with all regular deformers, you assign it either by making it a child of the desired object or by placing it on the same hierarchy level within a group.
The morph deformer is useful for effects such as when you want morph targets to blend in gradually over time, such as starting on the left side of a character and proceeding to the right. Simply animate the deformer's position.
You can also use morph deformers to help create morph targets. Just right-click the morphed mesh and use the Current State to Object command to freeze the current deformations and apply them to a new copy of the mesh. Then, use this mesh as the target of a new pose in the Morph tag. When using this command, make sure that you've switched off the effects of other deformers, such as the skin object. Otherwise, the effects of these other deformers will also be included in the morph target that is created.
To create a new pose target based on this mesh, just drag and drop the mesh into the Poses list of the Pose Morph tag set to Edit mode. You will then be asked if you want to create a Relative or Absolute morph target. Choosing Absolute mode will assign that mesh to the Target field found in the Advanced sub tab of the Pose Morph tag. The morph will always conform to that target, so editing that target’s mesh will be your only way to edit the morph itself, not the mesh it is deforming. Note that deleting the linked mesh from the document will cause the morph to be lost (since it is linked to that mesh).
Absolute mode can make working on multiple poses or working with meshes that are shared between multiple projects/colleagues easier.
When you choose Relative mode, the current deformation will be recorded within the Pose Morph tag itself, so you can edit the mesh being deformed like a regular morph pose.
