Object Properties
Here you define the angle through which the spline is to be rotated. 360° is one complete revolution.
Defines the number of subdivisions along the rotation.
Defines the number of isoparms used to display the Lathe object when the isoparm display mode is active.
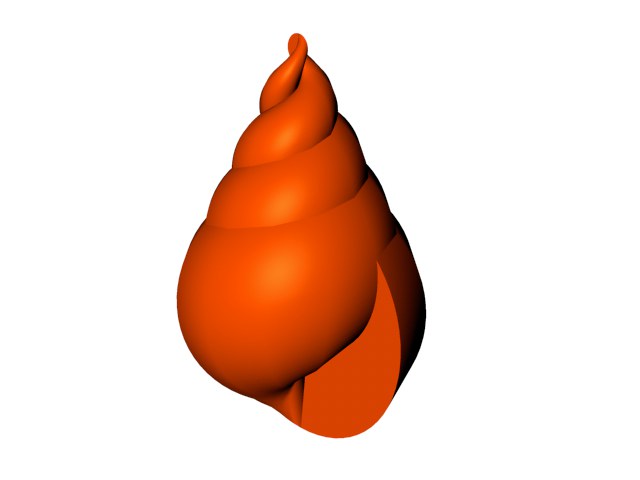
Movement is the longitudinal distance from the beginning of the lathe to the end. If you set Movement to 0, the spline rotates on a circle. With any other value, it moves around a helix, enabling you to create shapes such as threads and screws.
If you want to create several threads, set the Angle parameter to a large value such as 1800° for five revolutions and increase the Movement value so that the threads do not overlap.
Scaling determines the final scale of the spline. The spline is scaled with respect to the origin of the local axis system of the Generator object.
Flips (reverses the direction of) the Normals of the Lathe object. Cinema 4D will usually point the Normals in the correct direction. However, with open contours it is not possible to know which way they should point. In this case, you can control the direction of the Normals, either by changing the direction of the spline or by enabling the Flip Normals option. This option does not effect the caps, since their Normals are always calculated correctly.