Table Of Contents
- Cinema 4D Curves & Splines
- Basic workflow
- Redshift Object Tag parameters
- Shading Curves
- Motion Blur
- Examples: Tracer
- Examples: MoSpline
- Examples: Simple Splines
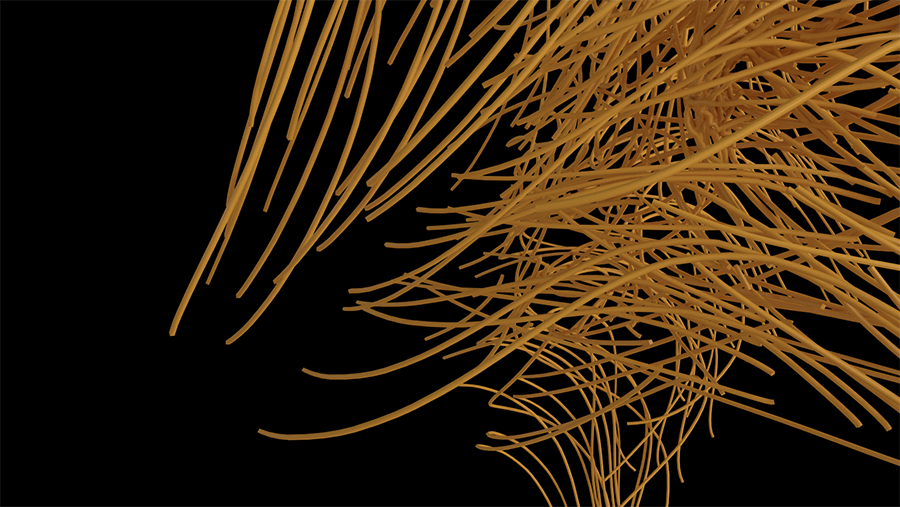
- Examples: Microfibers
Cinema 4D Curves & Splines
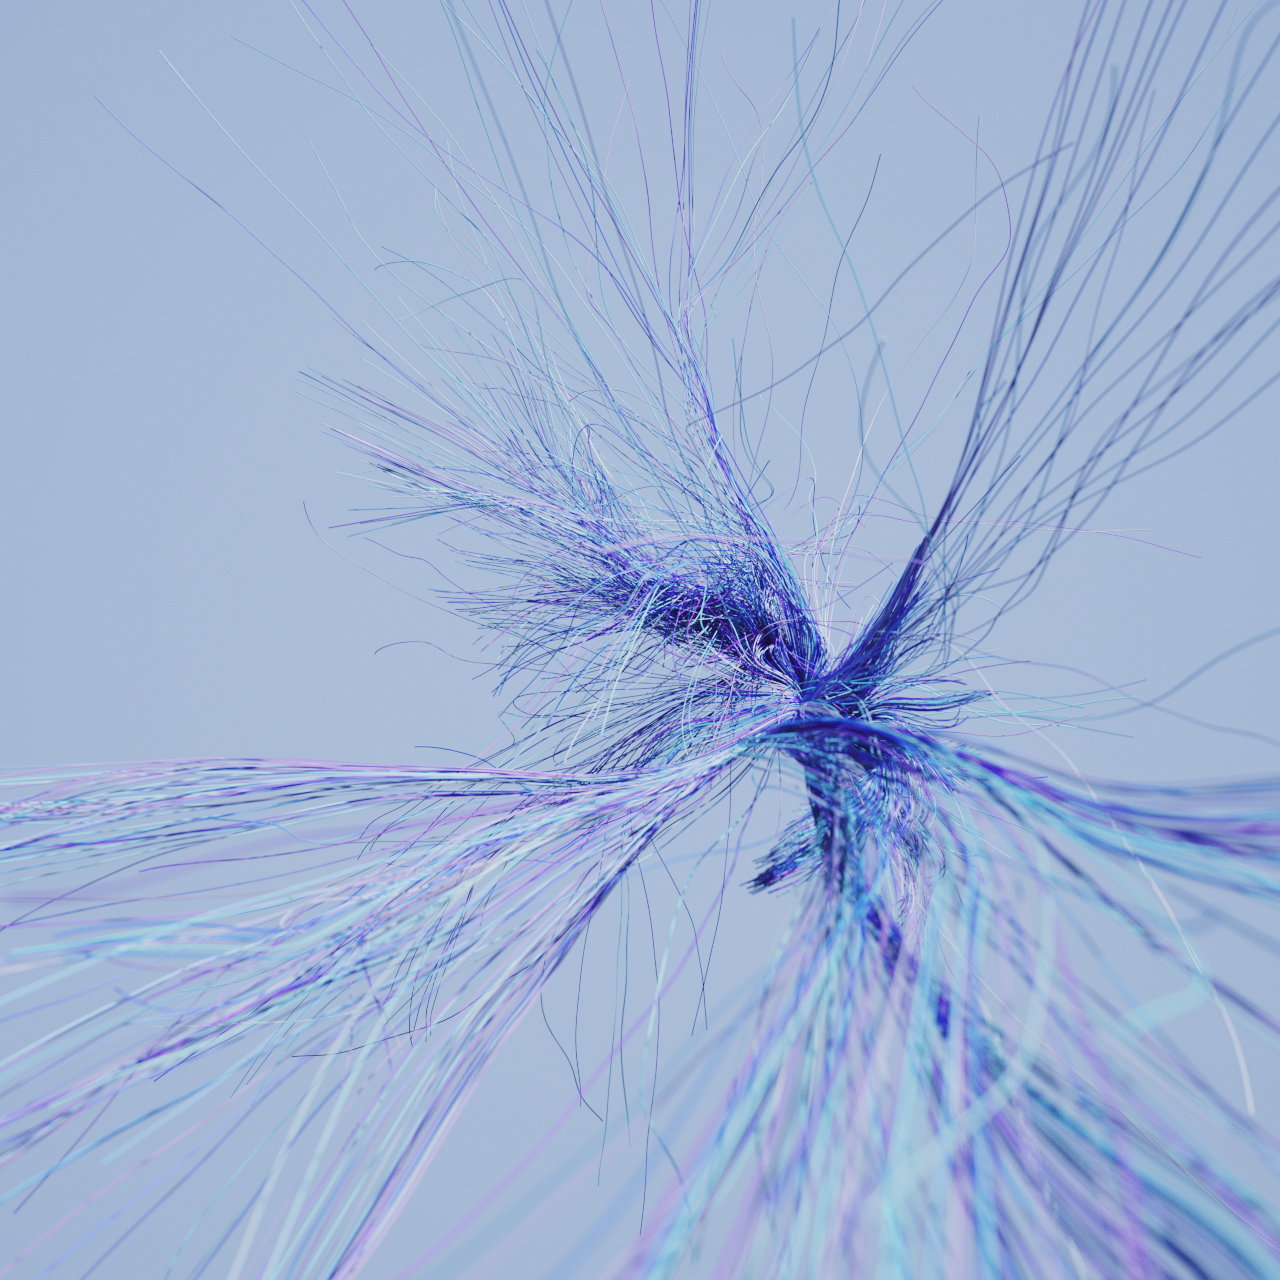
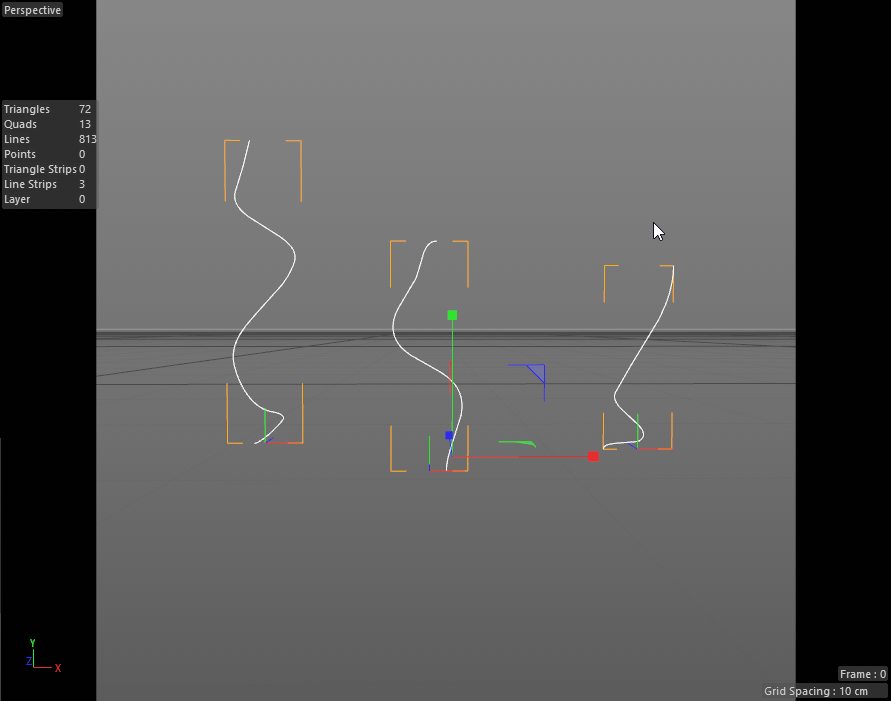
Redshift supports the rendering of Cinema 4D Splines and Curves with a number of different parameters for shape and size. These setups can be rendered as Hair Strands or Polygon based curves at render time. There are a number of different ways to shade these setups using an RS Material, which can also be combined with different attributes used to drive its parameters. You can render out different setups that generate these Curves including; regular spline objects, MoSpline, xpTrails and Tracers.
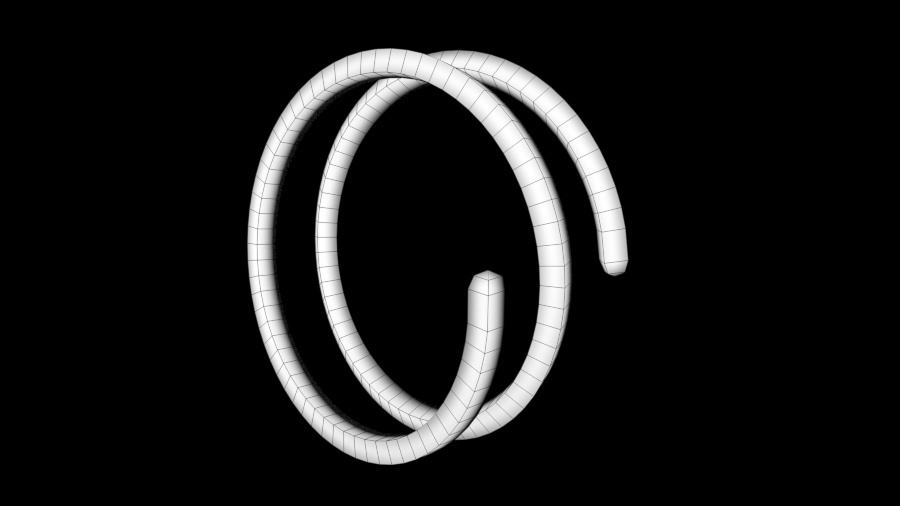
Tracer Object, Rendered with the Curve: Cylinders
Basic workflow
To render our Curves or Splines in Redshift we add a Redshift Object Tag to the object that is generating these (for example Spline object, MoSpline,Tracer etc.). Redshift will detect our curves and display the Curvetab for adjusting the different parameters. These are described below:
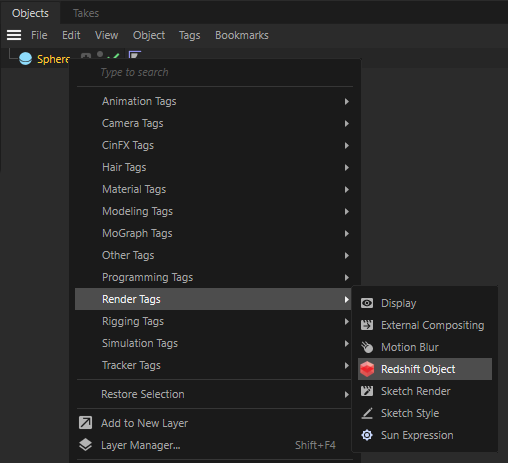
RedShift Object Tag
Redshift Object Tag parameters
Mode
There are 6 different curve mode options shown below.
|
|
|
|
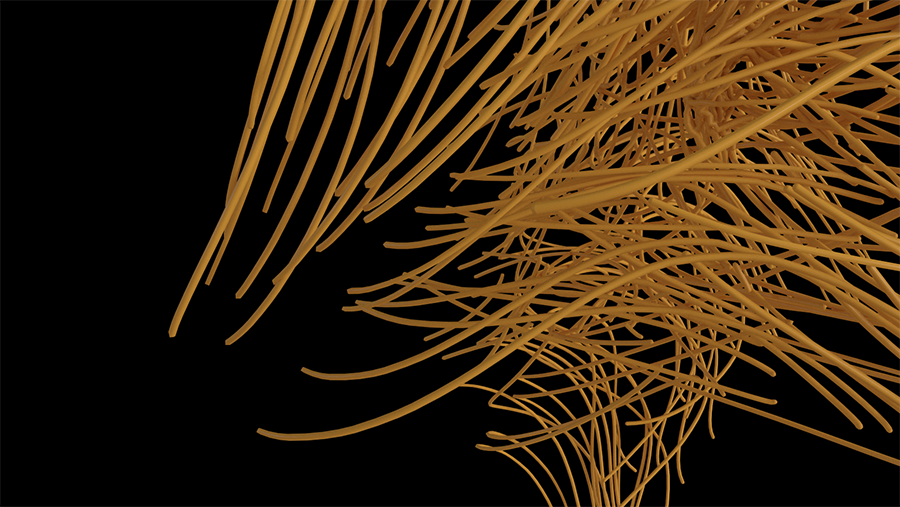
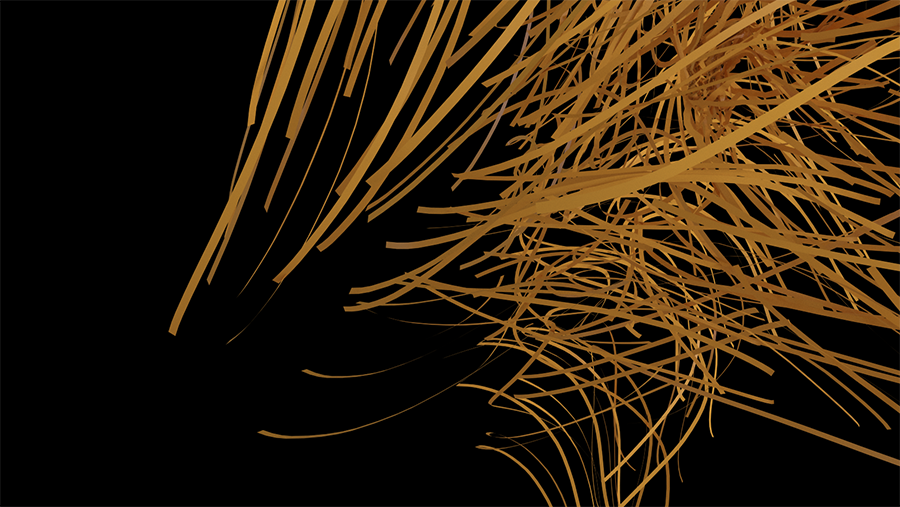
| Hair Strands | Boxes | Cylinders |
|
|
|
|
|
|
|
|
| Capsules | Cones | Stripes |


Click on the individual boxes for a close look!
Strand VS Polygon based curves
With Boxes, Cylinders, Capsules, Cones, and Stripes Redshift is generating procedural meshes at scene conversion as Polygon-based Curves. Hair Stands are curves rendered using a special ribbon-like core primitive, optimized for a high volume of thin strands. These are ideally suited for hair-like objects. Strands are more memory efficient, and best used for far away shots, or when using high counts of individual splines and curves, such as hair, cloth fibers, and any type of fine detail. While Polygon-based Curves get the benefits of mesh based geometry but avoid a lot of the processing overhead that ordinary meshes would create.
Thickness
The thickness parameter is the overall width of each Curve.
|
|
|
|
| Thickness .5 | Thickness 1 | Thickness 3 |


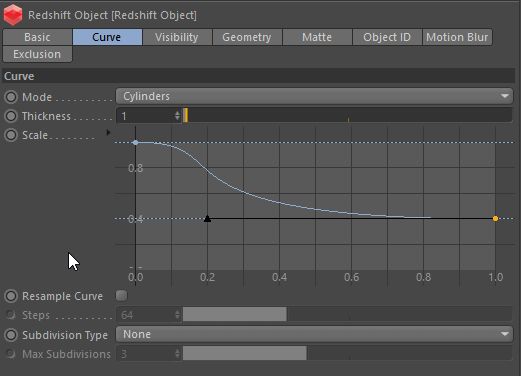
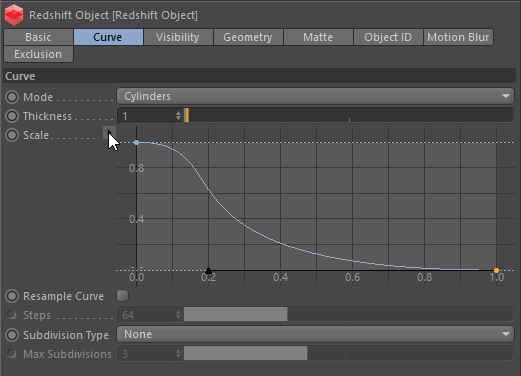
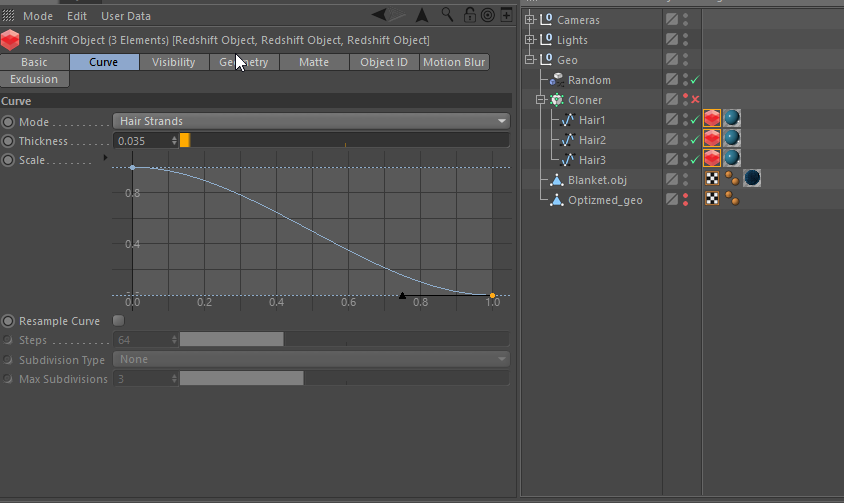
Scale
The Scale parameter allows you to vary the width of your curves with a custom spline graph. From 0 - 1 (Left to Right; X-Axis) will control the Start to End of your curve. From 0 - 1 (Bottom to Top;Y Axis) will control the width of your curve, with 1 being equalt to your Thickness parameter value, down to a value of 0 thickness. This is very useful for tapering ends of curves and controlling the width throughout your curve.
|
|
|
|
|
|
|
|


Demonstrasting Scale Graph
Resample
When the Resample Curve option is checked we can adjust the resampling steps for the curve. Higher step counts can be better for up close shots, while for long distance shots a lower sample rate can help imporove render times. This Resample Curve option can also be extremely useful in some scenarios where deformation blur cannot be generated reliably when certain types of curve animation is used.
|
|
|
| Resample 32 | Resample 64 |
|
|
|
| Resample 128 | Resample 256 |


Subdivision Type
Subdivision Type allows us to subdivide our trails if needed, there is a Fixed & Adaptive mode. Examples of each are shown down below.
Fixed
Fixed allows us to use a value from 0-8 in the Max Subdivisions slider to determine how many times your trail will be subdivided.
|
|
|
|
| Steps: 10 Max Subdivisions: 0 | Steps: 10 Max Subdivisions: 2 | Steps: 10 Max Subdivisions: 6 |


Adaptive
Adaptive mode will give the most optimized result in terms of geometry.

Adaptive
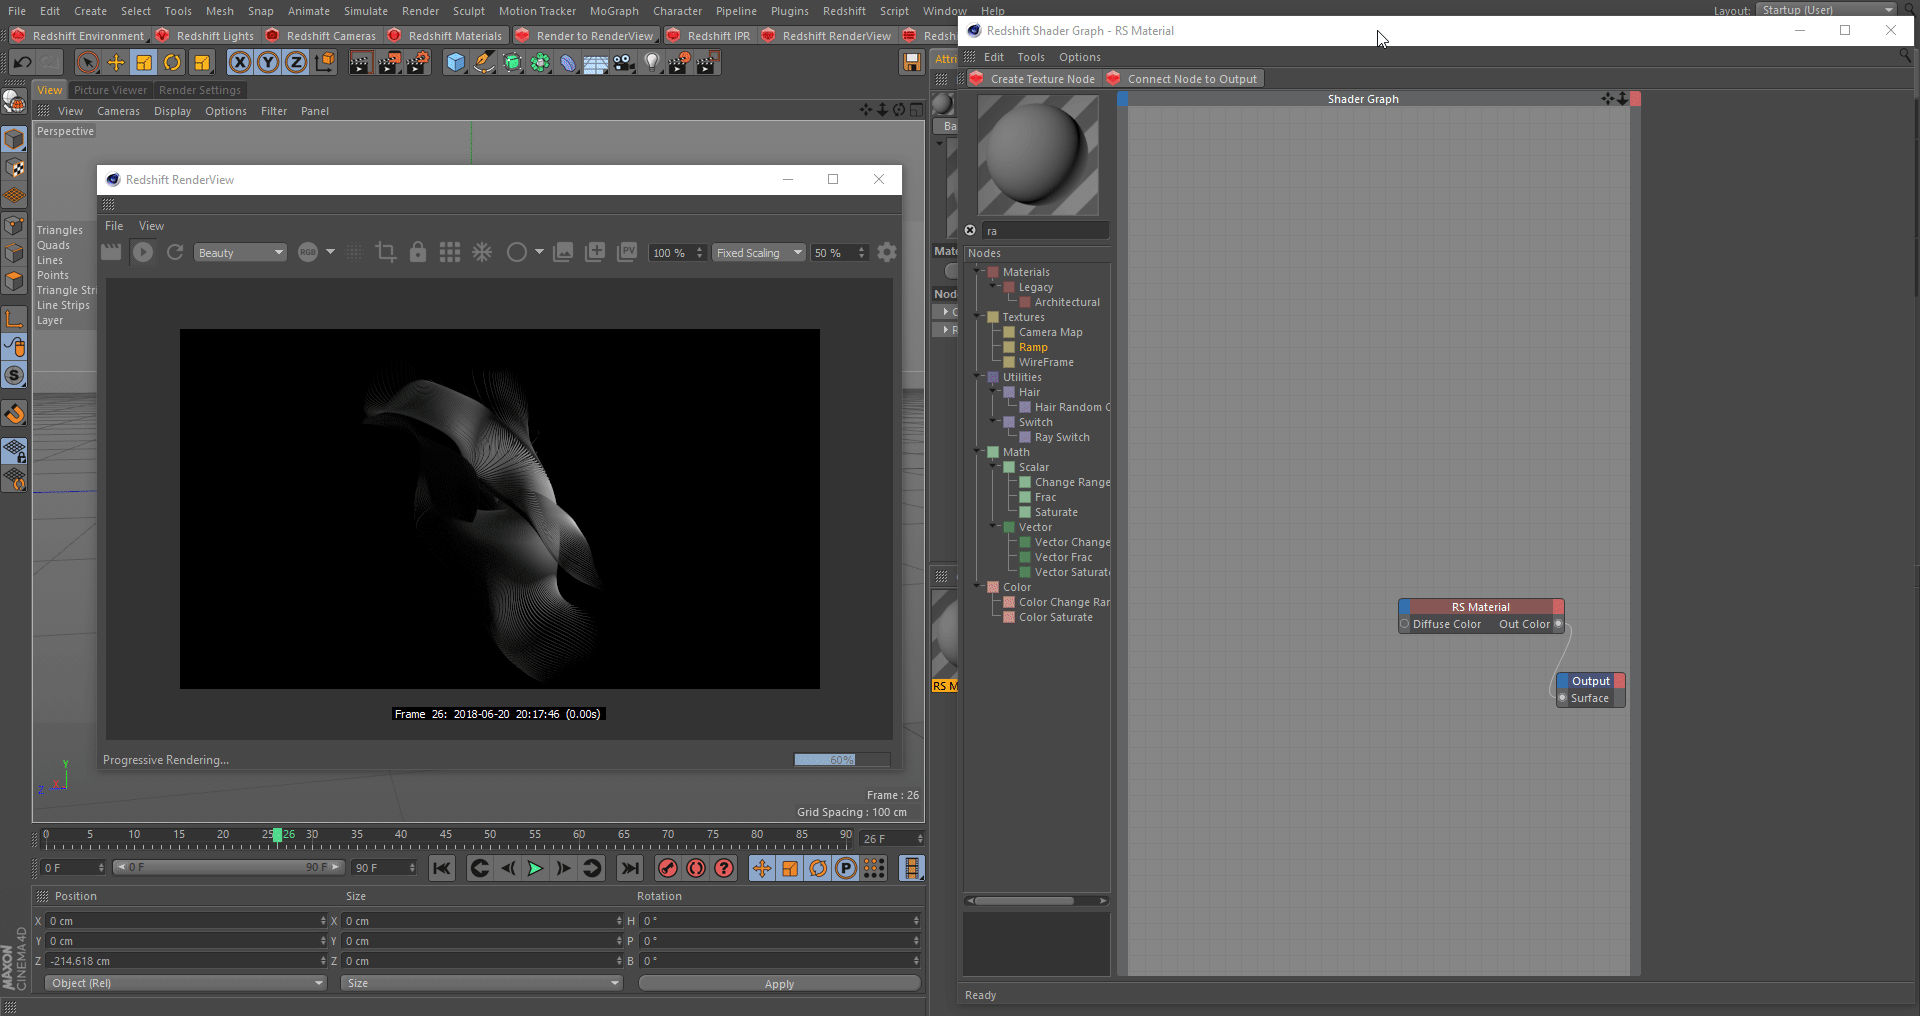
Shading Curves
Hair Strand-specific Shader Nodes
These are nodes that should be used in conjunction with the Curve mode Hair Strands, described here.
Hair Position
The Hair Position node will create a 0 to 1 value for each point on along the curve. This can be connected to a ramp node source set to Alt Source mode, to remap the colors as shown below.

Hair Position node
Hair Random Color
The Hair Random Color node is used for randomizing the color per hair strand. Its parameters are described down below.
Color
The Color parameter will be the overall shade of your strands.
Hue Amount
The Hue Amount will determine how strong each strand's Hue color will change with a value from 0-1. A value of 1 will effectively change every strand to a completely different color.
Saturation Amount
The Saturation Amount will determine the saturation value for each strand with a value from 0-1. A value of 1 will effectively desaturate some of your strands to the point they have no color and are white.
Value Amount
The Value Amount will determine the brightness & darkness value for each strand with a value from 0-1.

Hair Random Color
Polygon Curve-specific Vertex Attributes
These are Curve Vertex Attributes that should be used in conjunction with the Curve modes: Boxes, Cylinders, Capsules, Cones, and Strips described here.
RSCurvePosition
The RSCurvePosition attribute will create a 0 to 1 value for each point on along the curve. This can be connected to a Ramp node set to Alt Source mode, to remap the colors, much like the Hair Position node for Hair Strands.

RSCurvePosition
RSCurveIDNorm
The RSCurveIDNorm attribute will create a 0 to 1 grayscale value for each strand. This can be connected to a Ramp node set to Alt Source mode to remap the colors.

RSCurveIDNorm
RSCurveIDColor
The RSCurveIDColor attribute will create a random color value for each strand. This can be connected to a Ramp node set to Alt Source mode to remap the colors.

RSCurveIDColor
RSCurveIDColorAlpha
The RSCurveIDColorAlpha attribute will create a random color value for each strand, as well as a random value for each strand in the Alpha Channel.

RSCurveIDColorAlpha
Motion Blur
You can enable Motion Blur on our curves by going to the motion blur settings and checking the box. We are also going to enable deformation blur. You can view the specific motion blur section here.

Motion Blur Settings
If you are having trouble rendering Deformation Blur with your Curves, you can enable Resample Curve in the Redshift Object tag's Curve tab. More information here.
|
|
|
|
| No motion Blur | Motion Blur enabled Frame Duration:5 | Motion Blur enabled Frame Duration:20 |
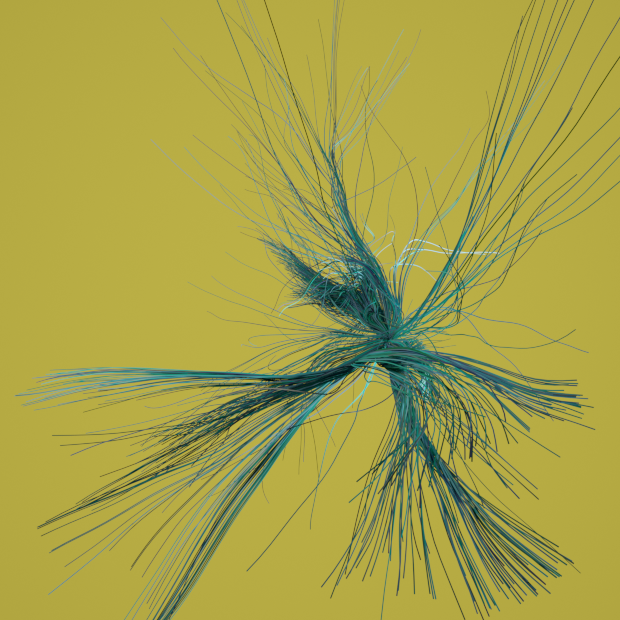

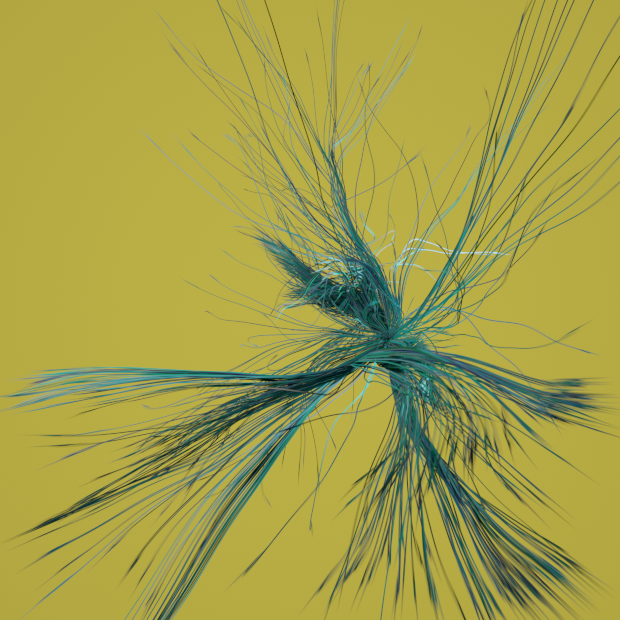
Examples: Tracer
Let's see how to render and shade Tracer curves.
First we need to add a Redshift Object tag and adjust the Curve Mode to Hair Strands. Then we adjust the scale and thickness parameter.
Redshift Object Tag
Next we are going to shade our Hair Strands. First we are going to use a Hair Random Color node and adjust the parameters to vary the color per strand. Also we will add a Color Correct node to change our hue with ease.

Shading Hair Strands
If you need more information on particle-based splines such as tracers and xpTrails check here.
Examples: MoSpline
Let's see how to render and shade MoSpline curves.
To start off we need to add a Redshift Object tag and adjust the Curve Mode to Boxes. Then we adjust the scale and thickness parameter.
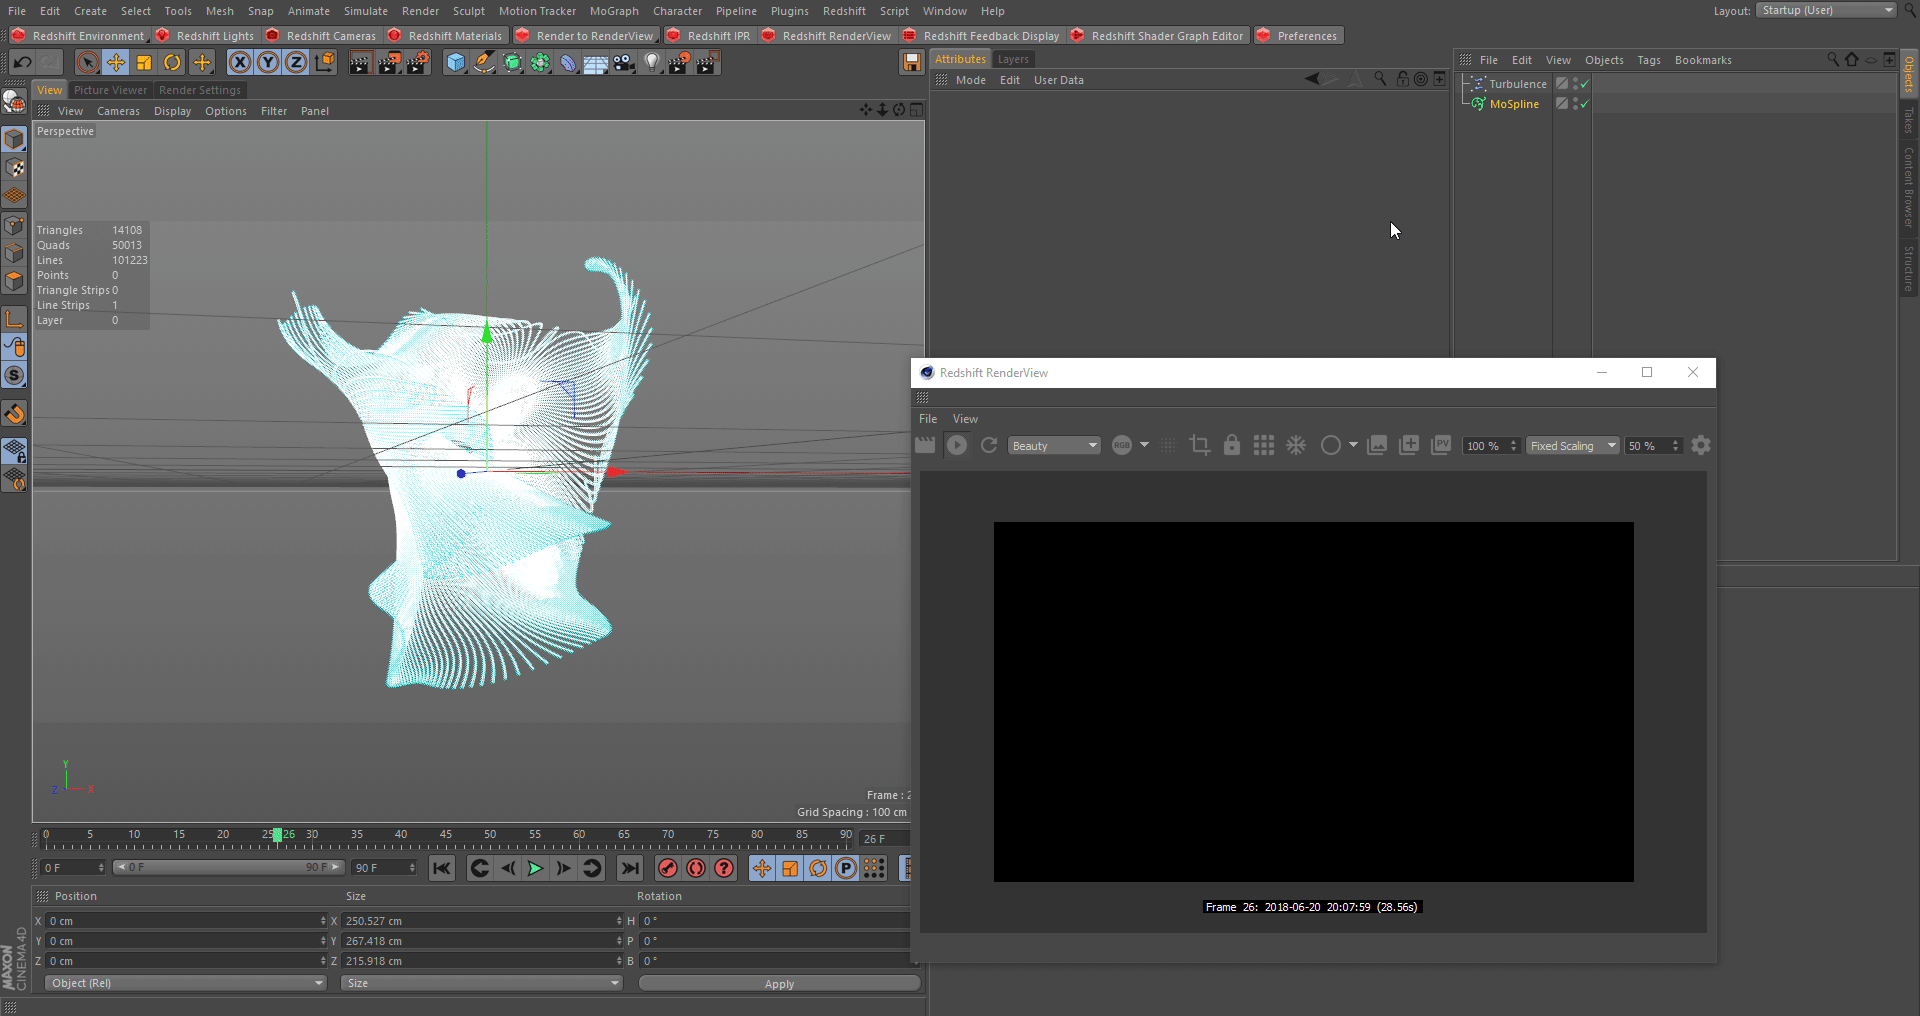
Redshift Object Tag
Next we are going to shade our MoSpline setup, first we are going to bring in a Vertex Attribute and use the RSCurvePosition, described here. Then we will remap this with a Ramp node.
Vertex Attribute Remapped
Examples: Simple Splines
Lets look at how to render and shade Basic splines.
First we need to add a Redshift Object tag to all of our letter splines and set the Curve Mode to Strips.

Redshift Object Tag
Next we are going to use a Vertex Attribute and set it to RSCurveIDColor described here. Then connect it to the emission parameter of our RS Material.

Shade Simple Splines
Examples: Microfibers
We can scatter splines on our blanket object and render them as curves to give the appearance of actual hairs on our blanket.

Suede Blanket
First we are going to create our splines that will be scattered on the blanket, these will resemble our hairs.
Simple Splines
Next we are going to optimize our scene bit, I'm duplicating my geometry and only scattering on the parts that are seen by the camera as shown below.

Optimized Geo
Now we will scatter our splines over the new Optimized_Geo with a cloner object and use a random effector to randomize the direction our hairs are pointing.
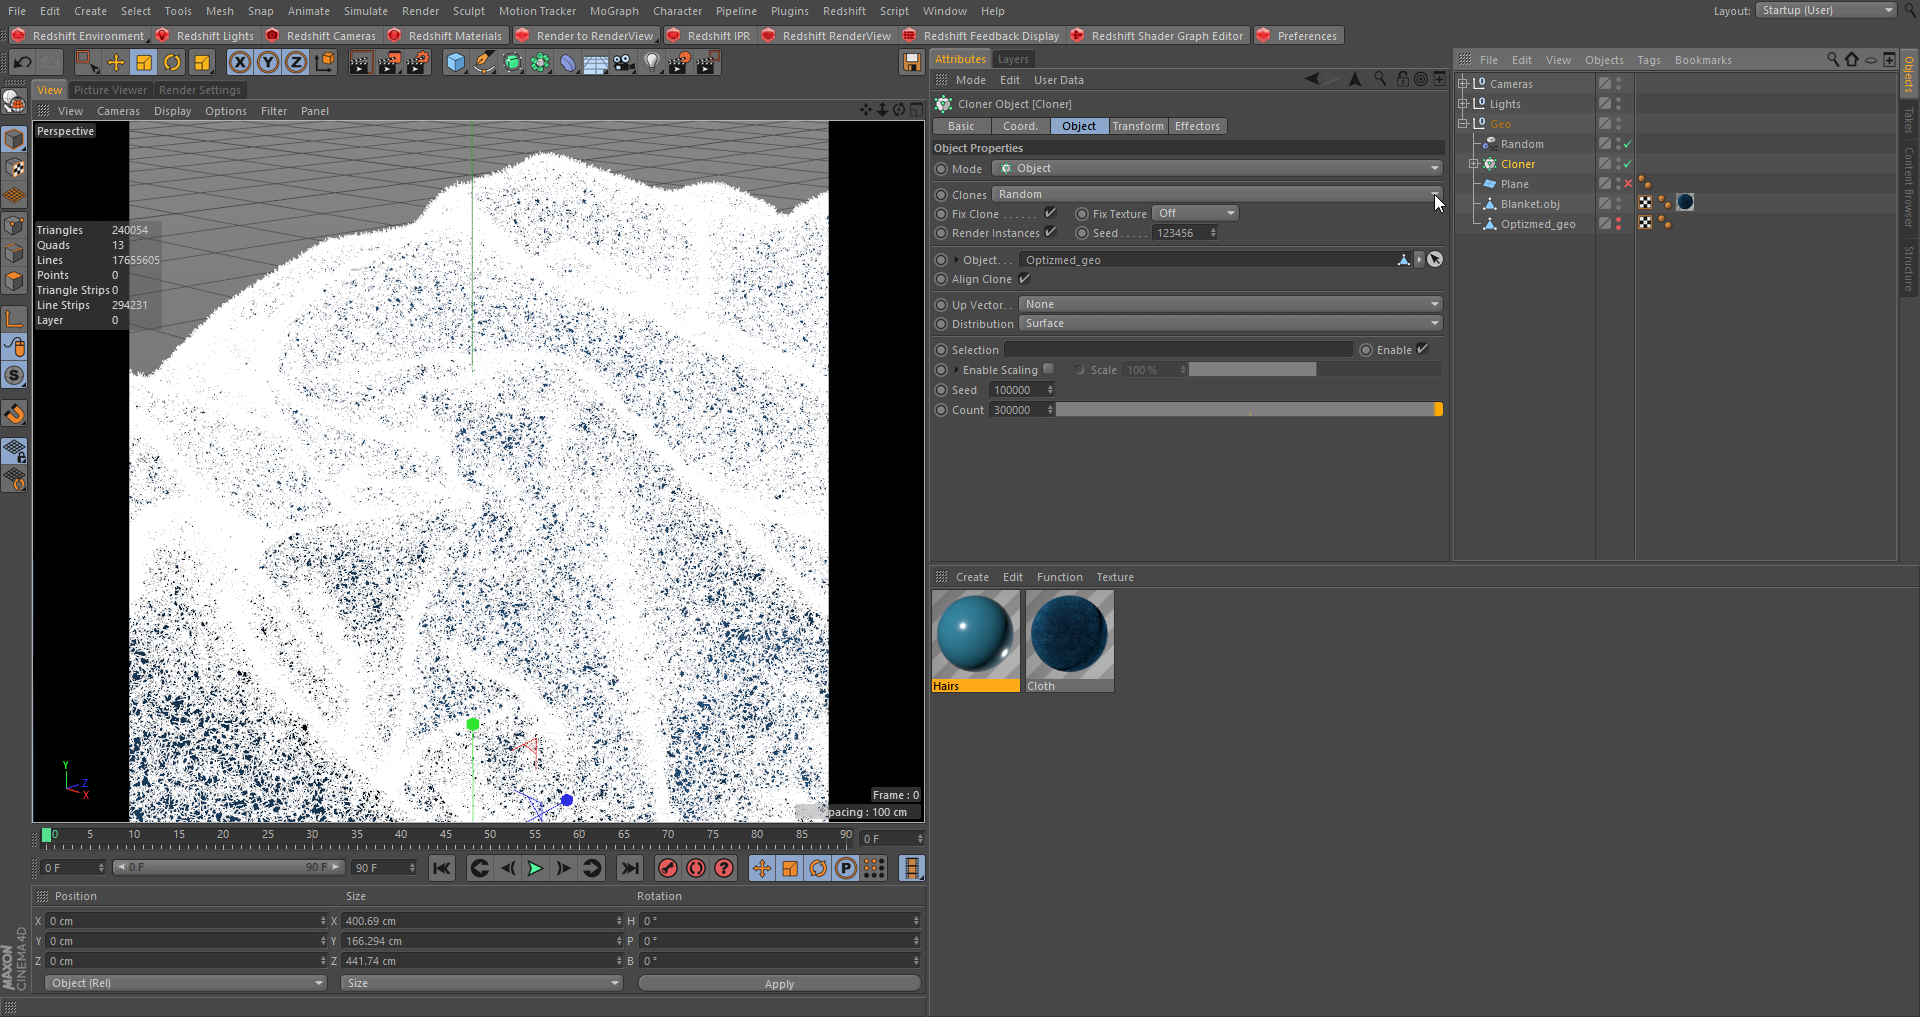
Scattered Splines
Try lowering the cloner count if you have low amount of RAM available.
Now let's add a basic blue material to our splines and add a Redshift Object Tag and set it to Hair Strands. Because these hairs are relatively small and far away from the camera the Hair Strand mode will work perfectly.
Redshfit Object Tag
We can now render our setup and see we are getting that hair effect on our blanket and compare it with and without the effect.

Add details with RS Curves