Please note that the Volume shader is designed to render localized volumes such as clouds, smoke and fire. For the global, uniform fog, please use the Redshift Environment Object instead.
Table Of Contents
Volume objects have to be stored on the GPU's memory in their entirety and are not handled by Redshift's out-of-core system. Therefore, if a scene uses too many different volume objects or if these volume objects are of a particularly high resolution and do not fit on the GPU's memory, rendering will be aborted with an out-of-VRAM error message.

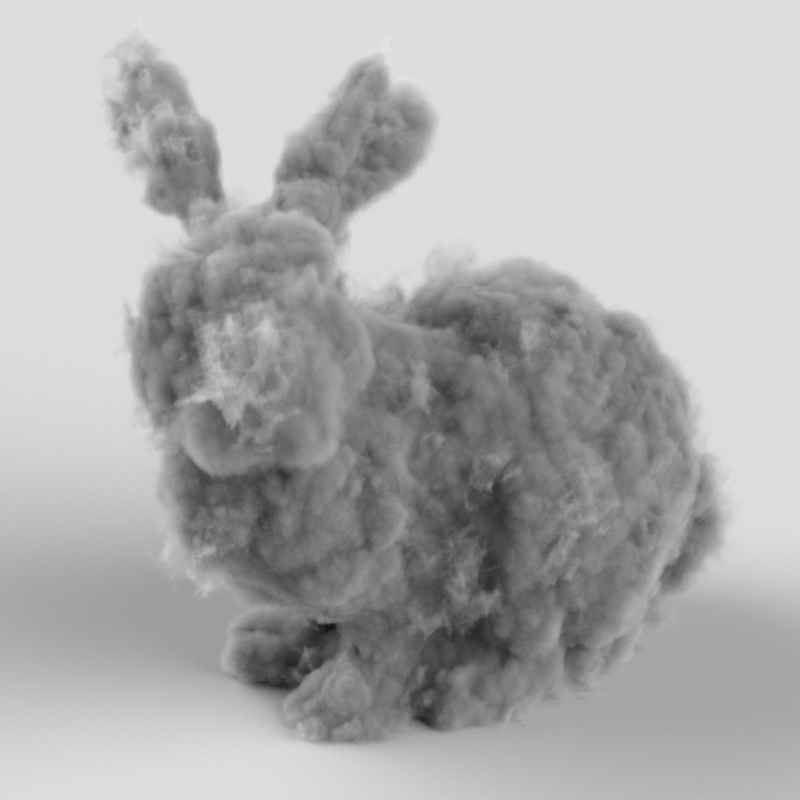
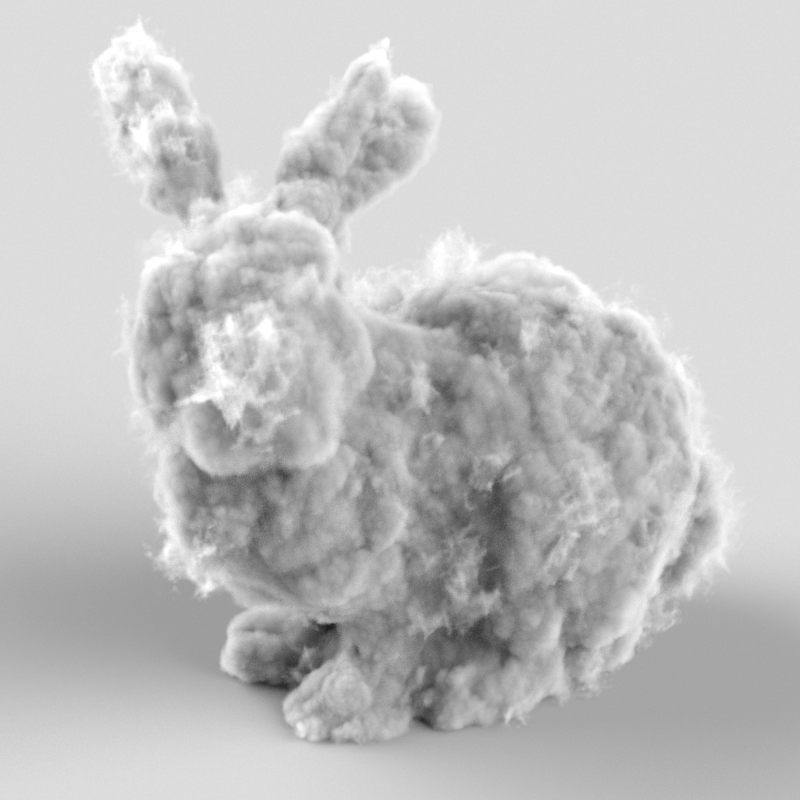
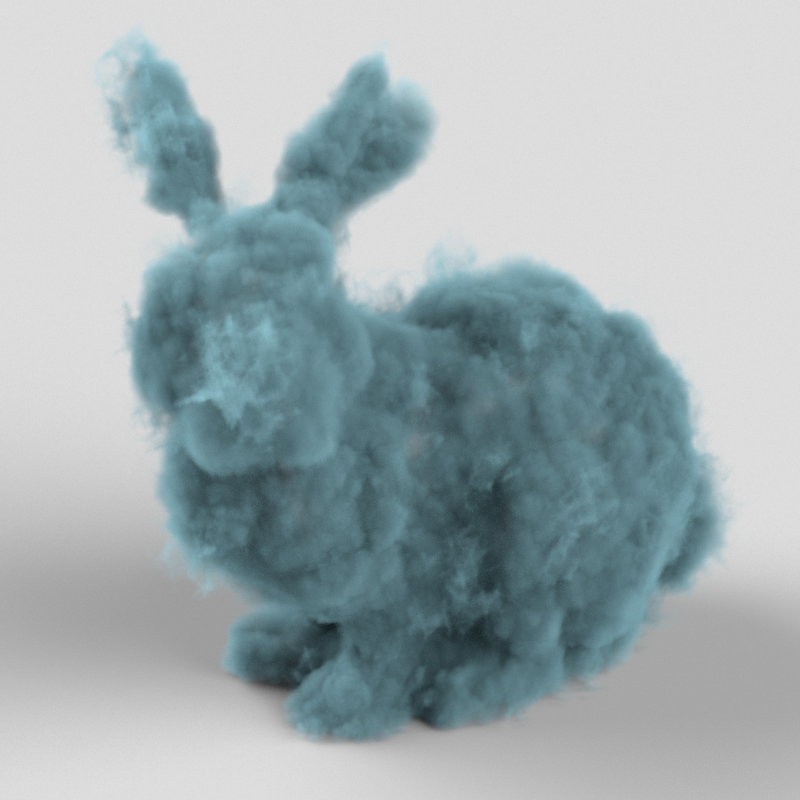
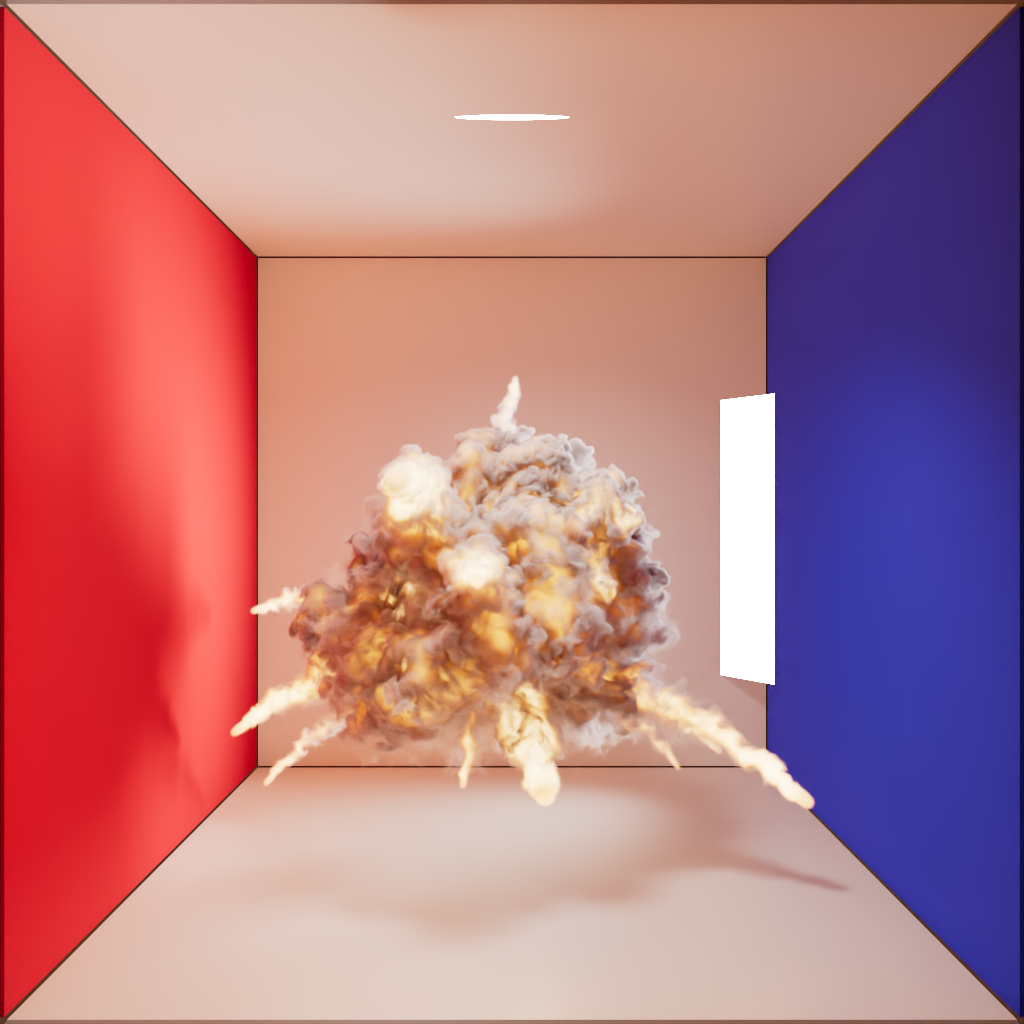
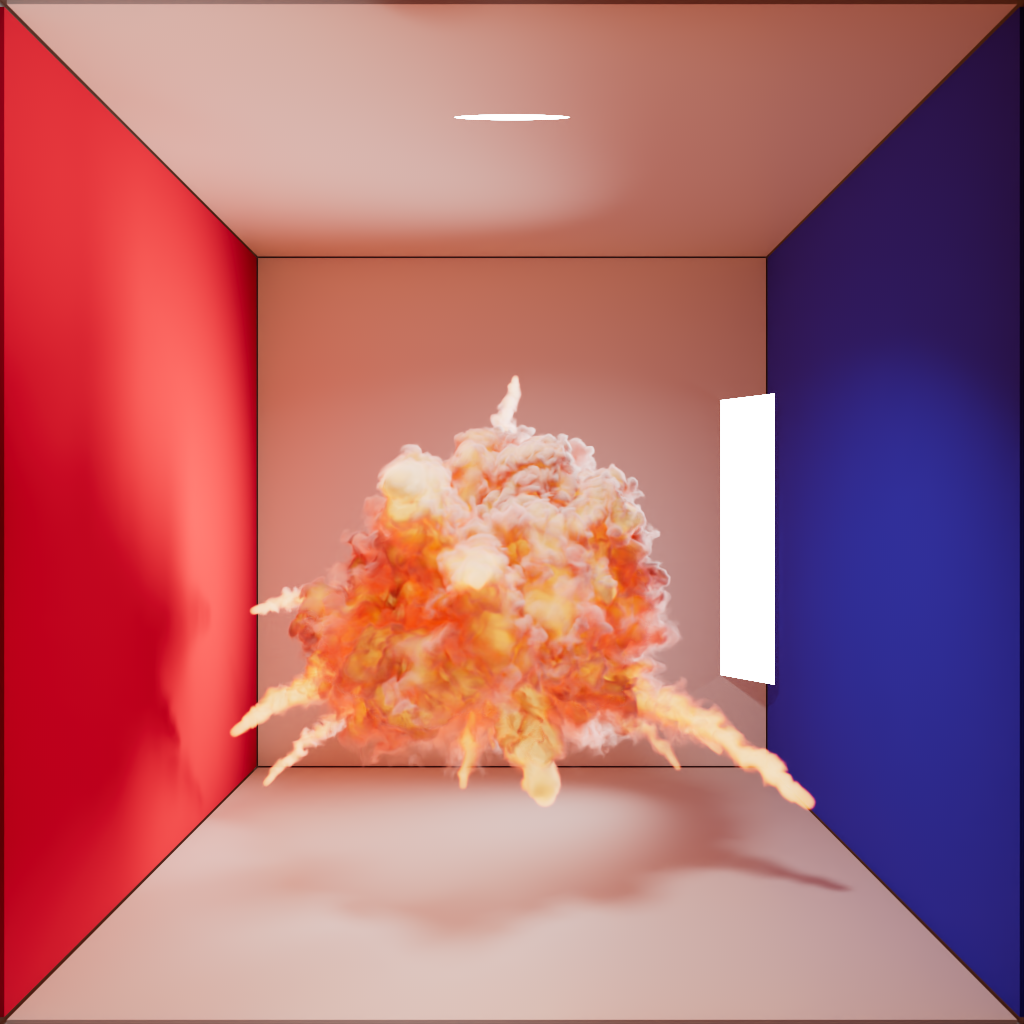
A cloud bunny in the Cornell box
The Volume shader has to be assigned to a Redshift Volume object to be able to render it.
Also take care to use Redshift Lights with a Volume Contribution Scale set higher than 0.0 in you scene. Otherwise your volumes just render black.
The Redshift Volume Shader is divided in three shading components: Scatter, Absorption and Emission.
You can think of Scatter as "diffuse", Absorption is "transparency" and Emission is "incandescence" or "self-illumination".
Therefore, if you want to make your volume brighter or darker, you need to adjust the Scatter parameters. If you want to make your volume more solid or more transparent, you need to adjust the Absorption parameters. And, finally, if your volume represents a self-illuminating effect like fire and want to make it brighter or dimmer, you need to adjust the Emission parameters.
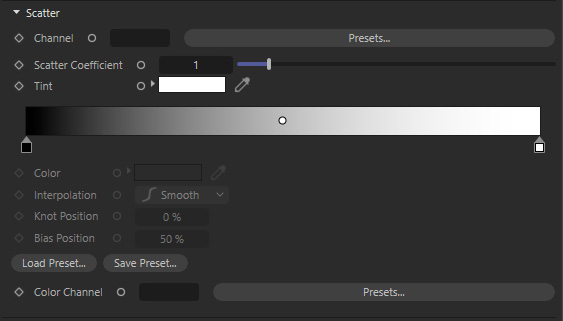
Scatter Settings
Channel
OpenVDB voxel can contain values that describe different properties of the volume. Typical examples include 'density' and 'temperature'. If your OpenVDB file was exported from SideFX Houdini, it will almost certainly contain a channel called 'density'. And if it's a fire or explosion effect, it will also contain a channel called 'temperature'. The density channel name (in this case 'density') should be typed in the Scatter Channel box. And the temperature channel name (in this case 'temperature') should be typed in the Emission Channel box. You can also use the Presets button to reveal typical channel names for OpenVDB files created by ExplosiaFX, FumeFX or Turbulence FD.
If you have already a Redshift Volume Object in your scene and loaded a vdb file with it, the Channel names of that file will appear in the Preset menu already.
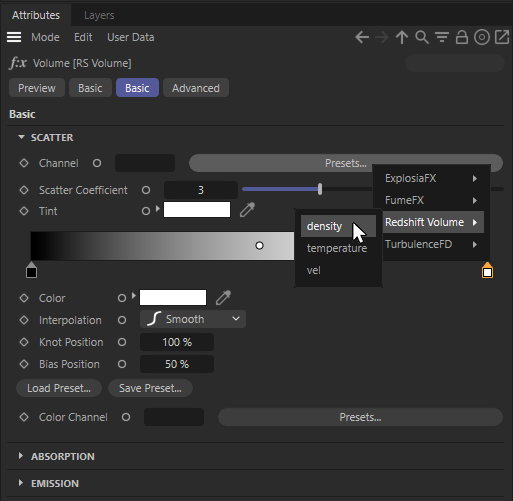
Loaded VDB Channel names will appear in the shaders 'Preset' menu.
You can also use the Redshift Log File to find out which channels are contained in the OpenVDB file. When Redshift loads an OpenVDB file, it prints out the names of all the channels it contains. This is how this information looks like in the Redshift log file:
Preparing volume objects...
						Loading: c:\MyVDBFiles\bunny_cloud.vdb
						Contained grids: 'density' Done!
						Dim: (577, 572, 438).
						Num loaded grids: 1. Num voxels total: 26749120
						Time to process 1 volume objects: 0ms
In this particular case, we can see that bunny_cloud.vdb contains one channel called 'density', so we type 'density' (without the quotes) in the Scatter's channel box.
Important note! If you don't set the Scatter or Emission Channel names, Redshift won't render the volume!
Scatter Coefficient
Scatter is simular to the diffuse intensity of a material. It is calculated by using the density channel of the OpenVDB file. Increasing the scatter coefficient makes the volume brighter.
|
|
|
|
Scatter Coefficient=5.0. Absorption Coefficient=5.0 |
Scatter Coefficient=10.0. Absorption Coefficient=5.0 |
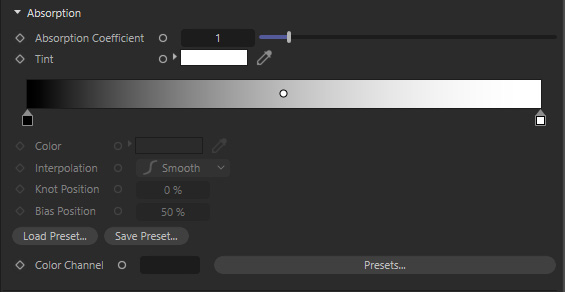
Tint
Use this to adjust the overall color of the volume.
|
|
|
|
White Tint (Scatter Coefficient=3.0. Absorption Coefficient=3.0) |
Blue tint |

More advanced manipulation of scattering can happen via the Tint color gradient. As mentioned above, scattering happens by remapping the density OpenVDB channel. The Scatter Tint color gradient allows you to map the density channel into different colors. Low density values get colored by the left side of the gradient, while higher density values are colored by the right side of the gradient.

Here is colorful example of using the Tint gradient fopr scattering."
Color Channel
Instead of setting your own Tint or Tint gradient, you can also specify the name of a Open VDB channel here that is to be used for coloring the Scatter component of the shader.
Absorption Settings
Absorption is similar to "transparency". Redshift computes it using the OpenVDB file's density channel (see Channel setting inside the Scatter settings).
Absorption Coefficient
The most basic adjustment of absorption can happen through the Absorption Coefficient parameter. Increasing the Absorption Coefficient makes the volume more opaque. A thing to keep in mind is that, the more opaque the volume, the less light it will allow to travel through it. In other words, high absorption means the volume render darker. If you want to preserve the same approximate intensity, we recommend adjusting the Scatter Coefficient and the Absorption Coefficient together. I.e. if you want to make your volume more opaque by doubling the Absorption Coefficient, also double the Scatter Coefficient. This is demonstrated in the following examples:
|
|
|
|
|
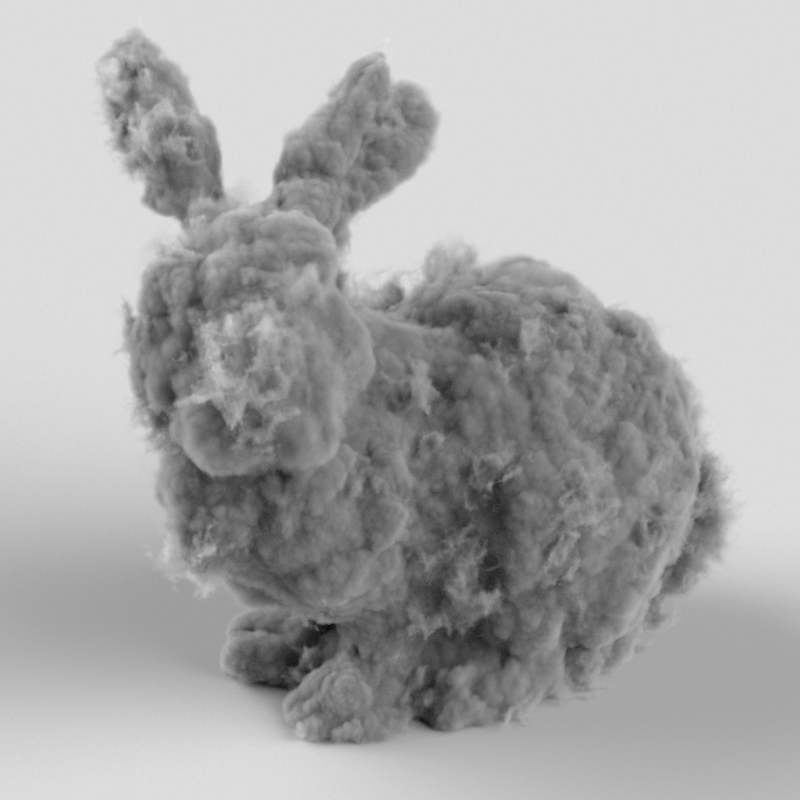
Scatter Coefficient=1.0. Absorption Coefficient=1.0 |
Scatter Coefficient=3.0. Absorption Coefficient=3.0 |
Scatter Coefficient=10.0. Absorption Coefficient=10.0 |

Tint
Use this to adjust the overall absoption color of the volume
More advanced manipulation of Absorption can happen vie the Tint color gradient. As with scattering, absorption happens by remapping the density OpenVDB channel. The Absorption Tint color gradient allows you to map the density channel into different colors. Low density values get colored by the left side of the gradient, while higher density values are colored by the right side of the gradient.
The Absorption shading component also gets multiplied by its Tint gradient, so it allows for finer control of the opacity of the OpenVDB. Using darker colors will reduce the ready OpenVDB density value and therefore result in a reduced absorption.
Color Channel
Instead of setting your own Tint or Tint gradient, you can also specify the name of a Open VDB channel here that is to be used for coloring the Absorption component of the shader.
Emission Settings
The emission component is useful when creating effects such as fire and explosions, when you need volumes to emit light.
Channel
For this section, we'll use the fire.vdb file which was downloaded from http://www.openvdb.org/download
This file contains both a density and a temperature channel, as it can be seen in the Redshift log file:
						Preparing volume objects...
						Loading: c:\MyVDBFiles\fire.vdb
						Contained grids: 'density' 'temperature' Done!
						Dim: (161, 366, 153).
						Num loaded grids: 1. Num voxels total: 10707904
						Time to process 1 volume objects: 0ms
We, therefore, type 'density' (without the quotes) in the Scatter Channel textbox and 'temperature' (without the quotes) in the Emission Channel textbox. You can also use the Presets button to reveal typical channel names for OpenVDB files created by ExplosiaFX, FumeFX or Turbulence FD.
This is how the fire vdb file looks like without and with emission
|
|
|
|
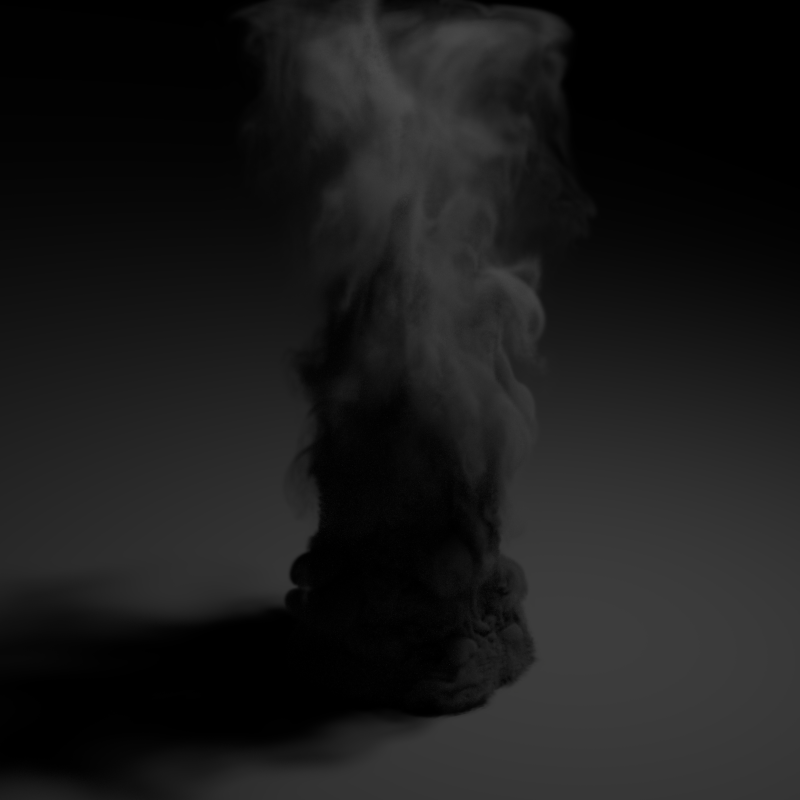
Without emission, we can only see the smoke (density) part |
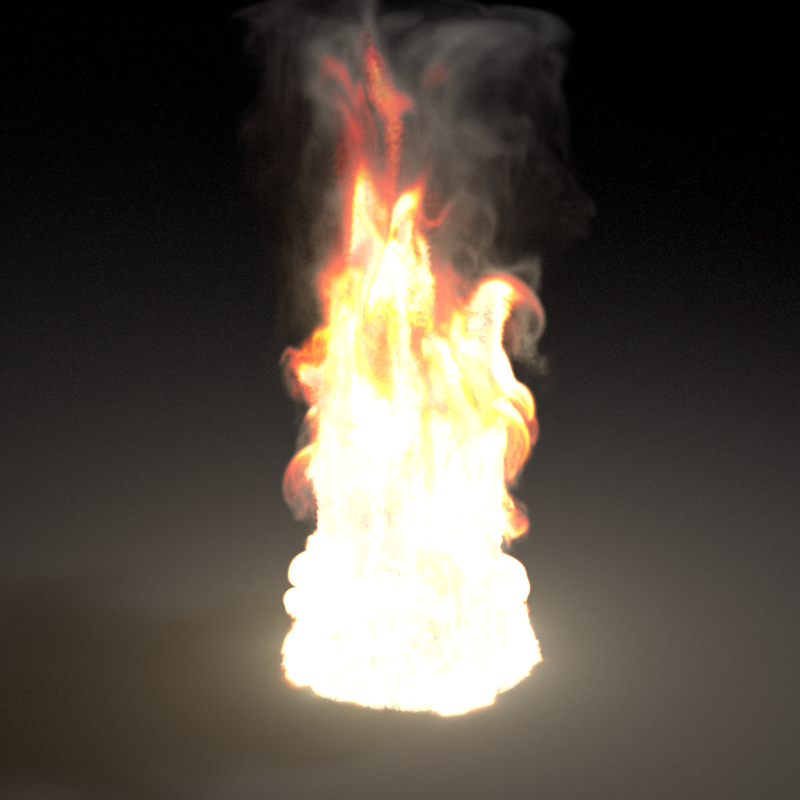
With emission we can see the fire effect |
Tint
Use this to apply an overall color to the Emission. Take note that using darker colors also results in a reduction of the Emission.
Achieving the effect shown above involves adjusting the Emission Tint gradient. The reason for that is that the temperature channel that is stored in the OpenVDB file is simply a number per voxel which tells us how hot a voxel is. It doesn't describe how red or yellow the fire is. It's up to the user to adjust the Emission Tint Gradient to 'translate' the temperature value into emissive colors.
For the above example, we used a gradient that looks like this:
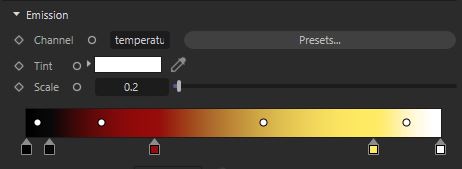
One way to read the above ramp is this:
- For low temperatures, use black/gray
- For medium temperatures use red
- For higher temperatures use yellow/white
Achieving the expected look for emission can sometimes be challenging for two reasons:
- Emission works in conjunction with Scattering and Absorption. As it can be seen in the above example, there's also a density (smoke) channel in the OpenVDB file which can be seen in the left picture. Smoke (Scatter/Absorption) naturally obstructs fire (Emission) so it reduces its effect. Therefore, care has to be taken to ensure that Scattering/Absorption (smoke) is adjusted properly and doesn't interfere too much or too little with the Emission (fire).
- The Emission Tint Gradient is driven by the temperature OpenVDB channel. Depending on the 3D app used to author the OpenVDB file, the ranges can be pretty dramatic. In certain cases, a range remapping might have to happen (see Advanced settings of the shader).
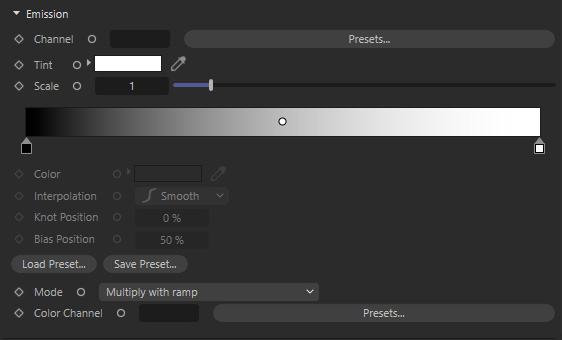
Scale
The Emission is often based on simulated temperature values that might need some adaption. You can use this Scale as a multiplier for the linked Channel values. For a more precise remapping of values, use the Advanced settings of the shader instead.
Mode
Using a channel from the OpenVDB file to color the Emission, this mode controls the combination with the Tint Gradient. The following options are available:
- Mulitply with ramp: The loaded Color Channel gets multiplied by the Emission Tint gradient.
- Multiply with temperature: The loaded Color Channel gets multiplied with the Emission Channel values, before it gets used with the Tint and the Tint gradient
- Replace: The loaded Color Channel is replacing the Emission Tint completely.
Color Channel
Here you can enter the name of a channel of the loaded OpenVDB file that you like to use to control the Emission color. Use the Mode to specify how to use this channel in combination with the Tint options of the Emission settings.
Emission Mode
Emission mode sets the method of control for emission color with the following options:
-
Color Ramp - Emission color is controlled by the user defined emission remap ramp.
-
Blackbody - Emission color is controlled by a physically correct method of rendering volumes based on temperature for things like explosions and flames.

|

|
|
| Emission Mode: Color Ramp (with Default Ramp) |
Color Ramp (with Flame Ramp) |
Blackbody |
Temperature
The temperature parameter maps the emission value to a Kelvin temperature range. This temperature value drives both the color and the emission intensity.
Only relevant when Emission Mode is set to Blackbody

|

|

|

|

|
| Temperature: 0 | 3000 | 6500 (default) | 9000 | 12000 |
| Note as the temperature parameter is increased the color of the emission changes and the emission intensity increases as well resulting in a brighter scene. | ||||
Offset
Offset interpolates the emission intensity between the emission channel value and the calculated physically correct radiance.
For physically correct results offset should be left at the default value of 1. Lower values will result in a more even and constant emission.
Only relevant when Emission Mode is set to Blackbody

|
|

|

|
| Offset: 1 (default) | 0 | 0.5 | 2 |
Advanced Settings
This sections offers additional settings to tune the overall Shadow, Density and Emission evaluation
Shadow Density Scale
This parameter allows a volume to appear more transparent or more opaque to shadow rays. It is, in essence, a "trick" that can help emulate multiple scattering, i.e. the effect of light bouncing around a volume. This can be achieved by setting the shadow density scale below 1.0.
The other way for allowing more light to pass through the volume would have been to reduce its absorption. However, this would make the volume appear more 'puffy' and transparent. The shadow density scale, on the other hand, allows the volume to retain its "tightness" while allowing more light to pass through it, as shown below.
|
|
|
|
Shadow density scale=1.0 (Scatter Coefficient=3.0. Absorption Coefficient=3.0) |
Shadow density scale=0.5 (Scatter Coefficient=3.0, Absorption Coefficient=3.0) |

Range Remapping for Density and Emission
The values stored in OpenVDB channels can vary wildly depending on the 3d app that was used to author them. This can be true for both density and emission channels.
The range remapping controls allow the adjustment of these values just before Redshift uses them. The Old Min/Old Max range is remapped to the New Min/New Max range.
For example, a temperature channel might contains values that range between 0 and 100 but the emission color ramp only accepts inputs ranging between 0 and 1. In this case, the user should use old min=0, old max=100 and leave new min and new max at their default 0 and 1 respectively. In essence, this would 'squash' the 0->100 range into a 0->1 range.