Installing Redshift on Windows
System Requirements
Please see the Redshift System Requirements Support page for the latest information.
Installation Process
First download the Redshift installer, this can be acquired in several ways, please see the Installation page for more information.
The installer will help guide you through the installation process, the first screen pictured below welcomes you to this process.
Any running instance of Maya, 3ds Max, Cinema 4D, Houdini, Katana, Vectorworks, and ZBrush should be closed before continuing with the installation. The installation may fail if these applications are left running.
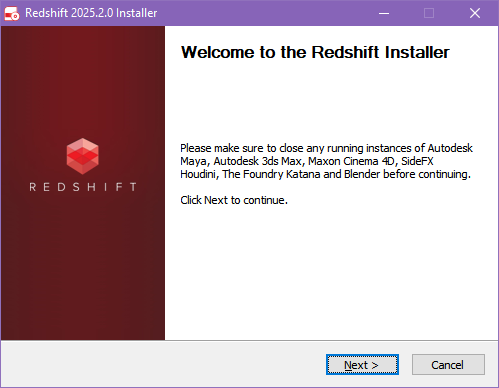
|
| Close any open DCCs before continuing |
Here you can change where Redshift is installed, then click next to proceed.
|
| Set Redshift's installation directory |
The Auto-configure Redshift plugins screen is next, here you control which DCCs are automatically configured for use. By default, the installer will select all compatible versions of Maya, 3ds Max, Cinema 4D, and ZBrush that are detected on your system. However, these can be manually deselected if you do not want a particular version to be set up with the Redshift plugin. Redshift always installs all the files necessary for each DCC, even if they are not found on your system.
What is a DCC?
DCC stands for Digital Content Creation, we use this term to refer to the various host applications that are supported by Redshift. This includes Maya, 3ds Max, Cinema 4D, Houdini, Vectorworks, ZBrush, and Katana.
Houdini & Solaris (Hydra Delegate) and Katana require additional steps outside of the installer before Redshift can be used with them, for this reason they cannot be deselected here.
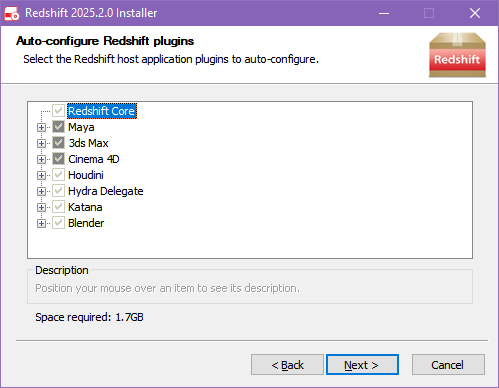
|
| Select the DCCs for automatic configuration |
If Cinema 4D was selected for automatic configuration the following screen will appear and allow you to set the install location for each version. Each detected version is filled with the default Cinema 4D install location but this can be overwritten with a custom install location.
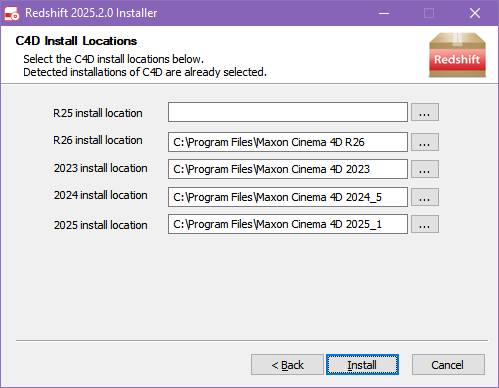
|
| Cinema 4D install locations |
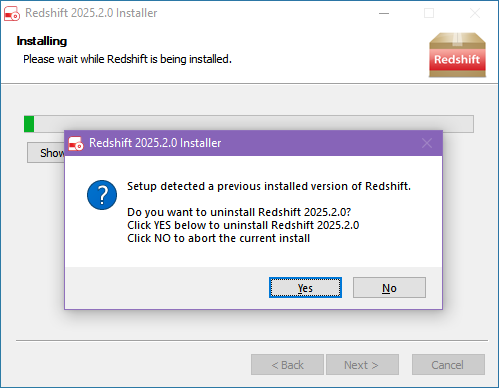
The final step, click Next to proceed with the installation and start copying files to your system.
|
| Installing Redshift |
After all files are finished being copied you may be prompted to modify the TDR delay (Timeout Detection and Recovery) setting on your system. If you do not see this screen, it means your system's TDR delay is already suitable for Redshift, or your system does not support TDR.
If you see the TDR Settings screen, we highly recommend you accept the default presented by the installer. Any changes made by the installer will be reverted when you uninstall Redshift.
Modifying your system's TDR delay settings involves making changes to your system's registry.
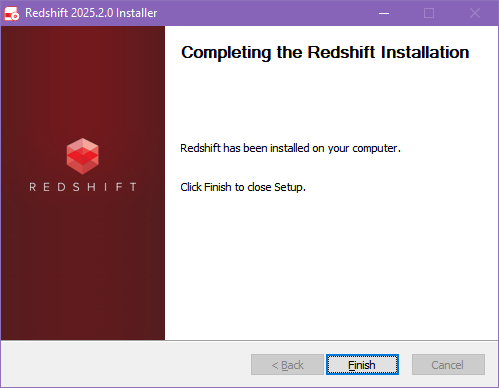
Redshift installation is now complete, click Finish to exit the installer.
|
If you plan to use Houdini, Solaris, or Katana please see the following pages for the required extra steps before Redshift can be used with each of them.
Houdini & Solaris Plugin Configuration
Katana Plugin Configuration
For Maya, 3ds Max, and Cinema 4D please see these pages, although if auto-configured during the installation they should not need any additional steps.
Maya Plugin Configuration
3ds Max Plugin Configuration
Cinema 4D Plugin Configuration