|
|
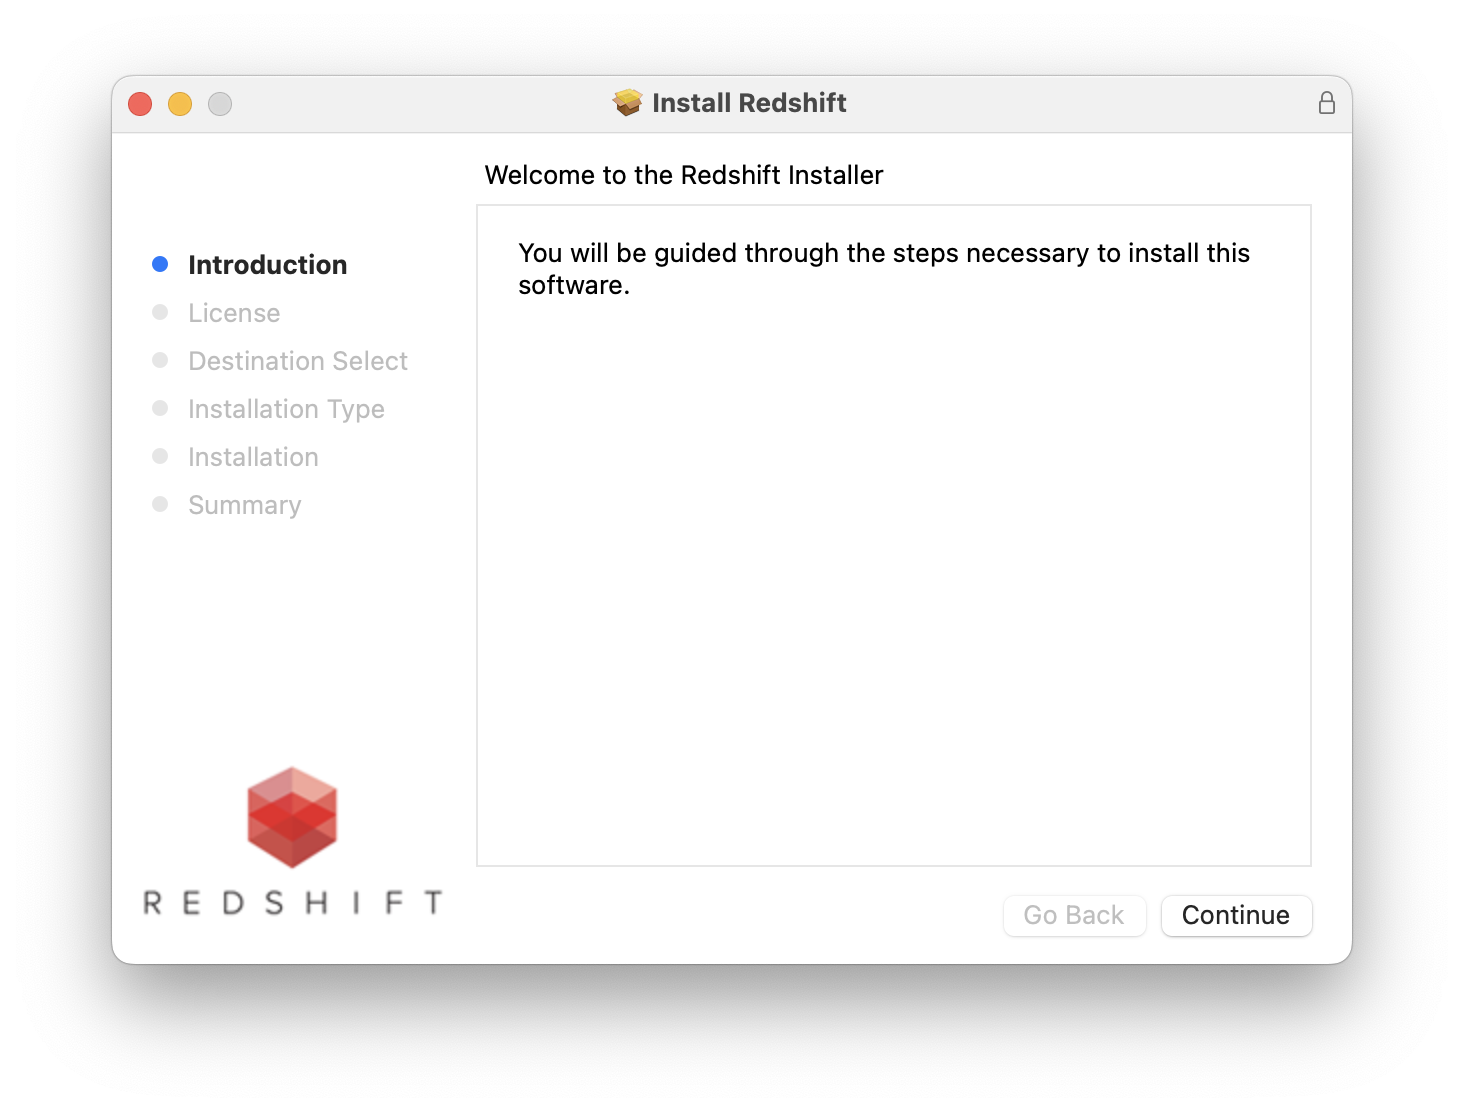
Click Continue to proceed to the License Agreement screen. |
Table of Contents
Please see the Redshift System Requirements Support page for the latest information.
First download the Redshift installer, this can be acquired in several ways, please see the Installation page for more information.
The installer will help guide you through the installation process, the first screen pictured below welcomes you to this process.
Any running instance of Maya, Cinema 4D, and Houdini should be closed before continuing with the installation.

|
|
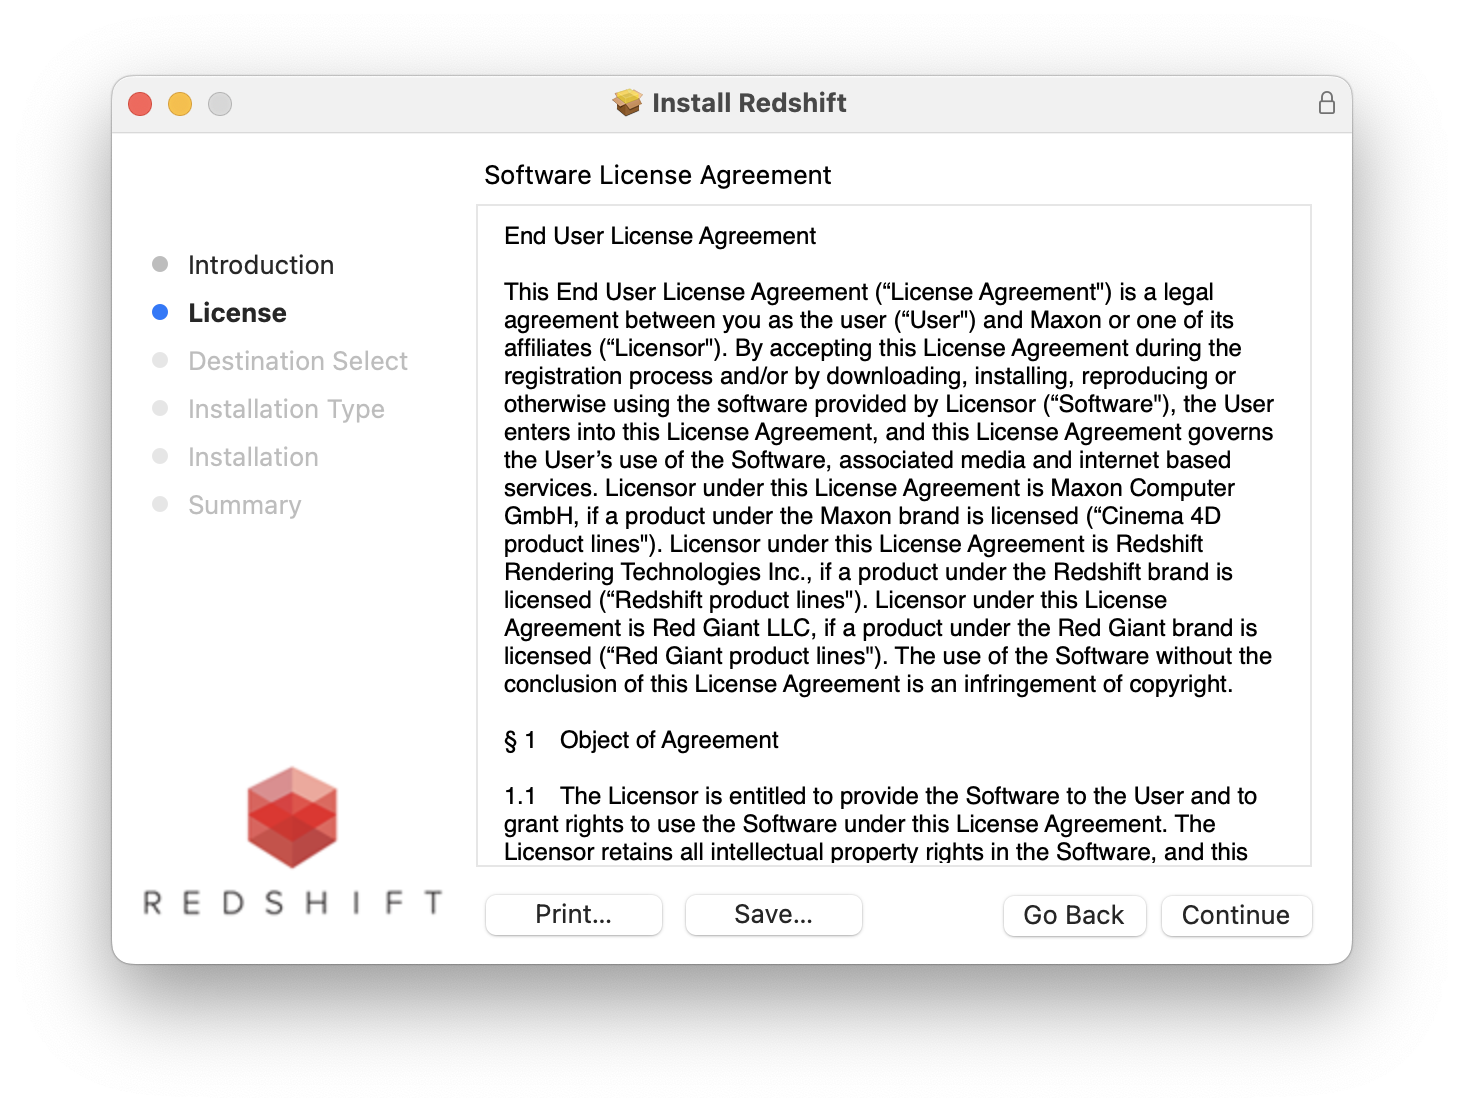
Click Continue to proceed to the License Agreement screen. |
Please carefully review the Redshift Software License Agreement before continuing with the installation.
By clicking the Agree button, you are agreeing to be bound by the terms of the Redshift license agreement.
If you agree with the terms and wish to proceed with the installation click the Agree button.
If you do not agree with the terms, you must click the Disagree button instead and proceed to remove the installer from your system.
|

|
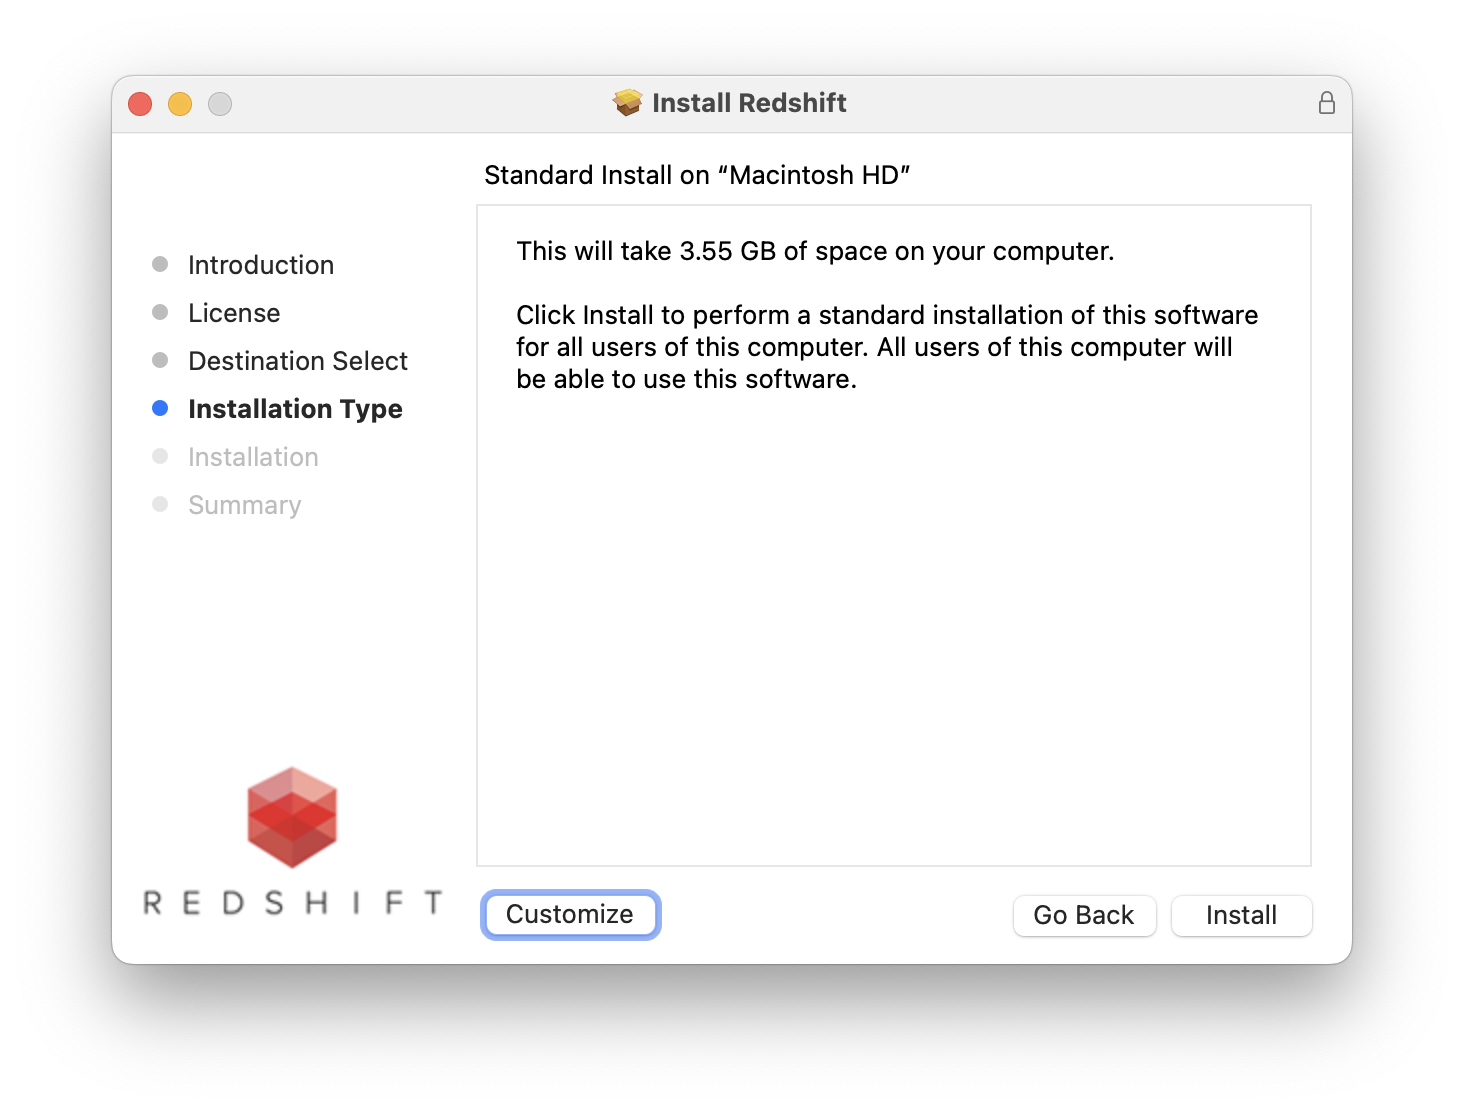
After you agree to the licensing terms the installation configuration screen is next, here you control which DCCs are automatically configured for use. By default, the installer will select all compatible versions of a DCC that are detected on your system, however, these can be manually deselected if you do not want a particular version to be set up with the Redshift plugin by clicking on the Customize button in the bottom left. Redshift always installs all the files necessary for each DCC, even if they are not found on your system.
What is a DCC?
DCC stands for Digital Content Creation, we use this term to refer to the various host applications that are supported by Redshift. This includes Maya, 3ds Max, Cinema 4D, Houdini, Solaris, Katana, and Blender.
|

|
| Customize: Select available DCCs for configuration |
Next you will be prompted to verify that you want to continue with the installation on your computer. After verification the installer will proceed and start copying files to your system.

|
| Prompt to verify installation |
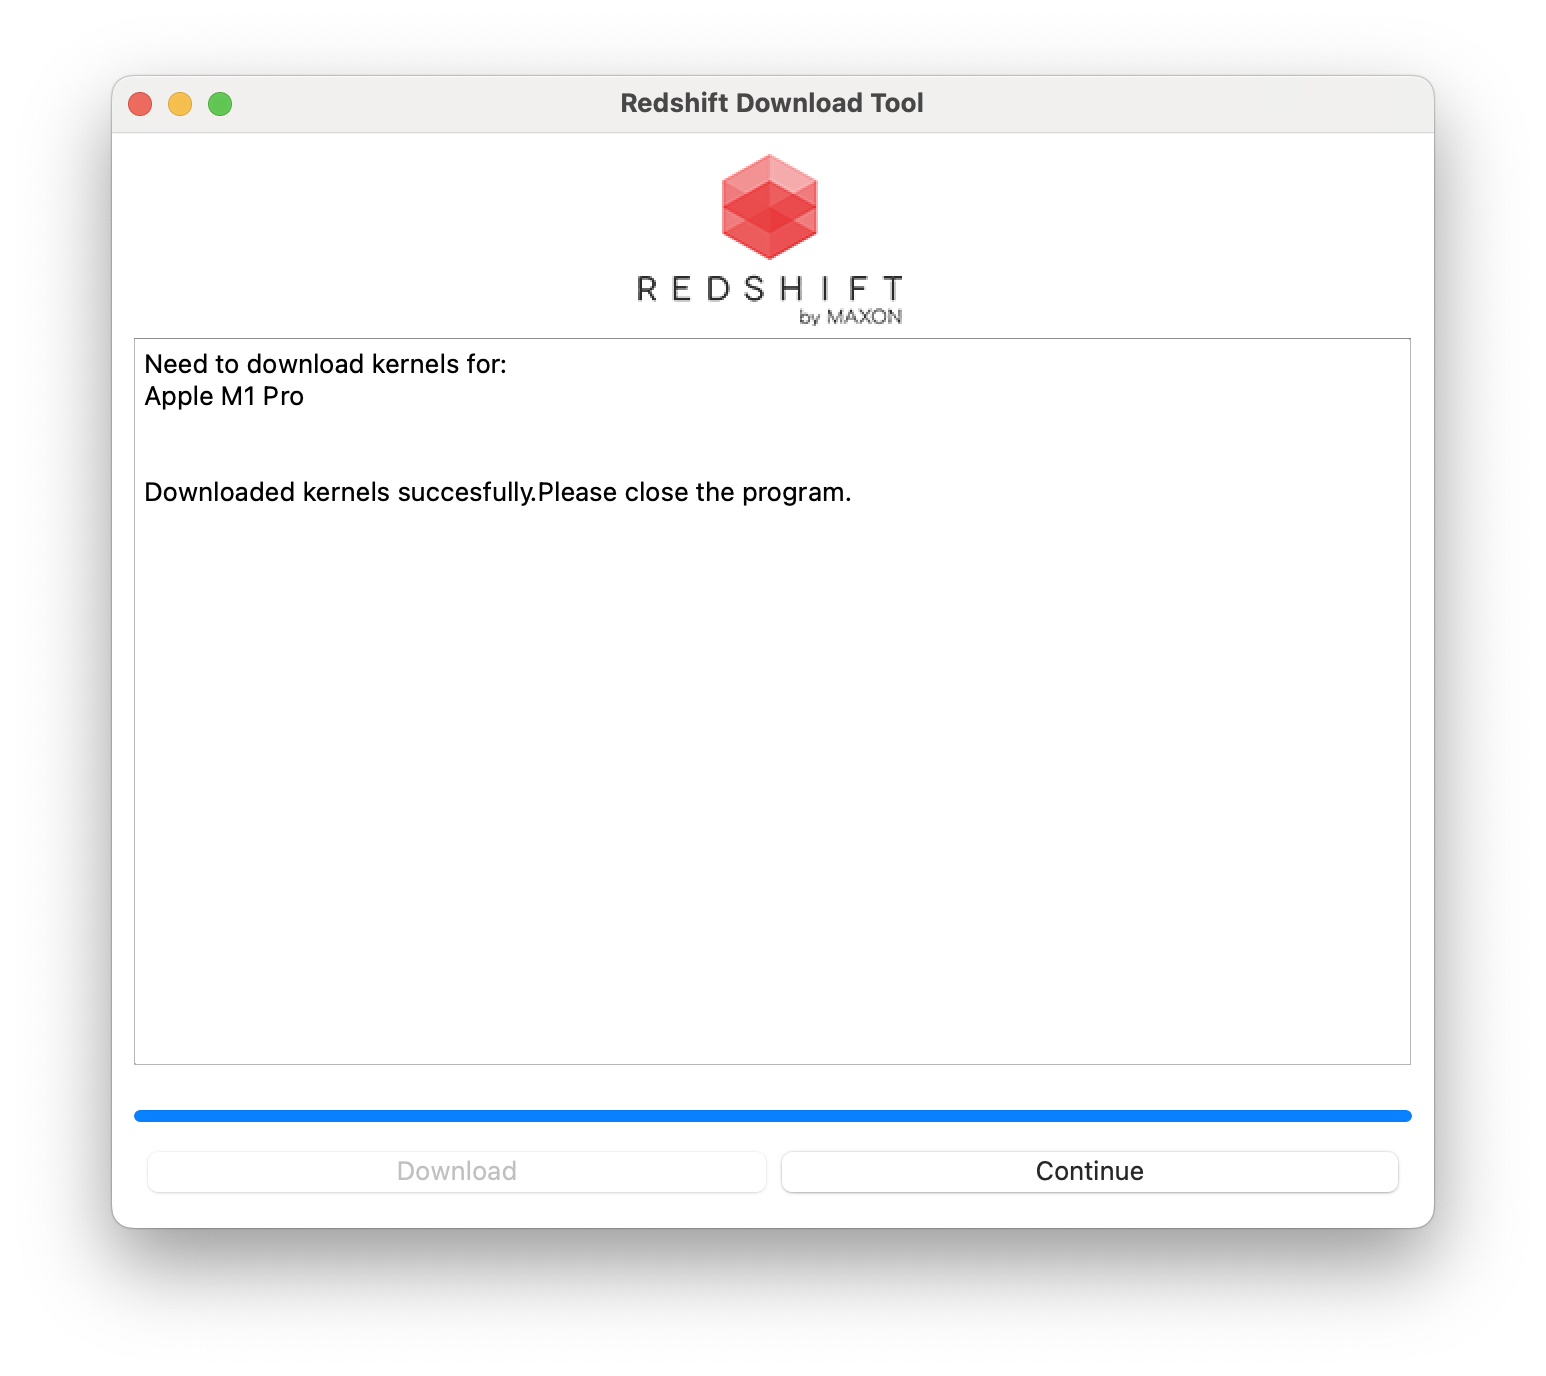
At this time, if you are using the Redshift Lite Installer, the Redshift Download Tool will automatically pop up, detect compatible hardware in your system, and download the appropriate shader kernels.
|
| The Redshift Download Tool automatically downloads the necessary shader kernels |
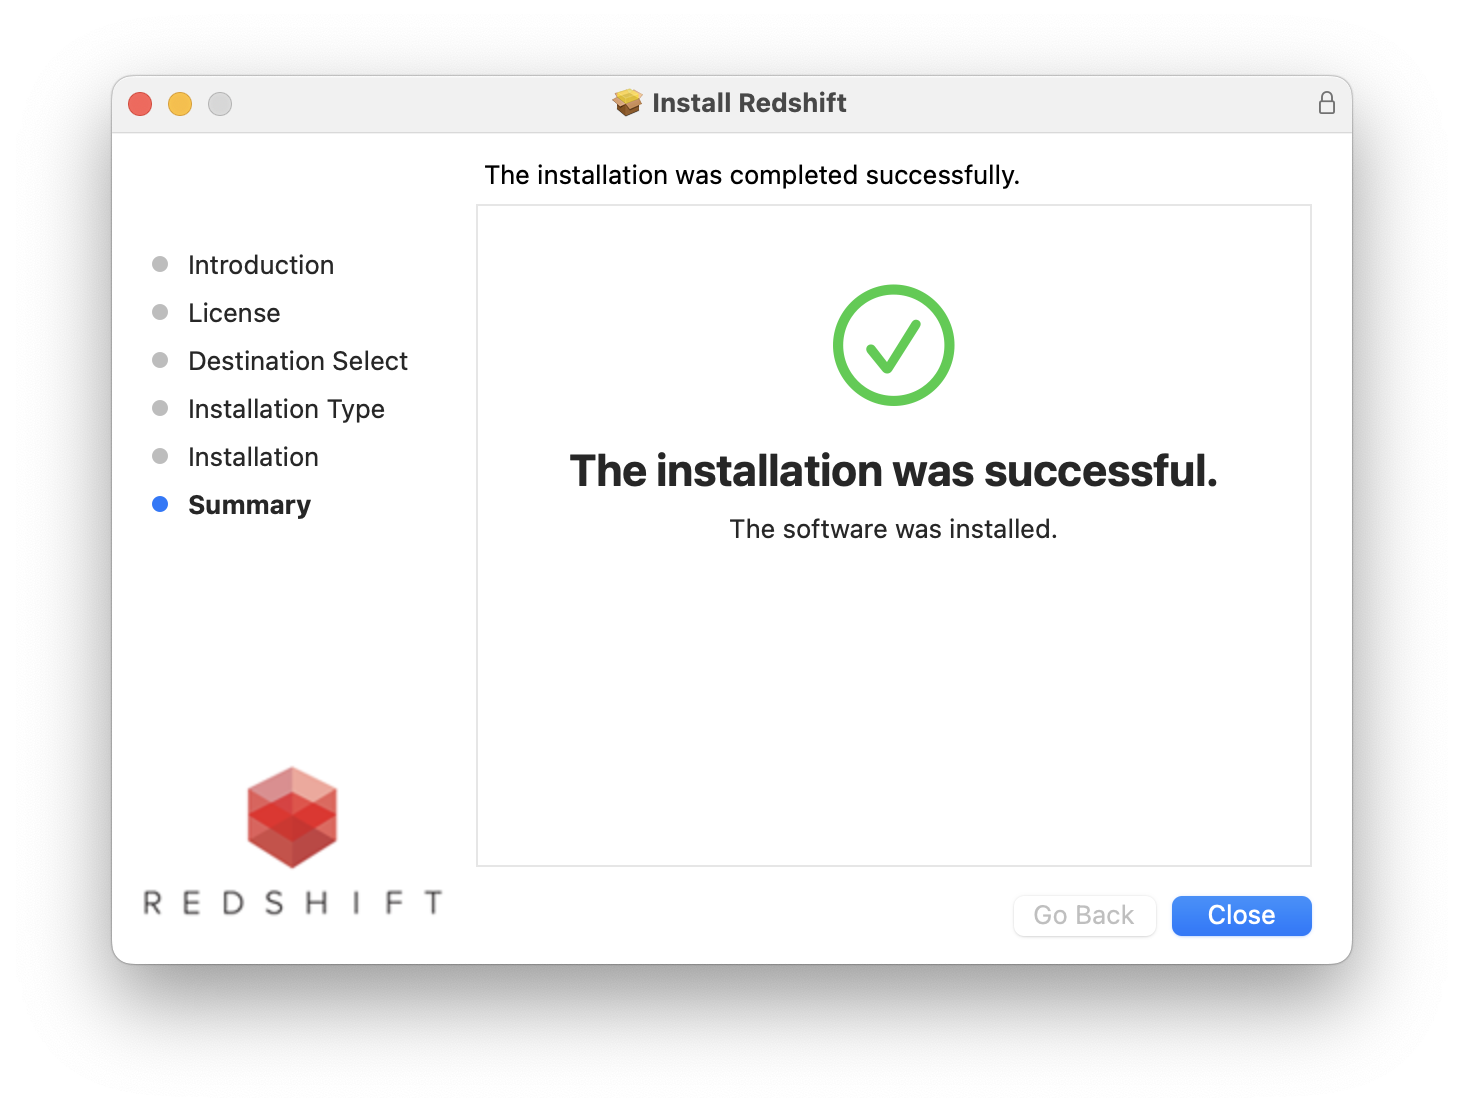
After all the files are written the Redshift installation is now complete, click Close to exit the installer.
|
If you plan to use Houdini please see the following pages for the required extra steps before Redshift can be used.
Houdini Plugin Configuration
For Maya and Cinema 4D please see these pages, although if auto-configured during installation they should not need any additional steps.
Maya Plugin Configuration
Cinema 4D Plugin Configuration
Uninstalling Redshift from macOS requires a manual removal process. Open the Finder and search for the following folders and delete every "Redshift" folder shown:
Macintosh HD / Applications /
Macintosh HD / Applications / Maxon Cinema 4D XXXX / plugins /
Macintosh HD / Users / <user name> /