Blender Rendering
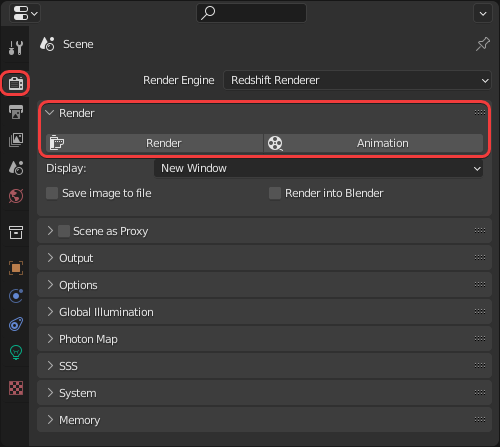
To start a Redshift render use the Render or Animation buttons in the Render Properties panel as pictured below.
|
|
| Render buttons |
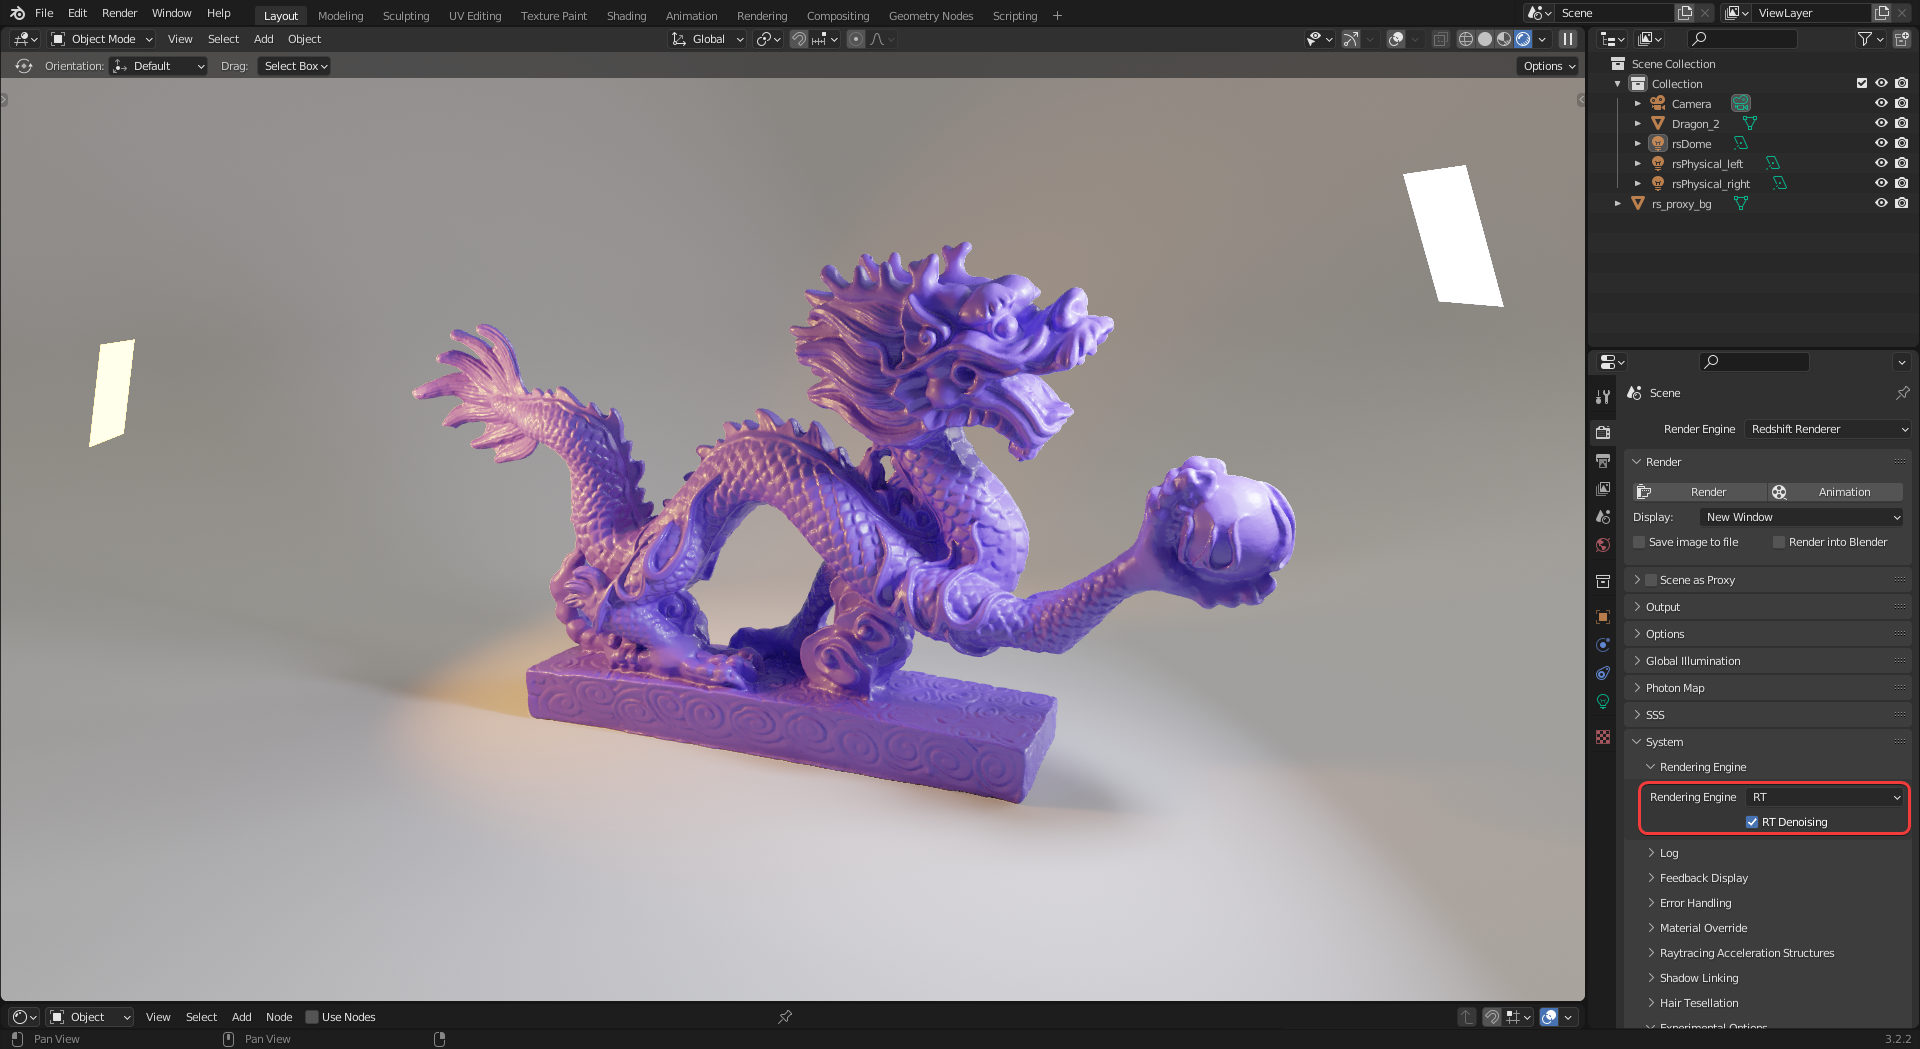
The Production render engine is Redshift's primary final quality rendering mode. It fully supports all of Redshift's features.

|
| Production render |
Redshift can render in Real Time mode by changing the Render Engine setting located in the System section of the Render Properties panel.
For more information please see the Redshift Real Time page.
|
| Real Time render |
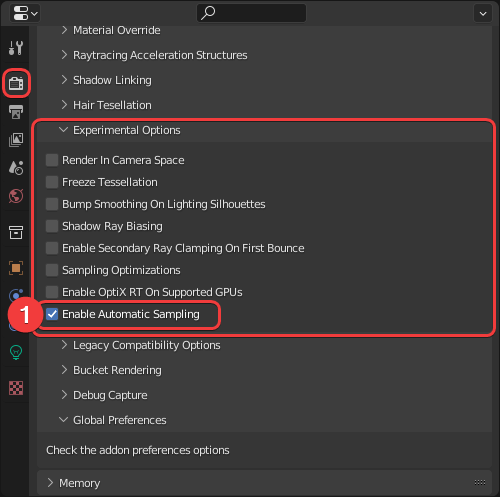
"Automatic Sampling" (1) can be enabled in Blender, it is currently found under the System > Experimental Options section of the Render Properties panel as seen pictured below.
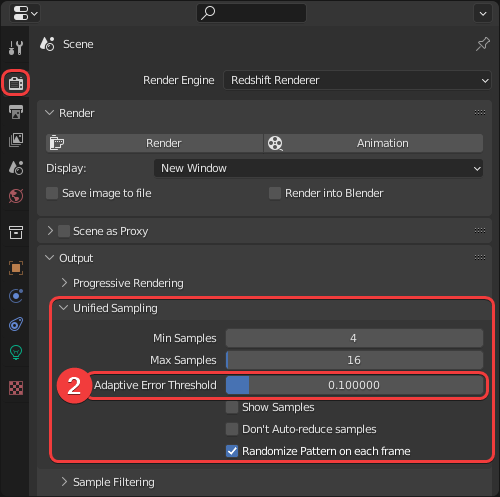
When enabled, the only sampling parameter that has any effect on sampling is the "Adaptive Error Threshold" (2). Higher values will result in more noise and faster renders and lower values will result in less noise and slower renders. For more information please see the Automatic Sampling section.
|
|
| Enabling Automatic Sampling | Adjusting the Adaptive Error Threshold |
Redshift can use the CPU for rendering with certain hardware configurations.
Rendering with a GPU will almost always be faster than CPU rendering unless the GPU is drastically less powerful than the CPU.
For more information please see the Redshift CPU page.
Hardware accelerated RT can be used by enabling "Optix RT on Supported GPUs" in the System > Experimental Options section of the Render Properties panel for use with compatible hardware.
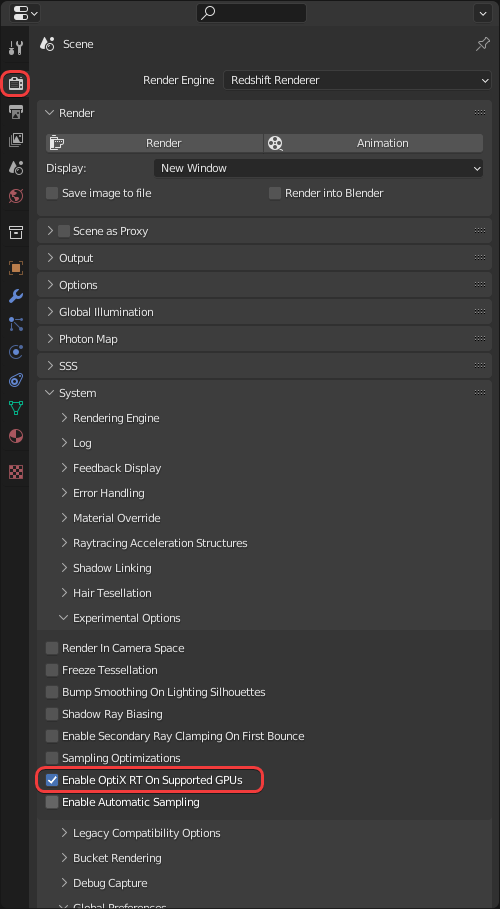
|
| Enabling hardware ray tracing |
Redshift can render AOVs (render passes) that can be used for compositing and effects. For more information please see the AOV Topics section.
AOVs are setup in the View Layers Properties panel as pictured below.
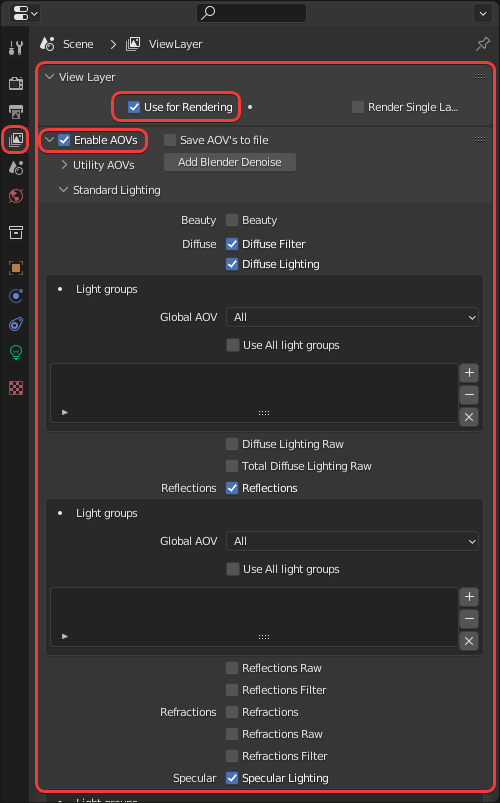
|
| View Layer Properties panel with Redshift AOVs |
Once rendered the AOVs can be previewed in the View Layer drop-down menu as pictured below.
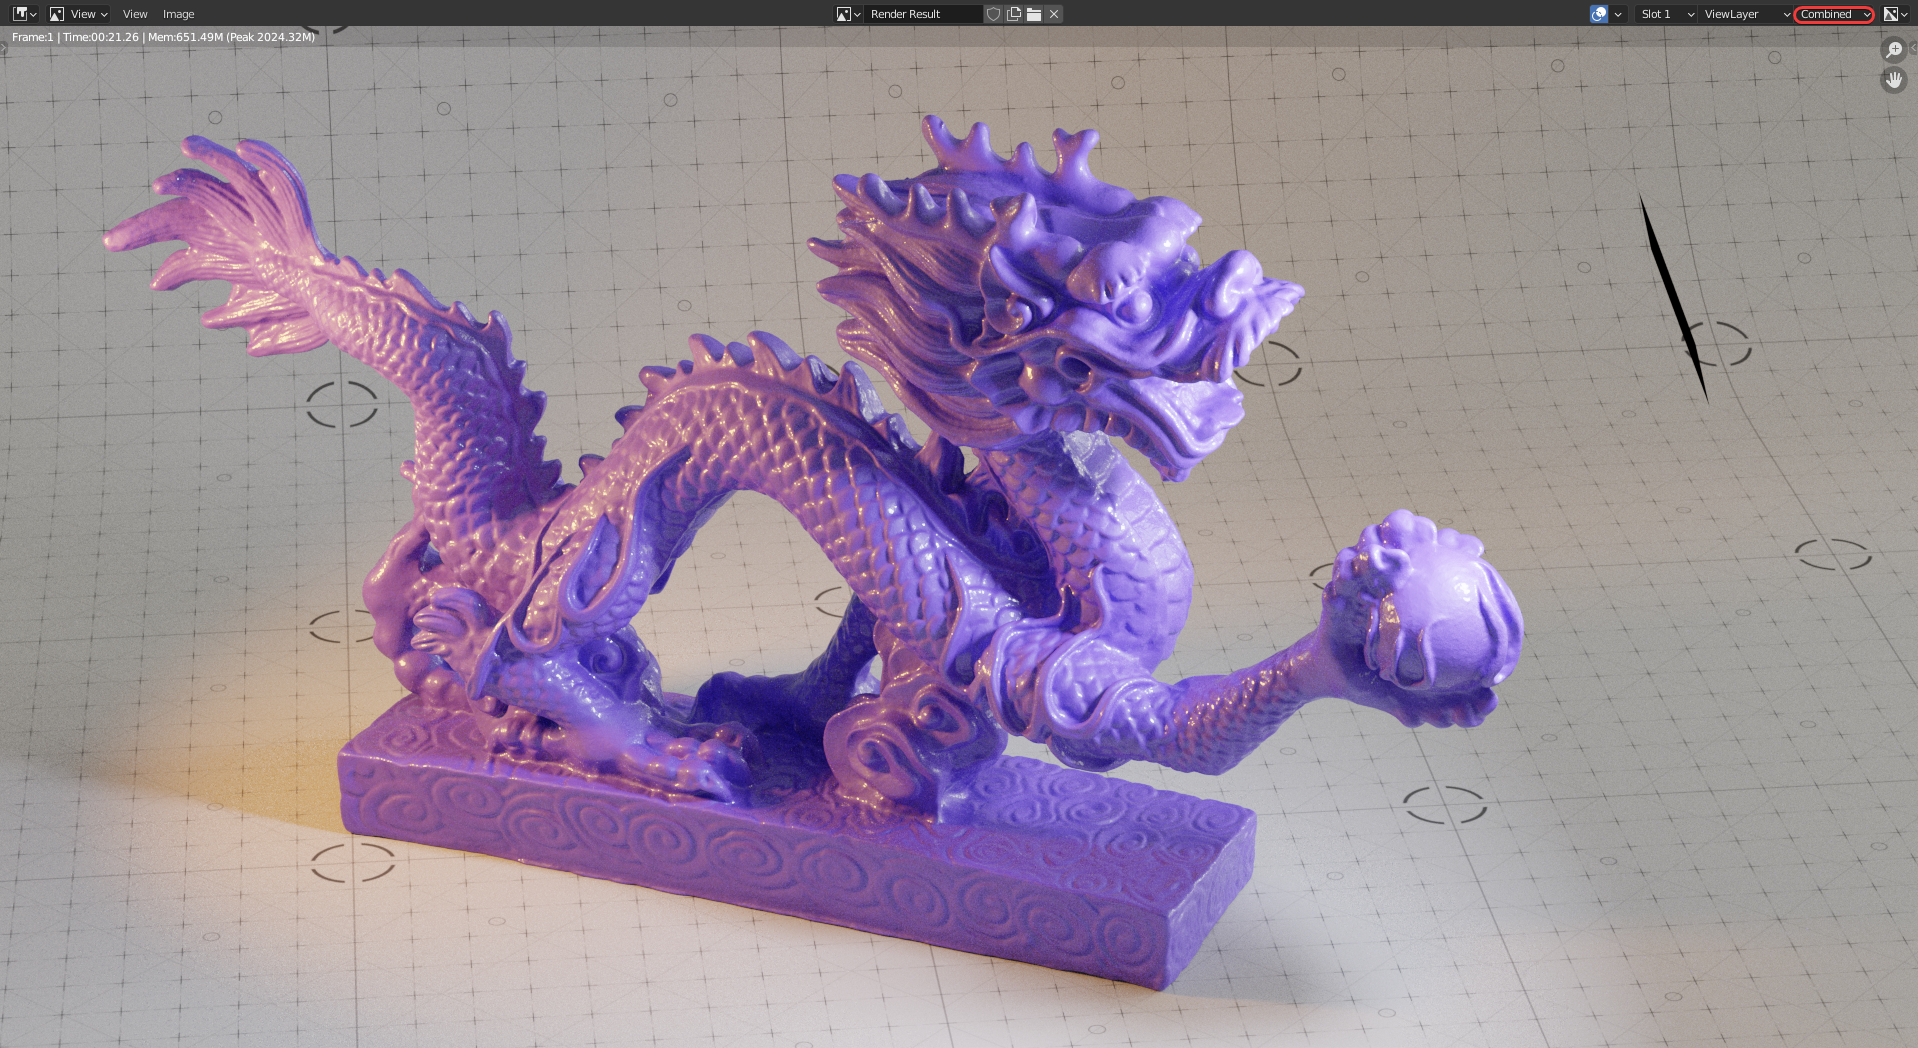
|
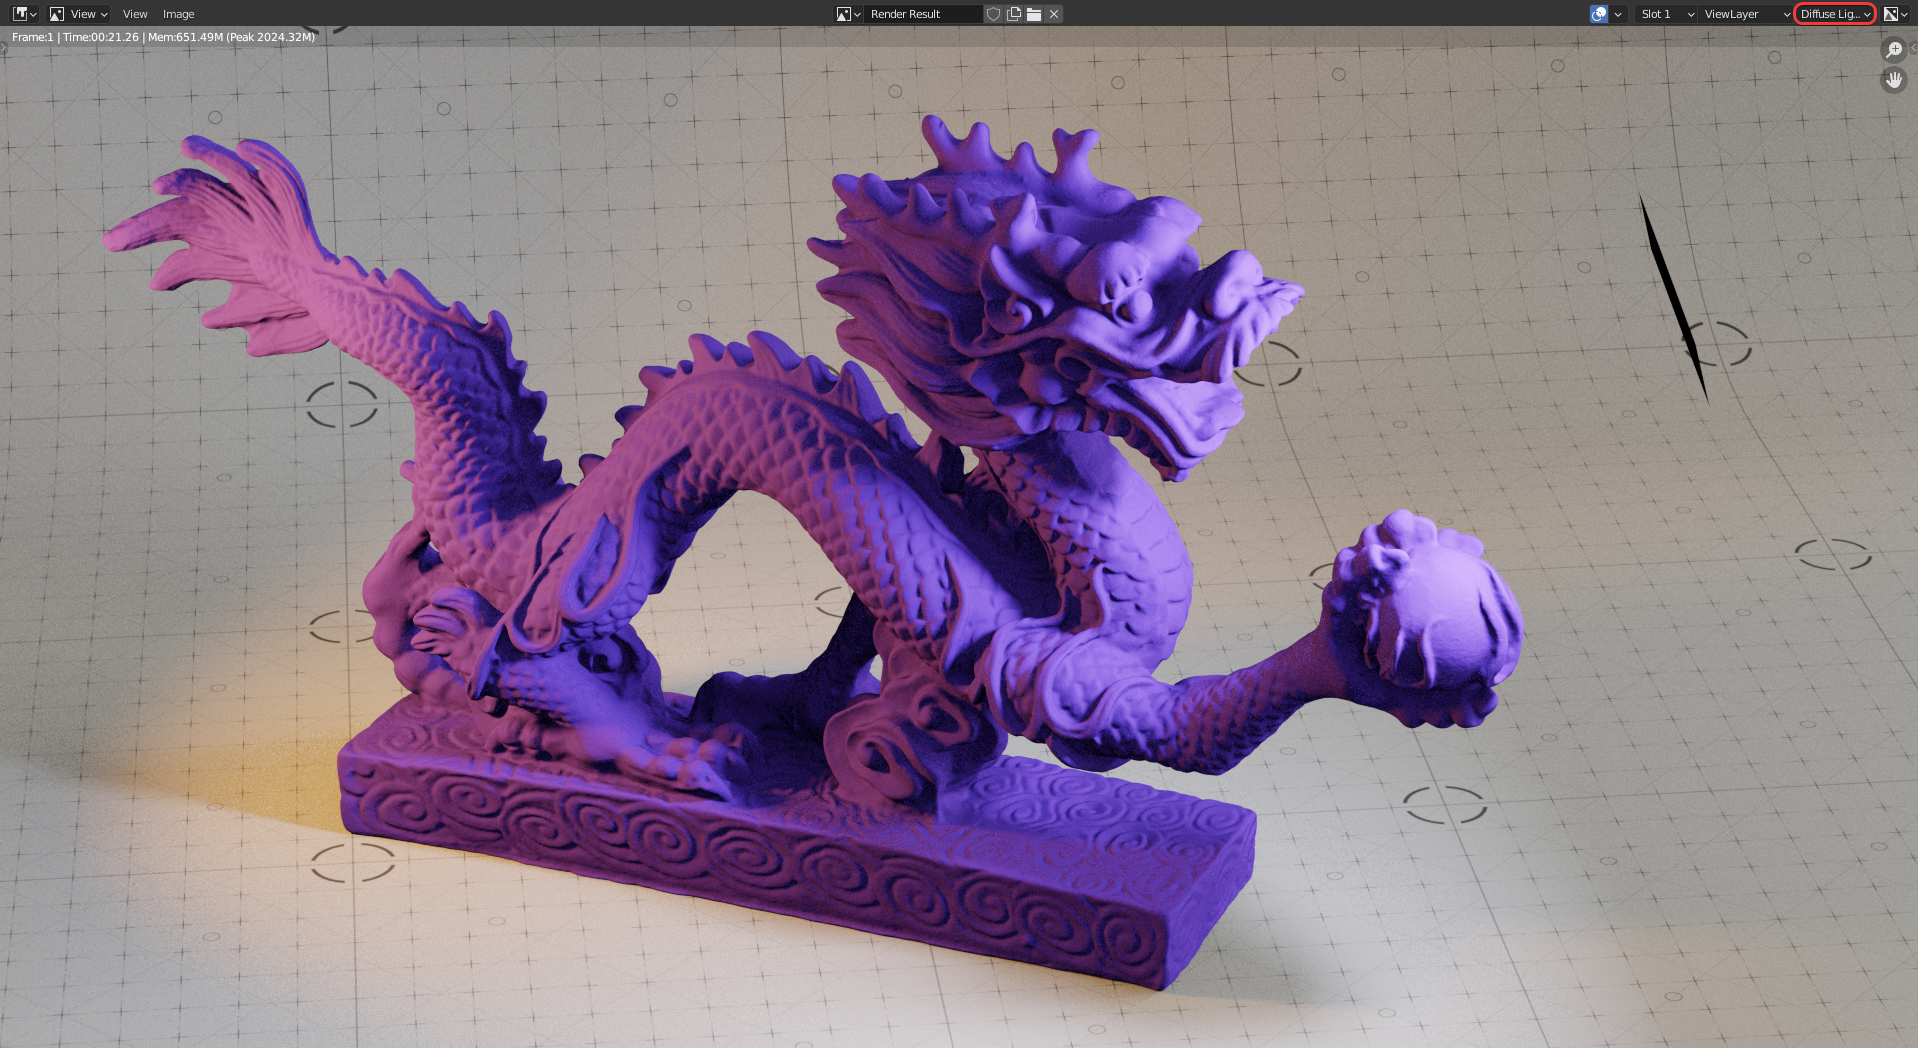
|
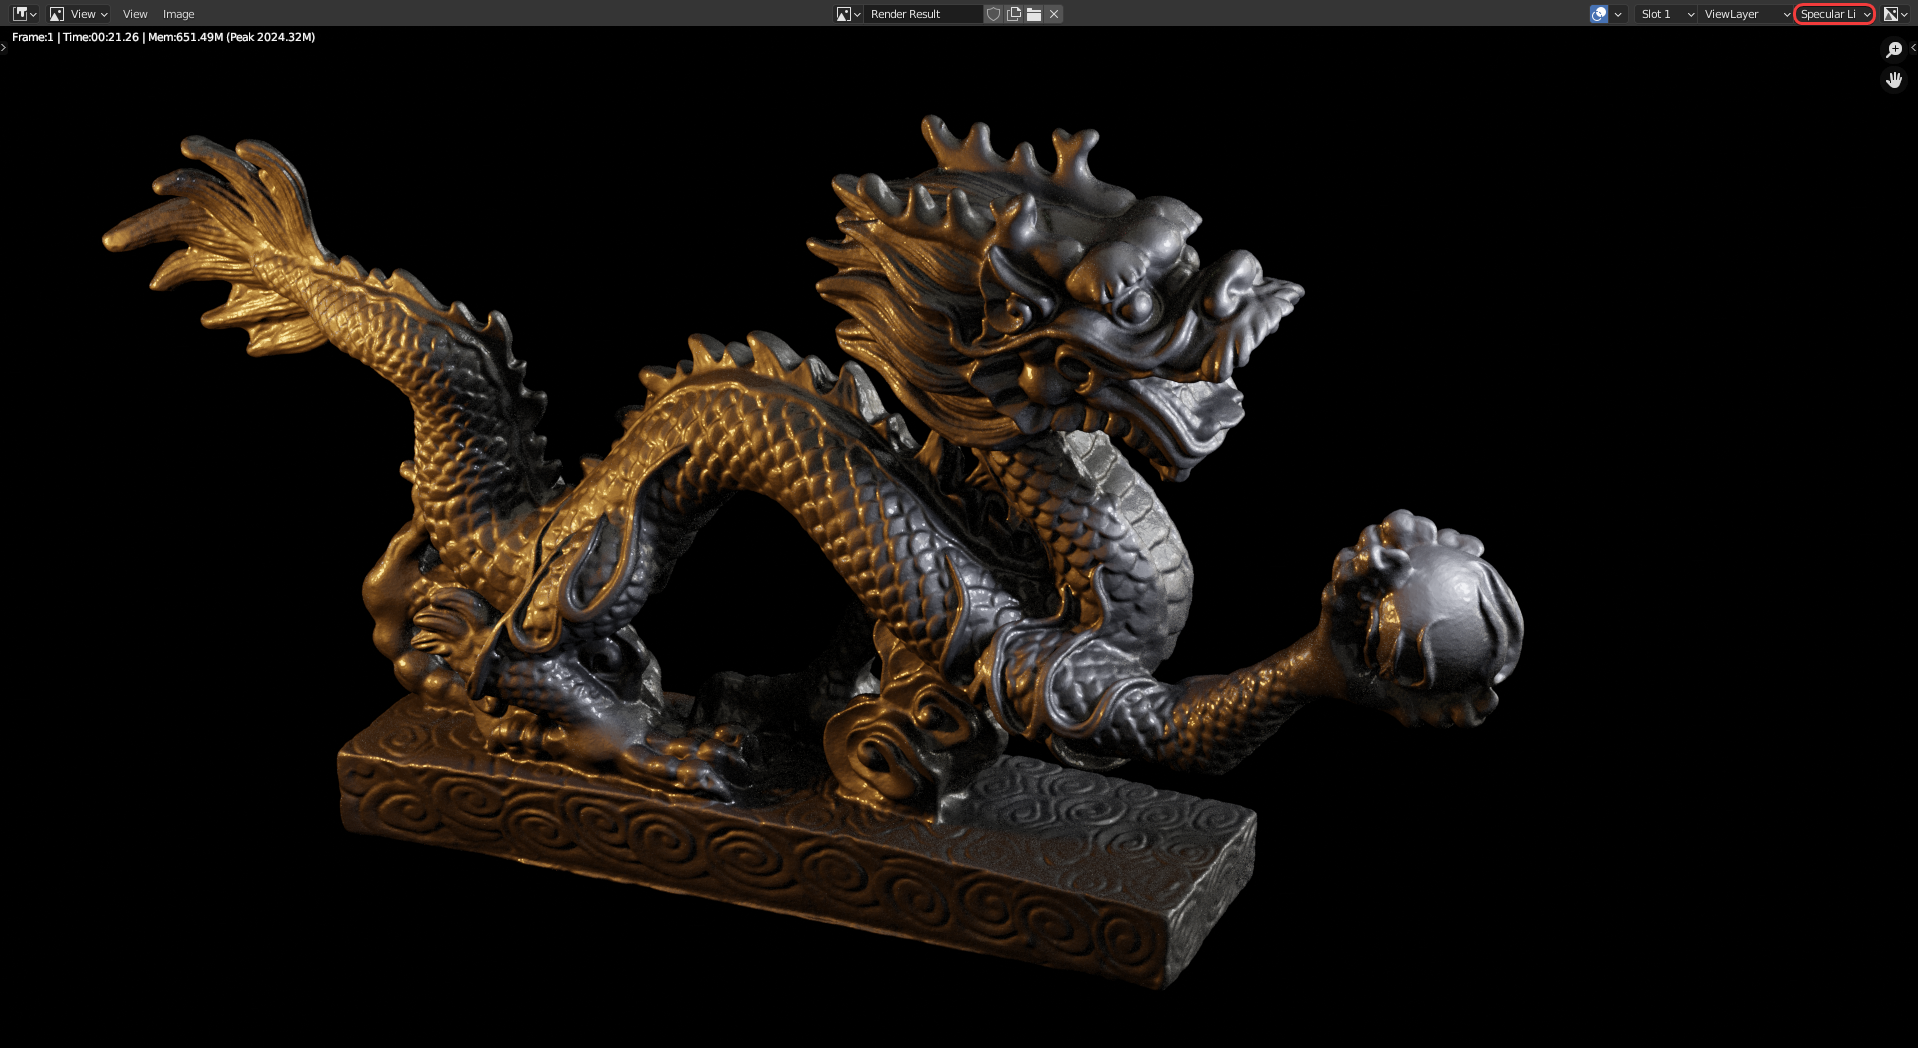
|
| Beauty layer | Diffuse Lighting AOV | Specular AOV |