XGen Rendering
In the XGen Splines Quickstart section, we described some very basic steps to generate XGen strands on some control geometry. This section expands on that example and covers the basics of assigning materials to XGen splines and using XGen attributes to drive shading parameters.
Assigning a material to XGen splines
As mentioned in the previous section, XGen splines are
represented in the DAG by patch nodes parented under a description
node. When rendering XGen splines, Redshift will use the material
assigned to the corresponding XGen patch. If no material is
directly assigned to the patch, Redshift will use the material
assigned to the patch's parent XGen description.
Coming back to our example, let's assign a new material to our
splines. In this simple example, we'll use a Lambert material.
First, select the XGen description DAG node
(RsQuickStartDescription) and from the Rendering menu set,
choose Lighting/Shading > Assign New Material… then
click Lambert in the Assign New Material window.
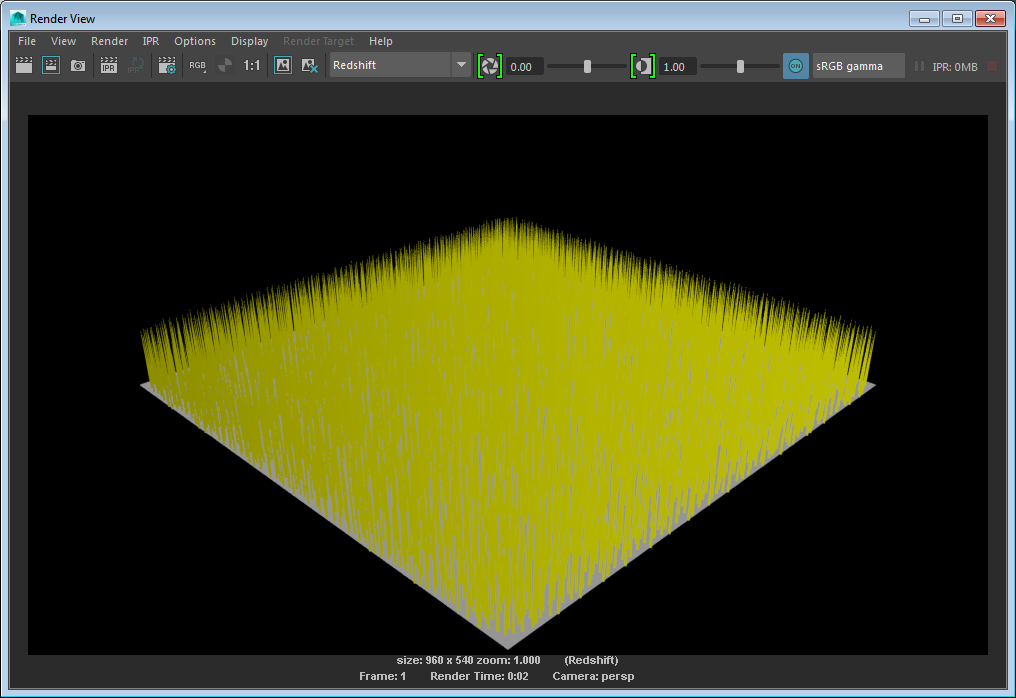
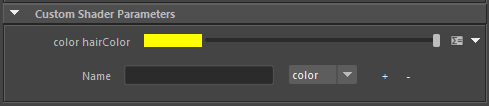
To confirm the material was assigned, change the lambert's color to
yellow and notice the splines render as yellow in the viewport.
Before we continue, let's make this example a touch less basic
looking by increasing the density of the splines, making them
longer and giving them some taper. To do this, open the XGen Window
and on the Primitives tab, set the Density to 10, the
Length to 3.0 and the Taper to 1.0. Now render
the scene with Redshift and admire your artistry.
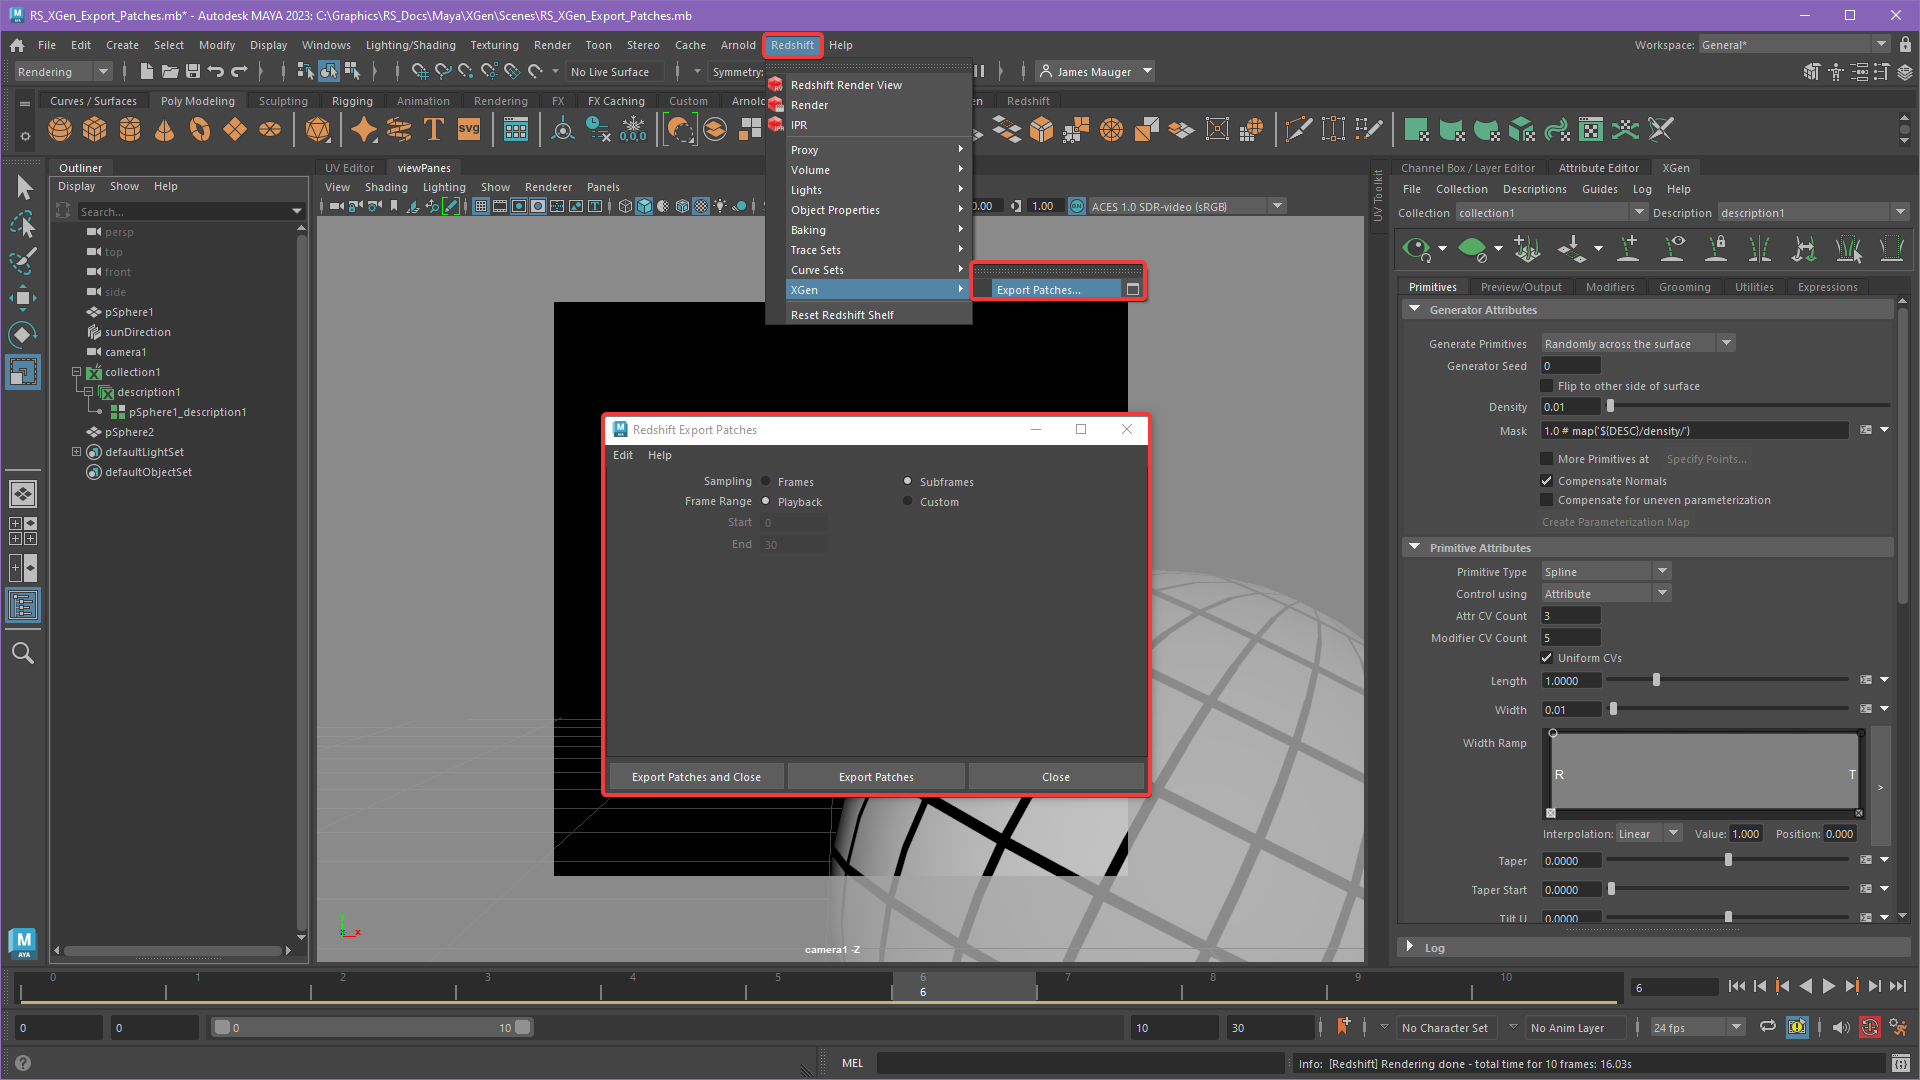
Exporting Patches for Motion Blur
XGen patches must be exported to an alembic file so that Redshift can calculate deformation motion blur properly. Maya's built in 'Export Patches for Batch Render" function only exports XGen patches for frames, however, subframe data is necessary for accurate motion blur. Instead the Redshift Export Patches tool, pictured below, should be used to export XGen patches which supports both subframes and frames, this tool creates an alembic file and a json file in the scene directory for this purpose.
|
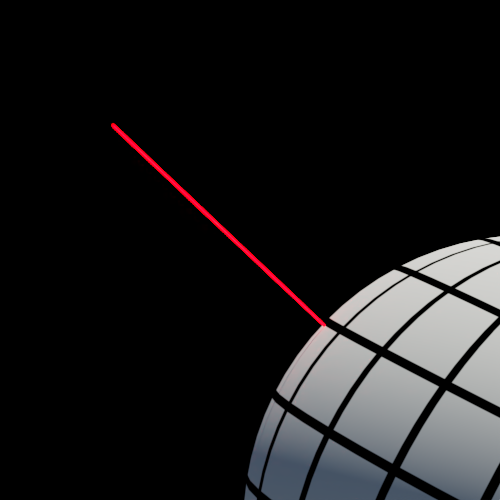
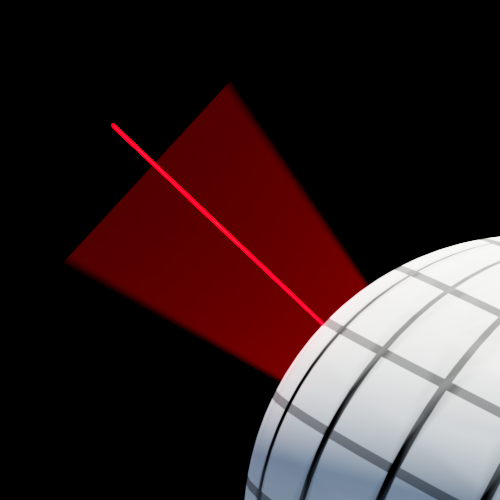
The difference between subframe and frame sampled XGen patches can be seen below, all example images were rendered at the same frame number. The first image illustrates the reference location of a single strand of XGen hair without motion blur and the remaining two images show a composite example of the reference image comparing subframe and frame export. As you can see, the subframe export more closely matches the position of the non-motion blurred reference image. By comparison, in the frames export the motion blurred strand is lower than it should be and the reference strand is slightly off center when it should be in the very middle of the motion blurred strand like it is in the subframe example. The discrepancy between subframe and frame export can become even more apparent with more demanding scenes.
|
|

|
| Reference XGen Strand without motion blur | Frames export with motion blur (inaccurate) |
Subframes export with motion blur (accurate) |
Managing Viewport Performance
As a procedural generator, XGen can easily generate a very large
number of primitives which, unfortunately, can often slow viewport
performance down to a crawl. Fortunately, XGen provides a simple
mechanism to control the number of primitives displayed in the
viewport, without affecting the number of primitives generated at
render time.
In the XGen Window, in the Preview/Output tab,
under Preview Settings, the Percent parameter
controls the percentage of generated primitives that will appear in
the viewport. The default value of 100 means that all generated
primitives will be displayed. For XGen descriptions that generate
large amounts of primitives, it is good practice to reduce this
value to between 5 and 10.
Defining Custom Shader Parameters
One of the powerful features of XGen is the ability to create
custom shader parameters. Like almost everything in XGen, these
attributes can be driven by maps or expressions. XGen custom shader
parameters can in turn be used to drive shader node parameters when
rendered with Redshift using the Redshift Attribute Lookup
node.
To demonstrate, we start by creating a custom shader parameter on
our XGen description. In the XGen Window, switch to the
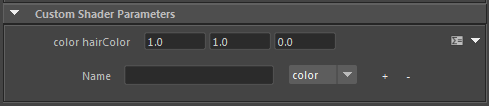
Preview/Output tab. Under Custom Shader
Parameters, type hairColor, set the dropdown to
color and click the + button.

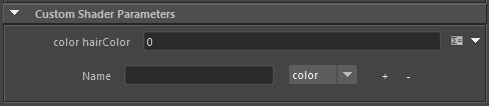
Back in the XGen Window, notice that the UI for the hairColor parameter has changed to 3 input boxes allowing us to specify 3 values.

Using Custom Shader Parameters
Now that we've defined our hairColor custom parameter, let's
make use of it in our shading network.
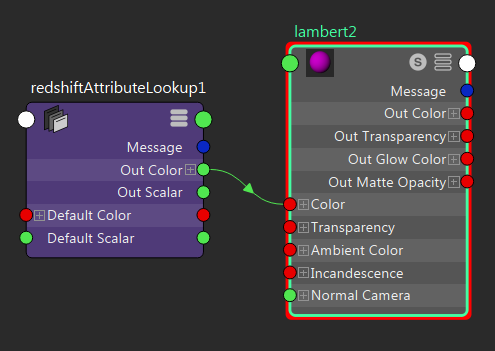
In the Attribute Editor for our Lambert material click the
map button for the Lambert's Color attribute. In the
Create Render Node window, click the Redshift category and
type 'attr' in the search box near the top.
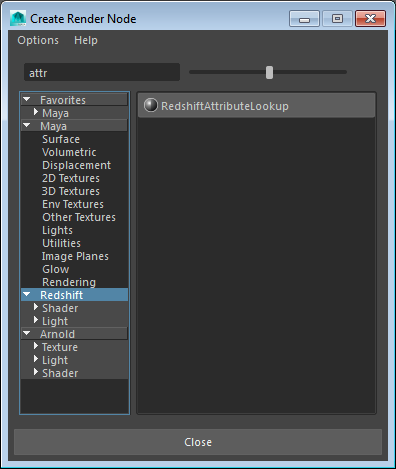
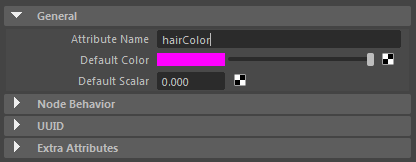
The Attribute Editor now shows our newly created RedshiftAttributeLookup node. Enter 'hairColor' for the Attribute Name.

Viewport representation
You may have noticed that the splines now show as magenta in the
viewport. This is a side effect of the fact that our material uses
a Redshift Attribute Lookup node. In the viewport, the material
doesn't know how to look up XGen attributes, so the Redshift
Attribute Lookup node's default color is used instead.
In the Preview/Output tab of the XGen Window,
under Preview Settings, there is a parameter named
Primitive Color. By default this parameter is set to
black, which has the special meaning of use assigned material
color.
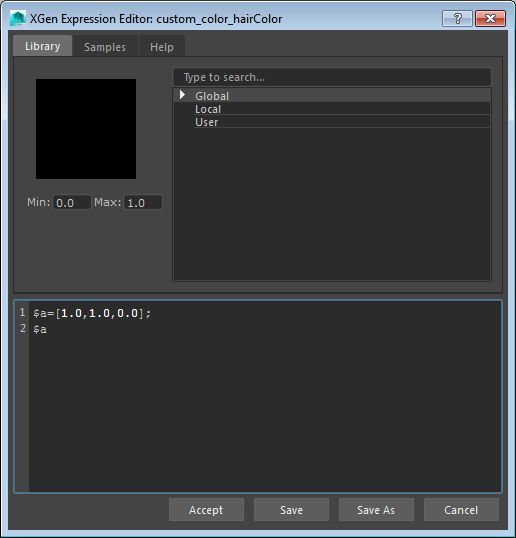
Like our custom shader parameter, this Primitive Color
parameter can be driven by an XGen expression. In fact you can see
it already uses an expression just like the one we assigned to our
hairColor custom shader parameter.
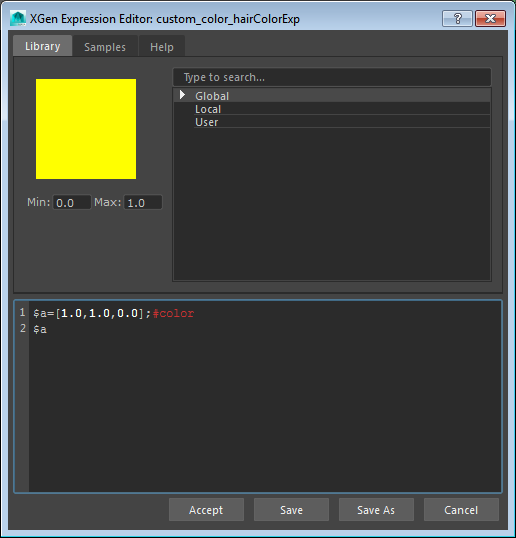
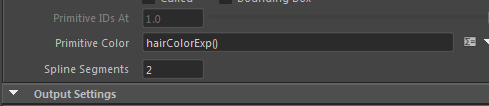
What if we wanted the Primitive Color to track the value
of hairColor? In XGen you can do this by defining a named
XGen expression and using that expression to set both Primitive
Color and hairColor.
Switch to the Expressions tab in the XGen Window
and create a new expression named hairColorEx and set the
expression like we did for the hairColor custom shader
parameter.