
Gradient Ramp creates an RGB gradient with two or three colors and gives control over alpha, interpolation, aspect, noise, and compositing modes. Includes noise controls to avoid banding.
Universe
Gradient Ramp creates an RGB gradient with two or three colors and gives control over alpha, interpolation, aspect, noise, and compositing modes. Includes noise controls to avoid banding.
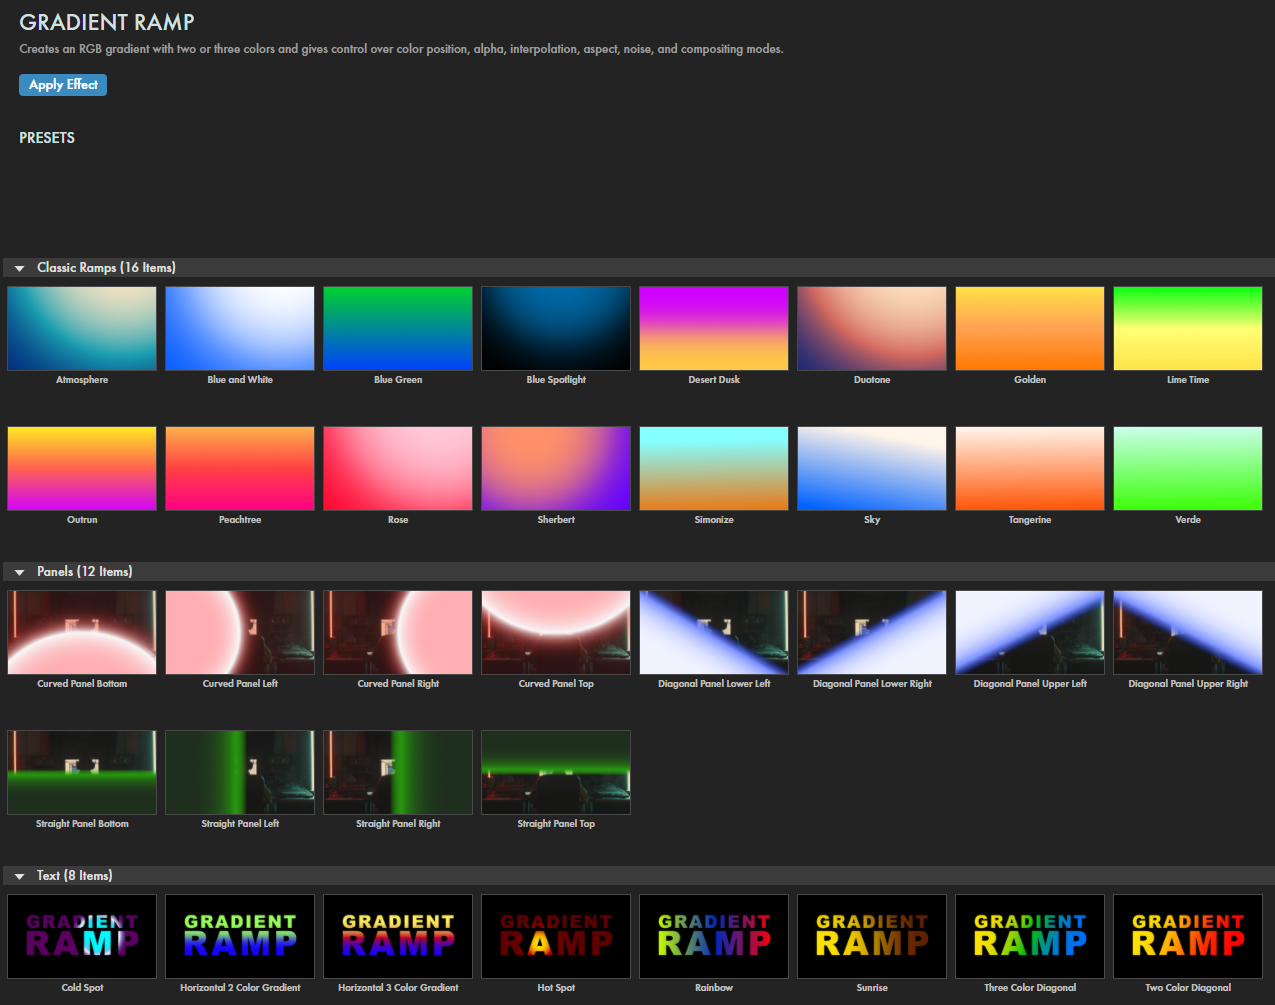
Gradient Ramp offers a wide array of color progressions, wipe-ready panels, and text schemes to make your overlays pop with only a couple of clicks. Find these presets via the blue Open Dashboard... button or the Choose a Preset... button below it.
As with all other Universe tools, you can modify or create a Gradient Ramp look and then save it under its own name by pressing the Save Preset... button.
Gradient Ramp provides a convenient framework for adding two- and three-color gradient ramps to some or all of your comp as well as to your text layer as a fill. Gradient behavior is largely determined by where you position your effect Start and End Points as well whether your effect is linear (straight, parallel bands) or radial (concentric circles).
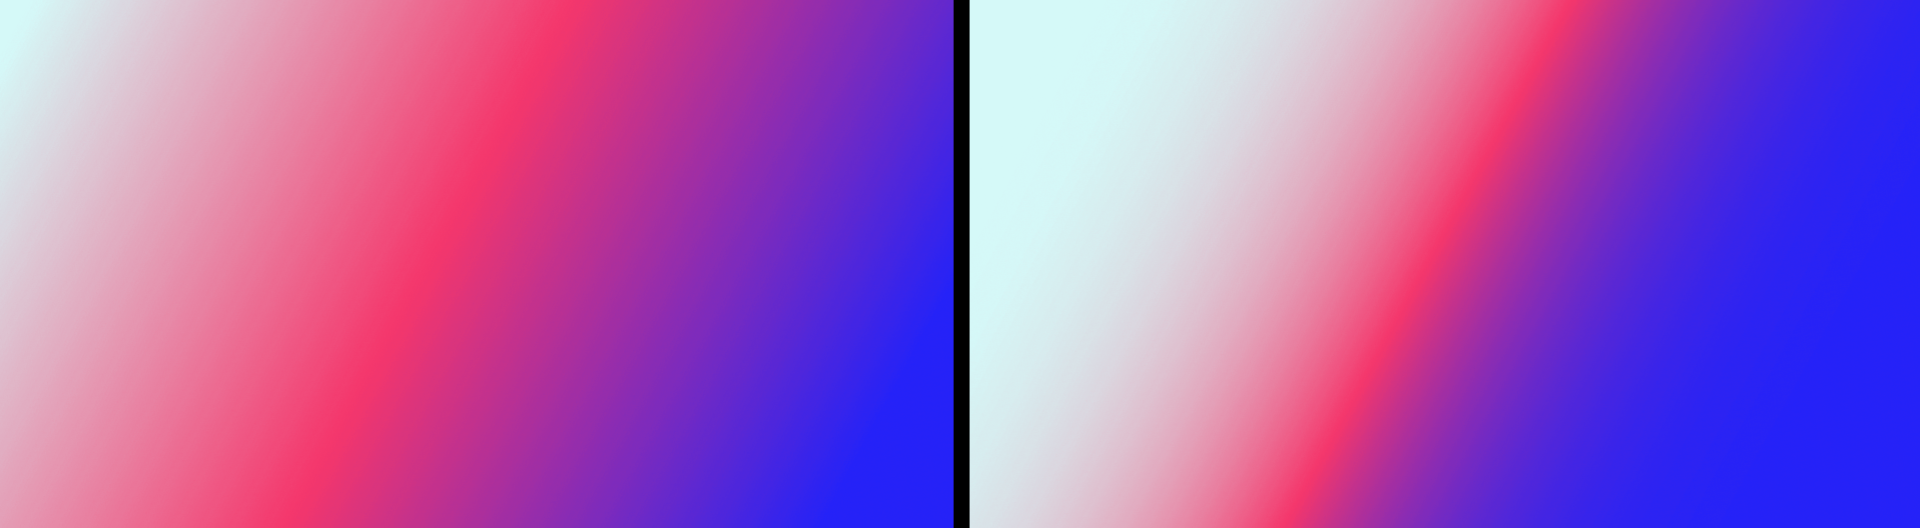
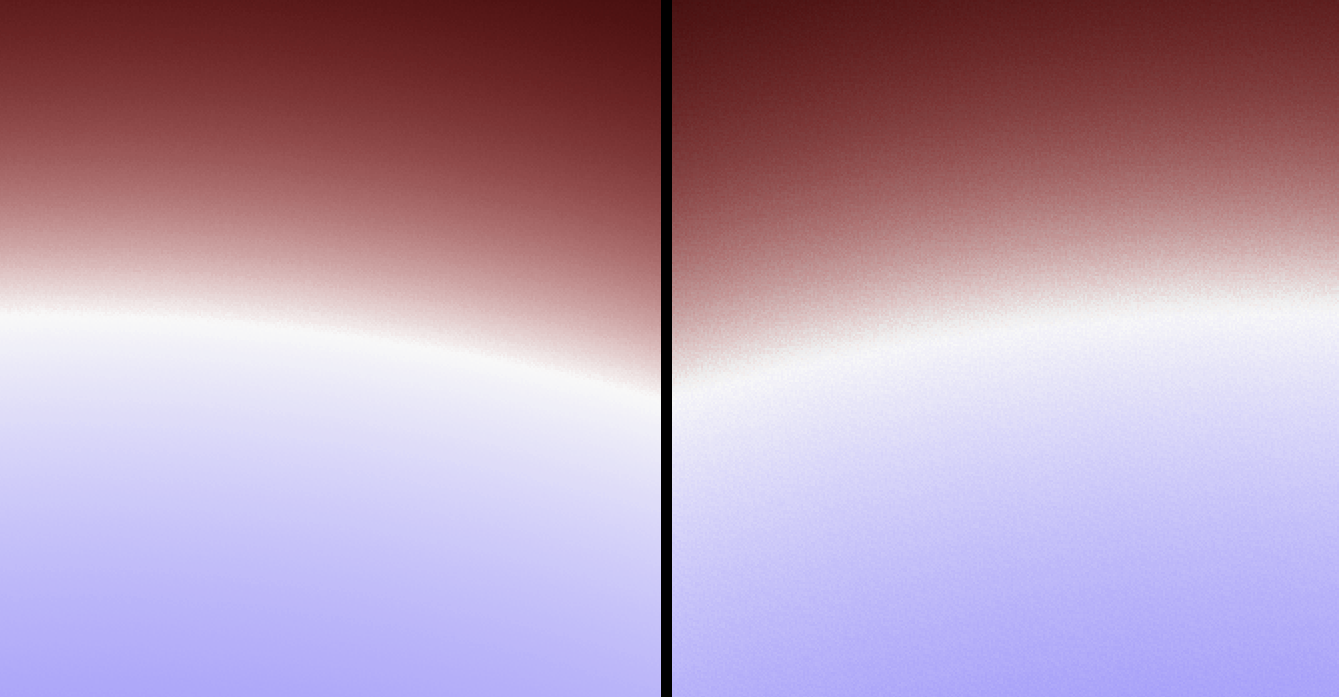
Gradient Ramp offers three types of presets. Classic Ramps cover the entire comp area. As you see in the following example of the tri-color, radial Atmosphere preset, the Start Point is located above and beyond the edge of the comp's top-right corner. We then drag the End Point from near the comp's center to beyond the lower-left boundary. Observe how the color mix changes and expands as we do so.
Panel presets cover a portion of the comp area. Curved panels use a radial Ramp Shape while the diagonal and straight panels use linear ramps. Straight panels appear straight because their Start and End Points share the same x or y axis values. Color bands tilt when one point moves out of axis alignment with the other point, as shown below.
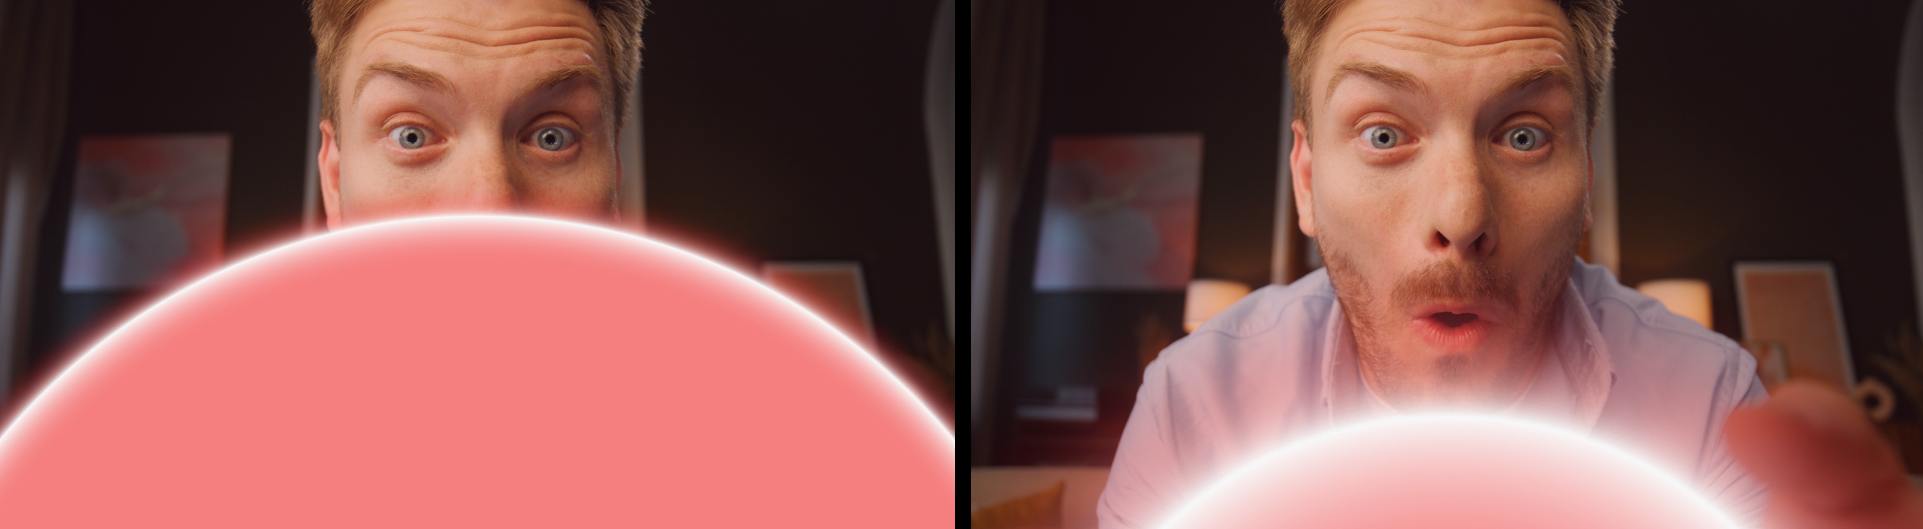
You can achieve dramatic wipes and other effects by keyframing your Start and End Points beyond the comp's boundaries. In the below animation, we began with the Curved Panel Bottom preset, changed its Start Color to a purplish blue, lifted the End Point to higher in the comp, then gradually keyframed the End Point's y-axis value from 400 to 1400.
You might notice that our circle's radius shrinks as the Start and End Points grow closer together. If we wanted our glowing sphere to maintain the same size as it moved off screen, we would keyframe both points in tandem.
Finally, Text presets offer the same radial and linear ramps within the confines of your text layer's characters, as shown in this application of Gradient Ramp in a text layer (using the Hot Spot preset) on top on our prior panel layer.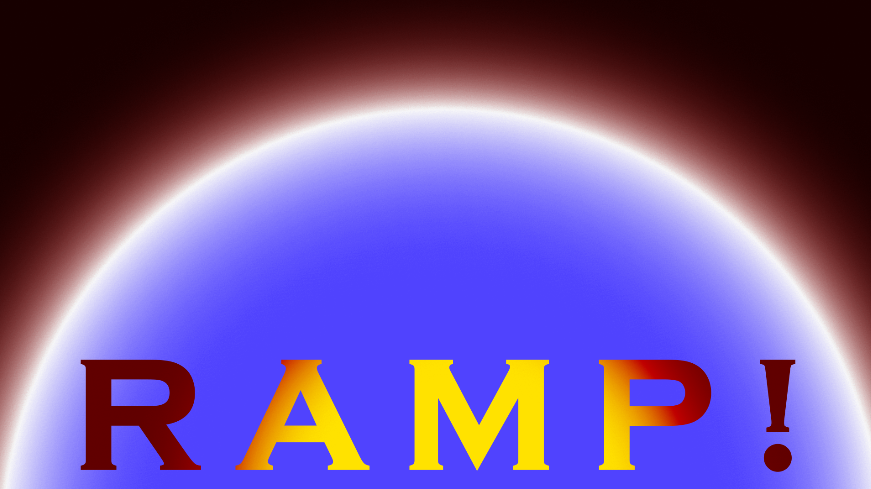


Gradient Ramp is even better when used in conjunction with other Universe tools. Watch the following two-minute video to see what happens when we combine Gradient Ramp with Universe Texturize Motion and Compound Blur.