Universe Long Shadow adds a shadow to any text (or other object) you select. The shadow extends off the edges of the composition in whatever distance or angle you prefer.
Getting Started
In Premiere, After Effects, Final Cut Pro, Motion, Sony Vegas Pro, and Hit Film, drag the
uni.Long Shadow
effect onto your clip.
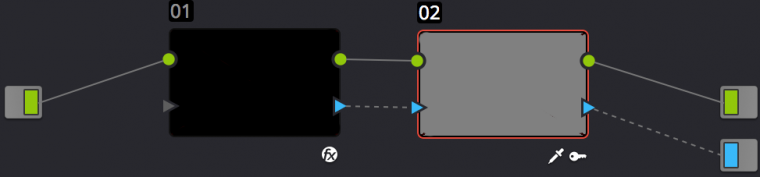
In Resolve, you'll need to follow a few extra steps:
Have your text on a video track above your footage's video track.
Create a Compound Clip from your text, select it, and head into the
Color
view of Resolve's interface.
Within the
Node
window of Resolve, sever the default link between the text's node and the output.
Add a new
Corrector
node and
Alpha
output within the Node interface.
Create links from the Text's RGB and Alpha outputs to the newly created Corrector Node's RGB and alpha inputs.
Then create links from the Corrector node's RGB and Alpha outputs to the final outputs for RGB and alpha, respectively.
With your Corrector node selected, key out the black background from your text, and click
Invert
to flip the key around.
Right-click in the Node interface and select
Use OFX Alpha.
Apply Long Shadow to your Text node
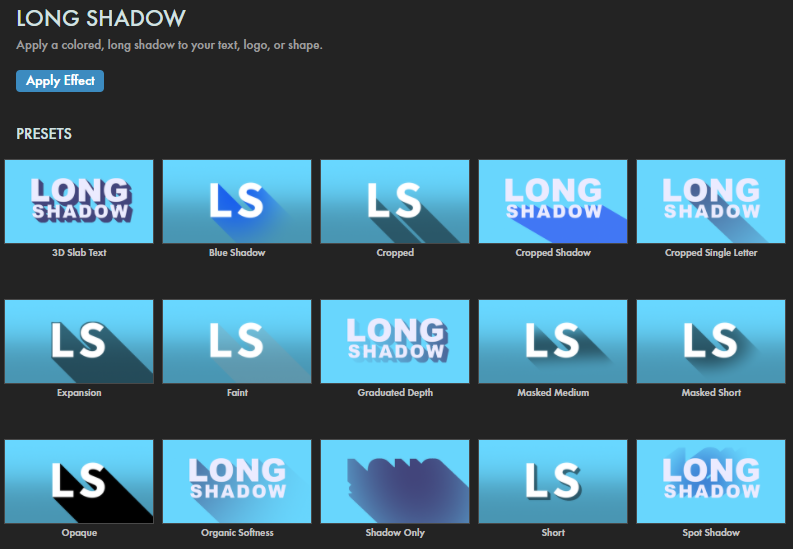
Presets
Fifteen handy, preconfigured presets come ready to help you implement the shadow look you want in seconds. Find these via the blue Open Dashboard... button or the Choose a Preset... button below it.
As with all other Universe tools, you can modify or create a Long Shadow look and then save it under its own name by pressing the Save Preset... button.
Modifying the Effect
Angle
controls the angle at which the shadow extends from the source.
Length
controls how far the shadow extends from the source.
Color
lets you adjust the shadow's tint by using a color swatch or eyedropper tool.
Shadow Opacity
adjusts the shadow's translucency.
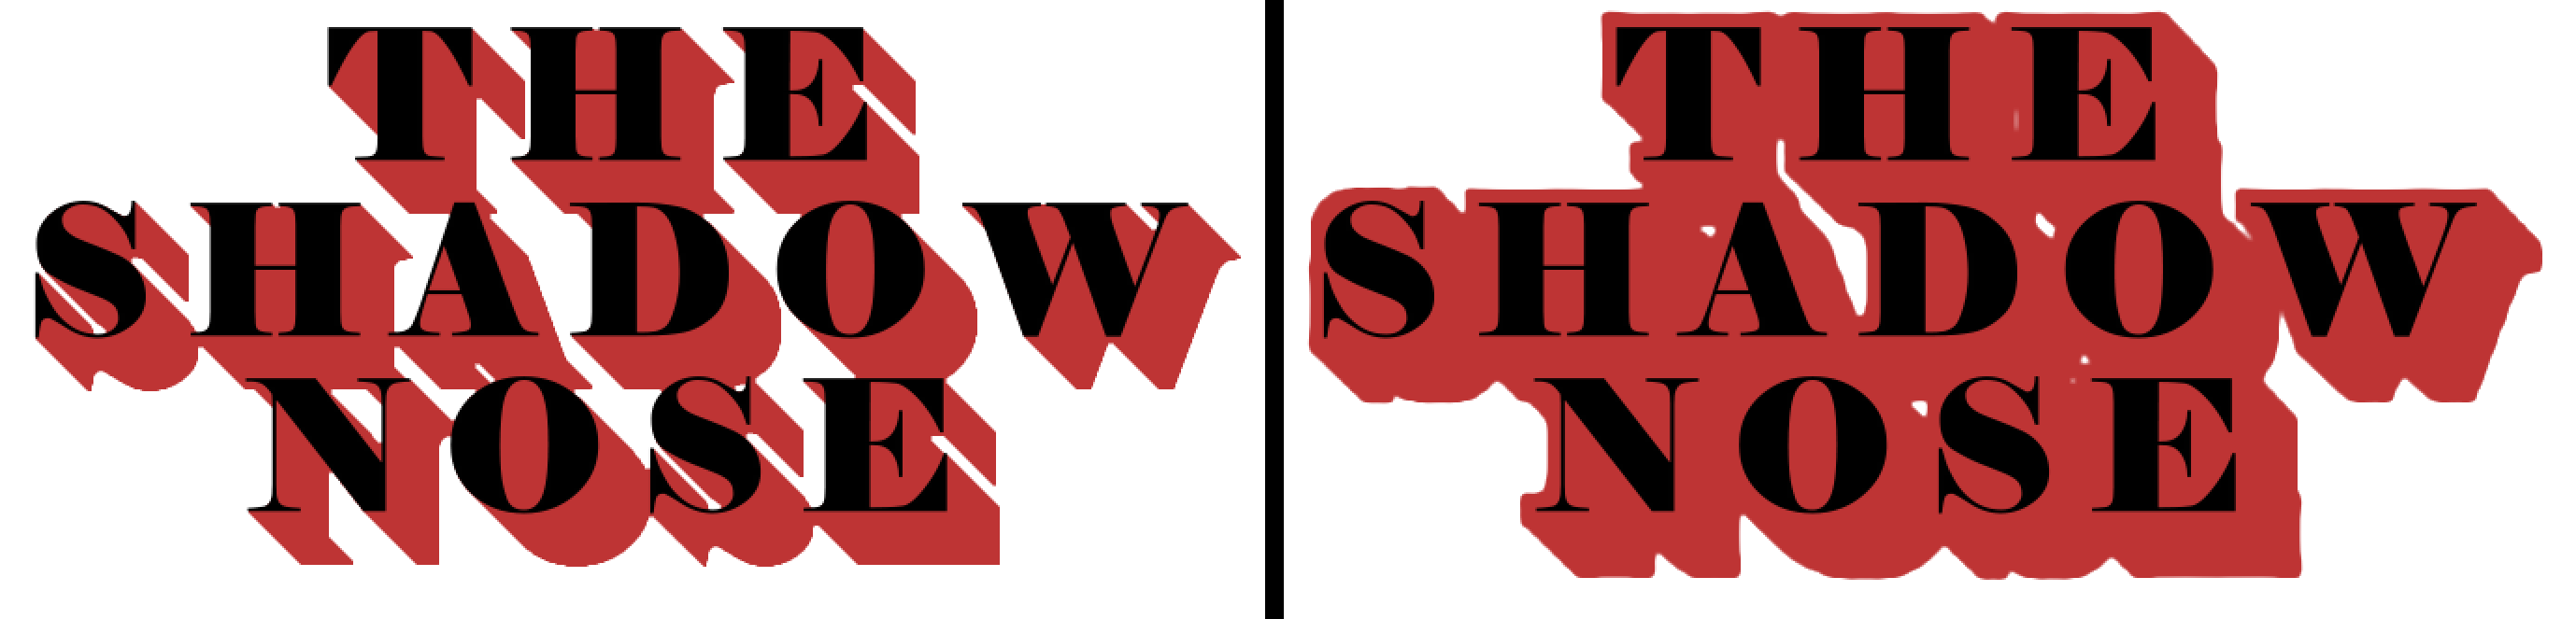
Expansion
grows the shadow outward from itself, including the source.
The following example shows Expansion at 0 (the default, left) and at 5 (right).
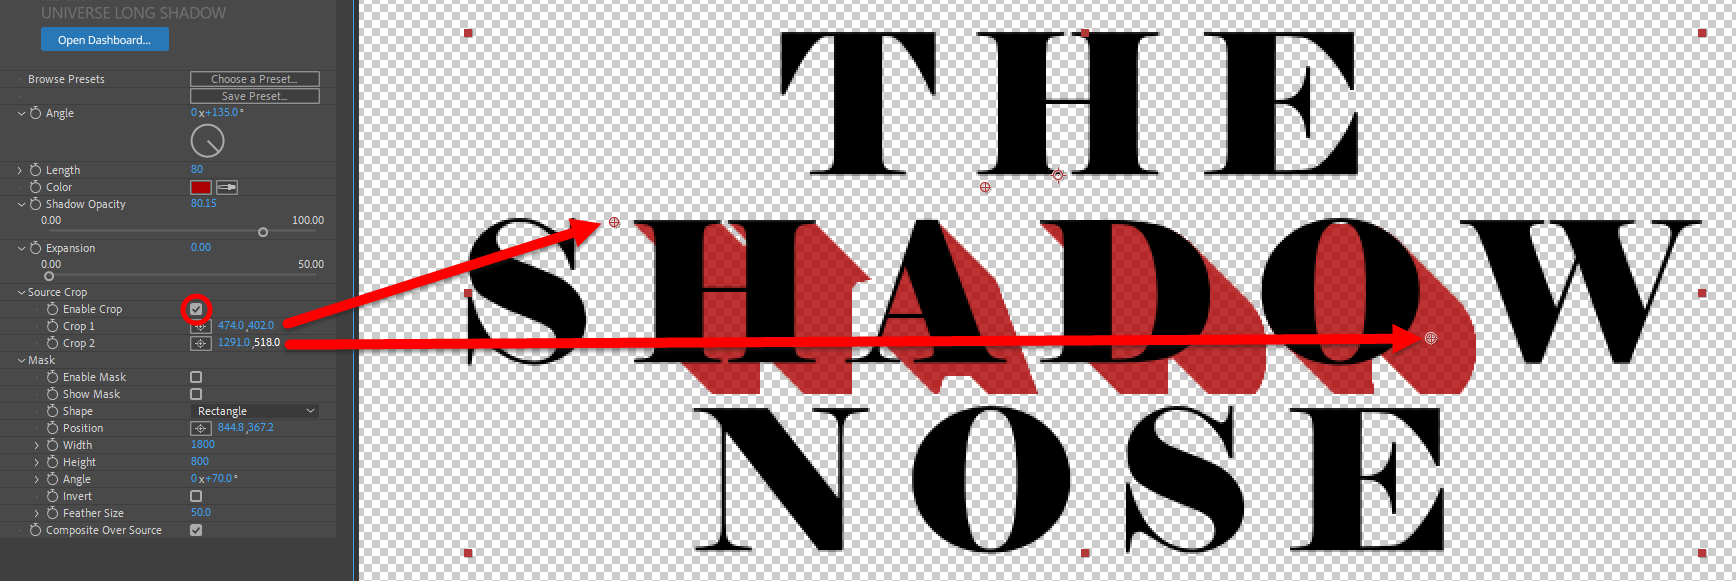
Source Crop
will limit the source to which the shadow has been applied to from the left (Crop 1) or right (Crop 2).
Check the Enable Crop box to turn on the feature, then adjust the two crop point locations as desired. This illustration shows how we used the two crop points to constrain our shadow effect to only the central four letters.
Mask
controls allow you to add and adjust (using standard position, shadow, and width controls) a mask for the shadow.
Turn the feature on by checking Enable Mask, then check Show Mask if you need to alter the mask's orientation. As you can see in our first example image (left), default values may make the mask too large to gauge its dimensions and position. In such cases, we recommend beginning with lowering Feather Size to a very low value to sharpen the mask's edges. We kept the mask Shape as a rectangle (the other option is Ellipse) and used the positioning, dimension, and angle controls to mask the word NOSE. The Invert checkbox let us mask everything except NOSE.
Composite Over Source
adds the shadow to the source. Disabling this will hide the source, leaving only the shadow.
Fun Fact: Why "The Shadow Nose"? Because we're here to talk about a shadow effect, noses very often cast shadows, and we can't resist a lame dad joke. If you're familiar with U.S. popular entertainment from the days before TV, then you already know what evil lurks in the hearts of men. And if you don't know, maybe read this.
Get Inspired!
Long Shadow is great on its own, but simple shadows can be just the beginning! Watch the following two-minute video to see what happens when we combine Long Shadow with Universe Turbulence Noise.