This plug-in creates noise with control over patterns, interpolations, appearance, animation, transformation, opacity, and advanced turbulence options.
Presets
Turbulence Noise offers a host of noise pattern and overlay shortcuts to help accelerate your search for just the right random patterns for your effects. Find these presets via the blue Open Dashboard... button or the Choose a Preset... button below it.
As with all other Universe tools, you can modify or create a Turbulence Noise look and then save it under its own name by pressing the Save Preset... button.
Modify the Effect
The first control,
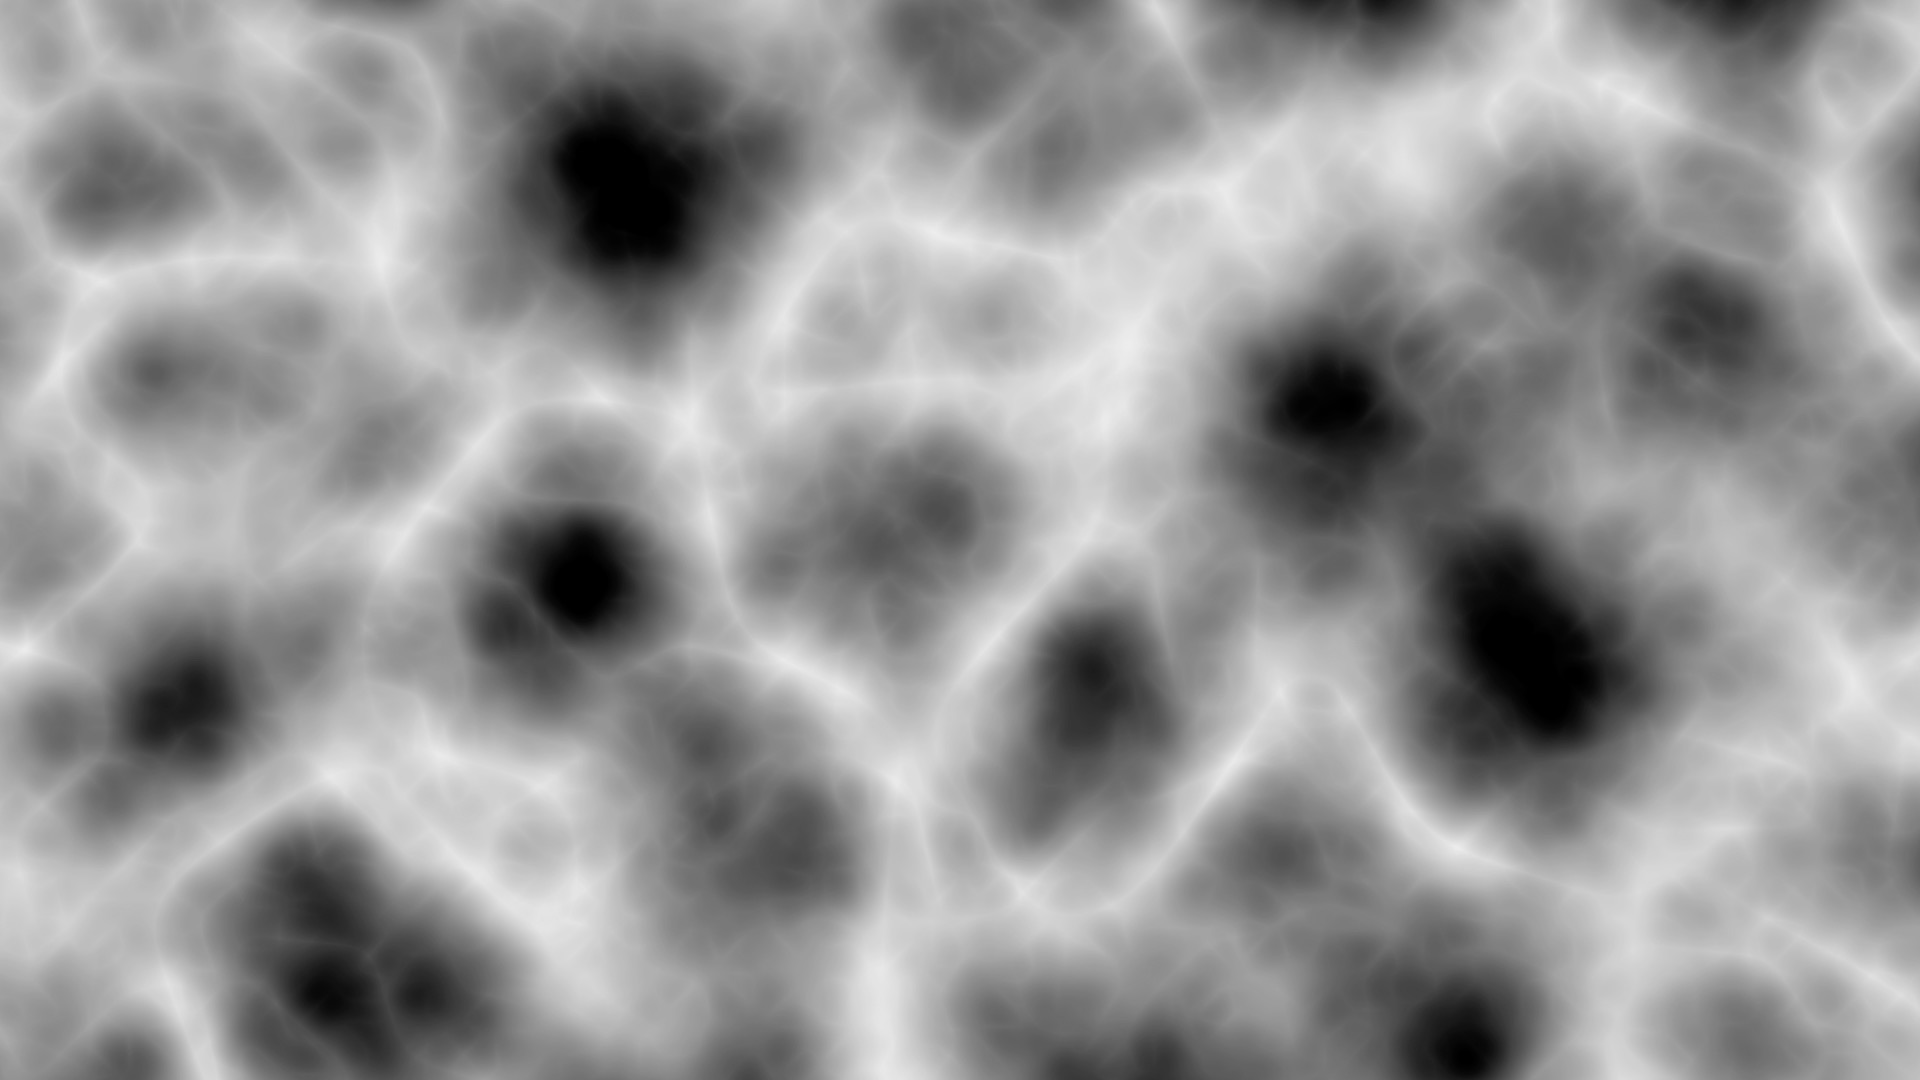
Pattern,
sets the type of noise field to be generated. The pull-down menu offers eight options:
Default (which is Perlin noise), Billowed, Ridged, Aero, Max, Plasma, Scramble, Default Positive, or Max Positive. These patterns match eight of the 20 options offered in the Preset menu.
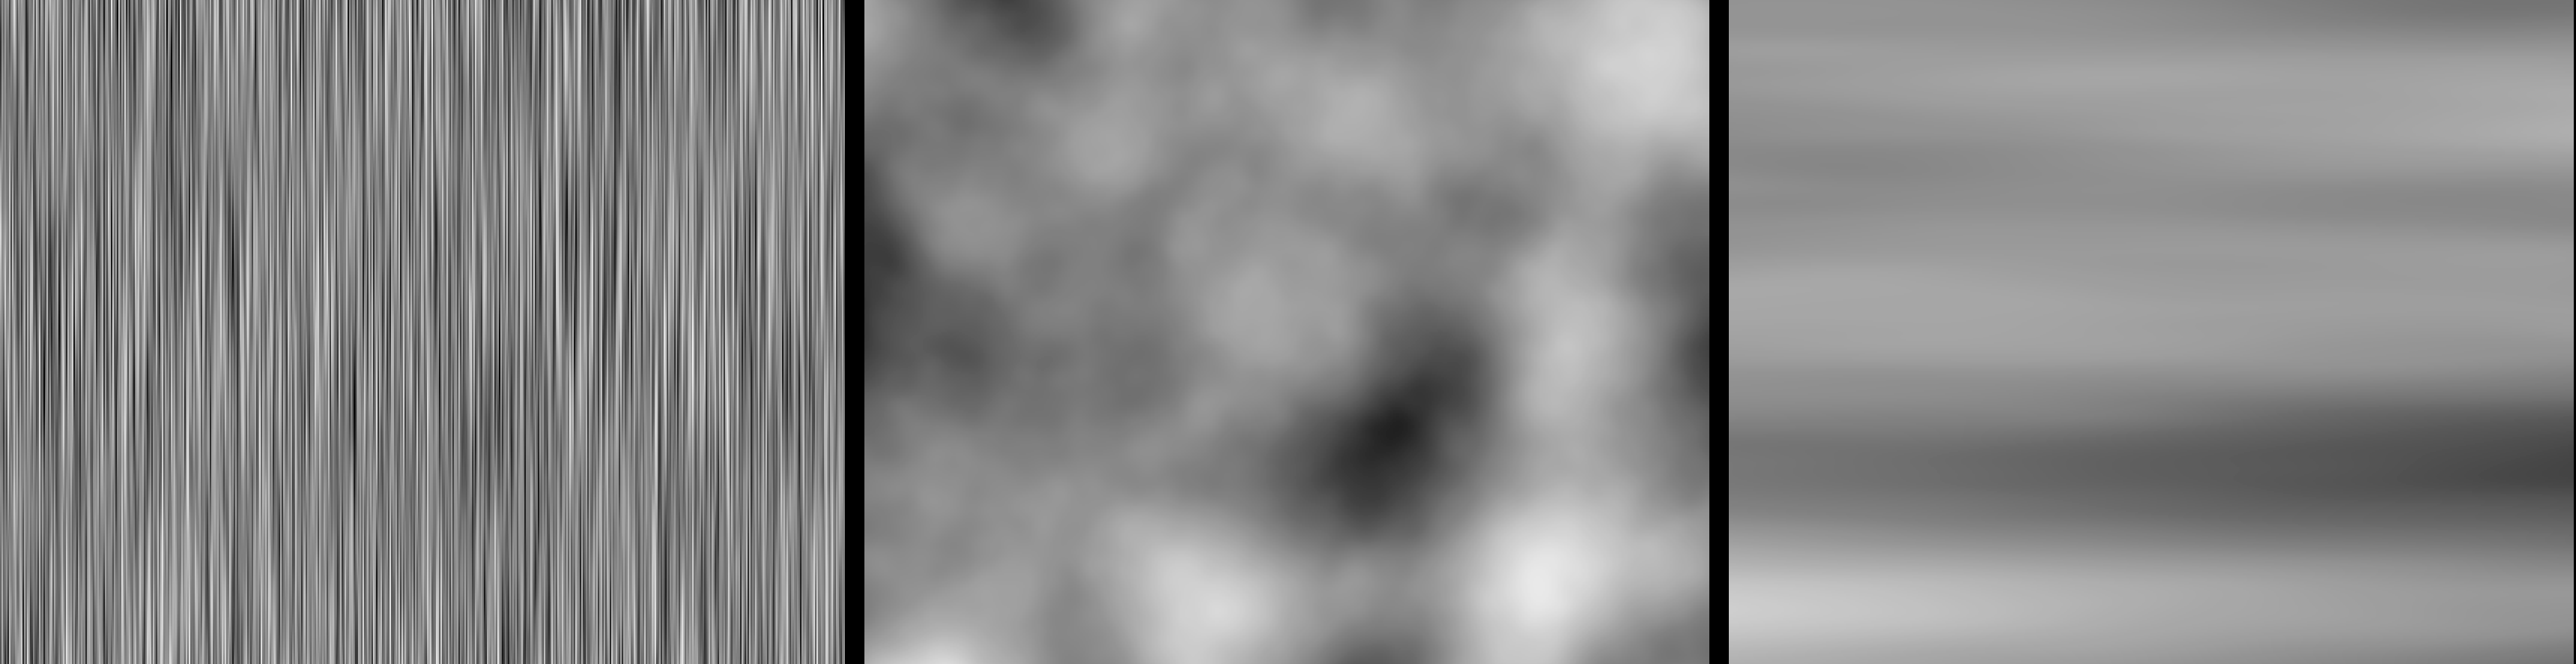
The
Interpolation
drop-down menu controls allows you to choose how the Noise pattern appears on the layer. By default, this control is set to
Advanced,
which gives noise a smooth, complex look. Spline gives slightly less detail and contrast, while Linear, Blocky Flat, and
Blocky Grad
add progressively more geometric and simplified patterns.
The
Appearance
group allows you to tweak the look of your chosen noise pattern.
The first control,
Complexity,
adds more detail within the noise as values increase.
The
Contrast
parameter can intensify differences between the noise pattern's black and white areas. Lowering Contrast to 0 brings the pattern close to uniformly gray. As with most Universe tools, these parameters can yield even more interesting results when used in tandem. While these settings are heavy-handed to illustrate a point, the following clip (based on the Through The Clouds preset) shows beginning with Complexity and Contrast both maxed out at 16 and 400, respectively. After one second, we gradually slide these values down to 2 and 50, almost as if the model is emerging from some murky ether into a more solid dream state.
Brightness
expands white areas into the image's gray and darker areas when raised over the default 100 setting. You may also darken the image by lowering Brightness below 100.
The
Gamma
slider changes pattern brightness. Raising it toward 10.0 makes the pattern much darker while approaching 0.0 makes the image much brighter.
To get the pattern's opposite, enable the
Invert
checkbox.
The
Output
drop-down menu's HDR option gives the most dynamic range from lights to darks while the
Clipped
setting will exclude the image's extreme blacks and whites.
Soft Clamped
keeps contrast in a more compressed dynamic range.
The
Animation
group includes controls for changing how the fractal loop changes overtime.
Keyframe Evolution to morph the fractal pattern smoothly between keyframes.
Cycles sets how many times the pattern evolves before repeating itself between keyframes.
Animation Speed allows you to change how quickly the animated loop evolves from frame to frame.
If you’d like to skip setting keyframes, enable the Auto Animate
checkbox to have the fractal automatically evolve at its current
Animation Group
settings.
This clip shows Auto Animate enabled with Cycles: 3 and Animation Speed: 100.
The
Transform
controls allow you to quickly change the size, aspect, and basic appearance of the noise without leaving the effect panel.
Zoom
will change the scale of the noise fractal pattern within the frame. To make the pattern appear large, bring this slider down toward 0.0100. To make the noise smaller and more static-like, raise the slider toward 100.00.
Starting with the Plasma preset, compare these values of 2.25 (the default, left) with 20 (center) and 200 (right).
Aspect
allows you to alter the vertical and horizontal aspect ratio of the noise effect. Turning the slider up from its default will stretch it out horizontally, while turning it down will elongate it vertically. Below, we show values of 0.0 (left), 1.0 (center), and 10 (right).
Use the
Center
cross-hairs or the x/y numerical controls to reposition the effect's center point on the layer.
The
Rotate
dial control lets you change and keyframe animate the noise field's angle. Note that when you adjust the Rotate dial, the noise field will spin in the opposite direction along the center point axis.
The
Filter
checkbox is only activated when Interpolation is set to one of the “Blocky” options. It will help clean some noise from the edges for a smoother, more geometric look.
The
Advanced
group has controls to intensify the effect's impact on the layer.
Raising the
Influence
control adds more layers of noise to the original pattern. Lowering this parameter from its default (33) subtracts complexity.
The below examples, based off the Plasma preset, show values of 10 (left), 33 (center), and 100 (right).
Turbulence Factor
brings more distortion and grain to the noise pattern. Increase this control to add more complexity and static to the effect.
Here are iterations on the Ridged preset with values of 50 (left), 133 (the default, center), and 400 (the maximum, right).
Changing the
Seed
value alters the fractal pattern from its default into a new randomized pattern. Use this control to shift the noise pattern in a subtle but noticeable way.
Opacity
lets you adjust layer translucency from its default (100) to a more transparent state, letting the background layer show through.
Chose from the
Blend Mode
drop-down to select the blending mode used to composite the Turbulence Noise effect over the original layer image.
Get Inspired!
Turbulence Noise is great on its own, but its potential magnifies when used in conjunction with other Universe tools. Watch the following two-minute video to see what happens when we combine Turbulence Noise with Universe Chromatown and Symbol Mapper.
Want another one? We've got you covered, this time with a mashup of Turbulence Noise with Universe Long Shadow.