Intro to AOVs
Table Of Contents
Introduction
|
|
|
|
AOV Type: Integrated AOV |
Integrated Utility AOV |
Custom AOV |
|
||
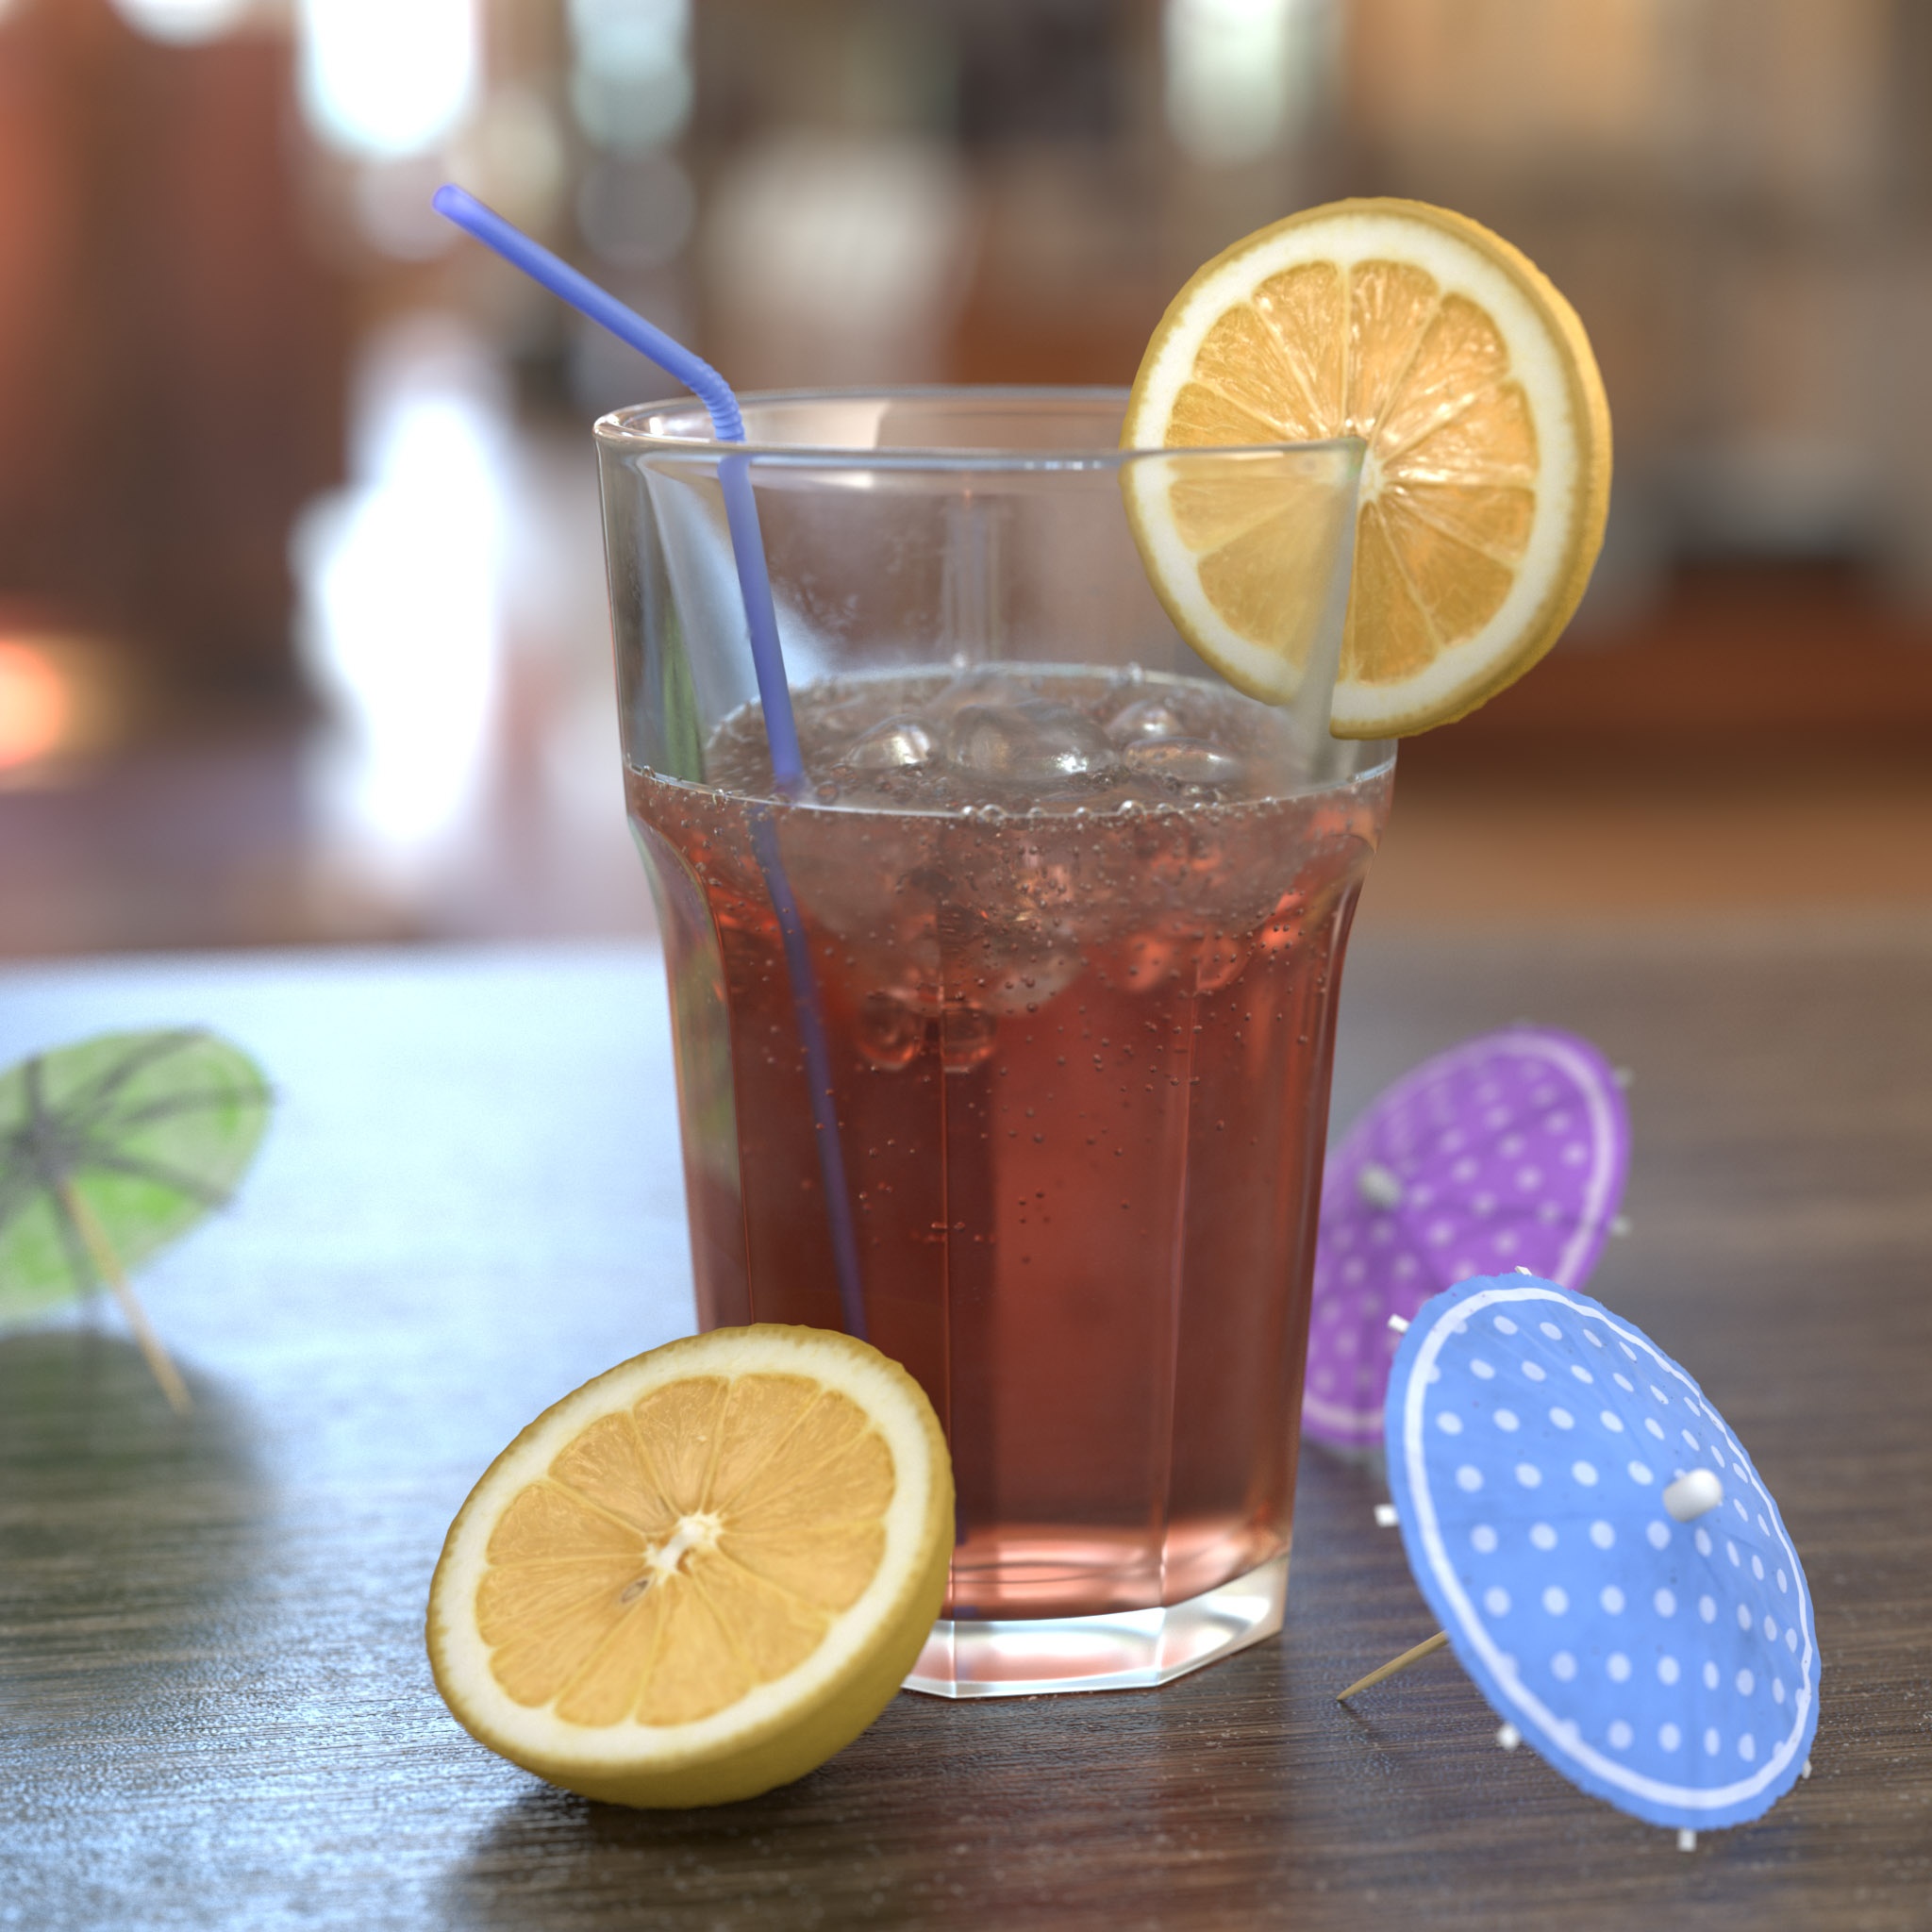
| Beauty |
AOV stands for "arbitrary output variables". It refers to the different types of per-pixel information Redshift can produce. While typically Redshift will only produce a color for each pixel of the frame you can configure it to include individual shading elements like reflections, refractions, global illumination, etc. Redshift can output these shading elements isolated on their own separate AOV pass which can help with things like fast small-scale color adjustments in post without having to re-render the entire frame. These built-in AOVs are referred to as Integrated AOVs. You can add even more control with Integrated AOVs by making use of Light Group AOVs, these can give you per-light control of your render in post.
There are other built-in AOVs that can contain non-beauty data like depth information, motion vectors, and world position information. These kinds of AOVs can be used in post to allow for much greater flexibility, like being able to add bokeh depth of field effects by making use of a Depth AOV. These types of built-in non-beauty AOVs are referred to as Utility AOVs.
There may also be times where you need to output custom data that isn't covered by an integrated AOV or wouldn't be output as a shading element of the beauty rendering process. In situations like this you can turn to Custom AOVs, these allow you to define your own custom render output for specific needs you may have like a custom ambient occlusion pass. Normally you might accomplish something like this as a completely separate render and pay the price in additional render time, but this can be avoided by using Custom AOVs instead since they are processed and output at the same time as your primary beauty render.
This page covers the basics of creating and managing AOVs for Redshift as well as the most common options available for AOV output.
Managing AOVs
The AOV settings can be located within Redshift's Render Settings, under the AOV tab.
Opening the AOV Manager
To create a new AOV you must first open the AOV Manager which can be found in various places in Cinema 4D:
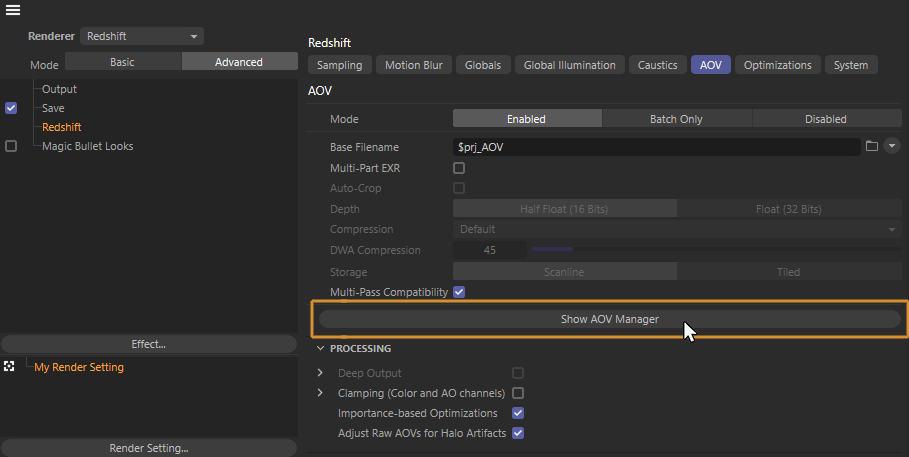
Show AOV Manager button in the Redshift render settings
You can also open the AOV Manager from the Redshift Toolbar menu as seen below (if the Redshift menu has been activated in the Redshift Preferences).

Opening the AOV Manager from the Redshift menu
You can also find the AOV Manager in the Render Settings icon group:

Opening the AOV Manager directly from the Render Settings icon menu
Creating an AOV with the AOV Manager
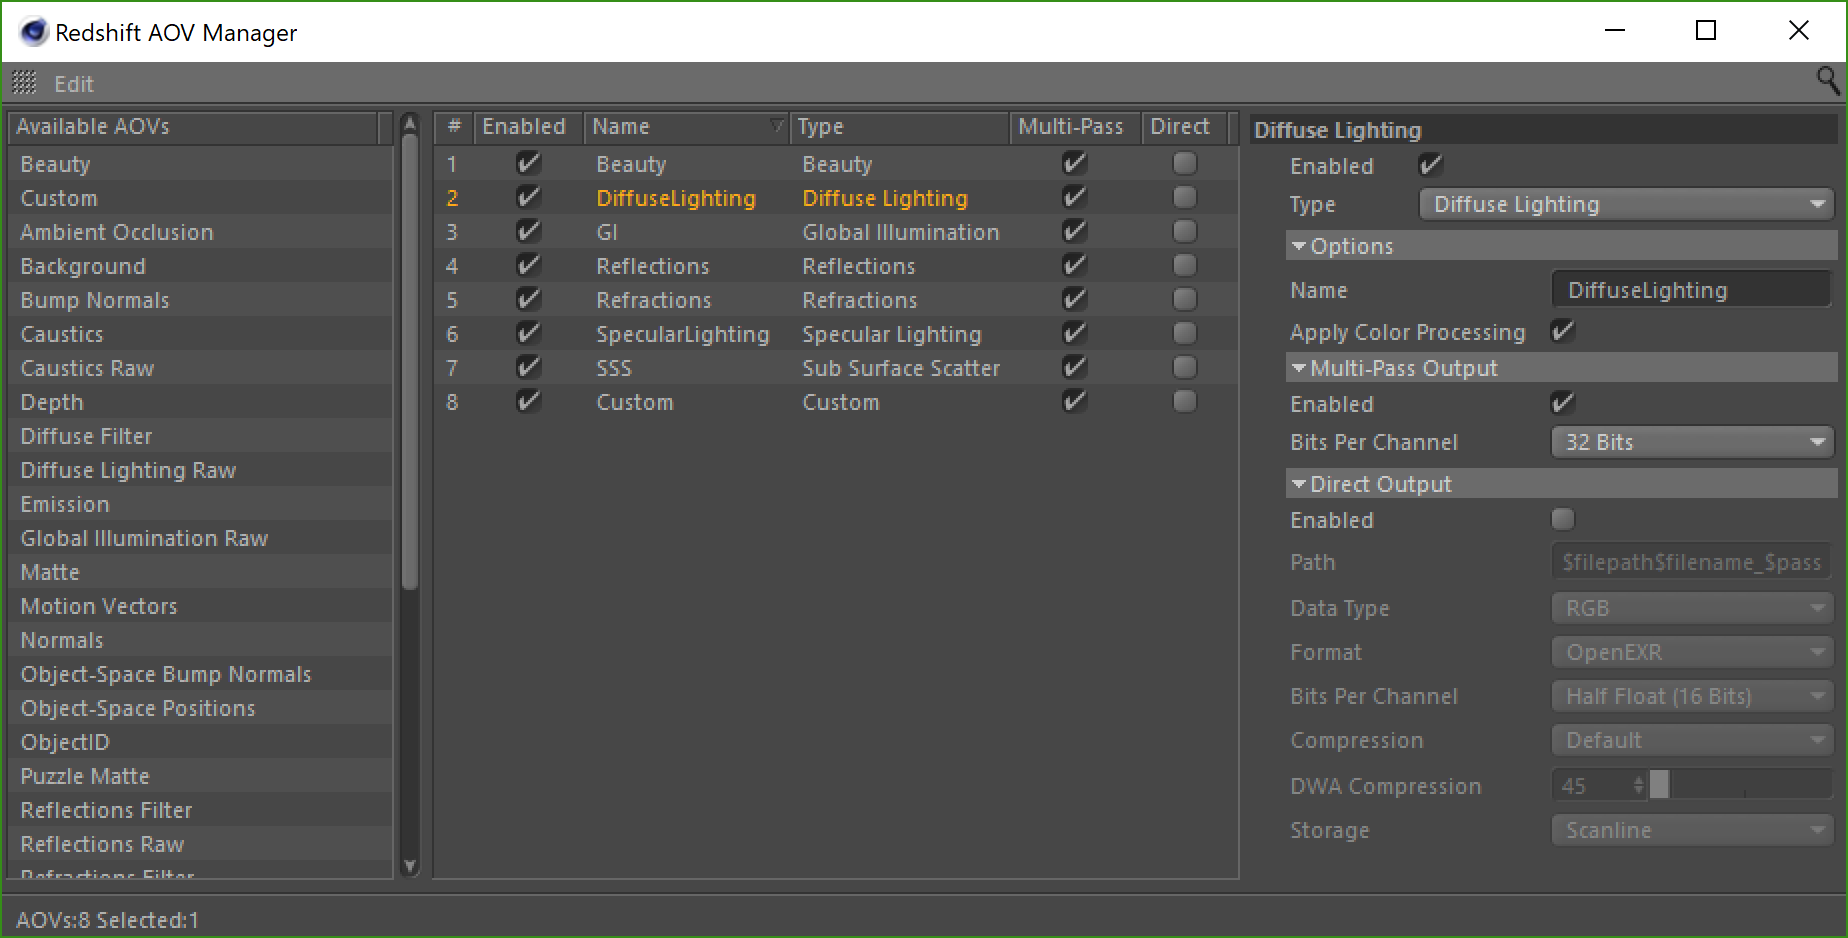
Redshift AOV Manager
The Redshift AOV Manager is an exclusive tool used to efficiently manage all AOVs for your current project. You can use it to create new AOVs from the left side panel as well as modify or delete existing AOVs. The AOV Manager provides an easy to manage overview of all the AOVs in the scene.
From the left "Available AOVs" panel you can click and drag AOVs from this area to the middle panel or double click them to create new AOVs. When you create these AOVs they will automatically be removed from the "Available AOVs" panel.
Only exception are some AOVs such as PuzzleMatte or Custom AOVs which can be used multiple times for rendering.
The middle panel lets you select, reorganize and delete AOVs.
The right panel shows you all of the relevant AOV options for the currently selected AOV.
Multi-pass vs Direct Output Method
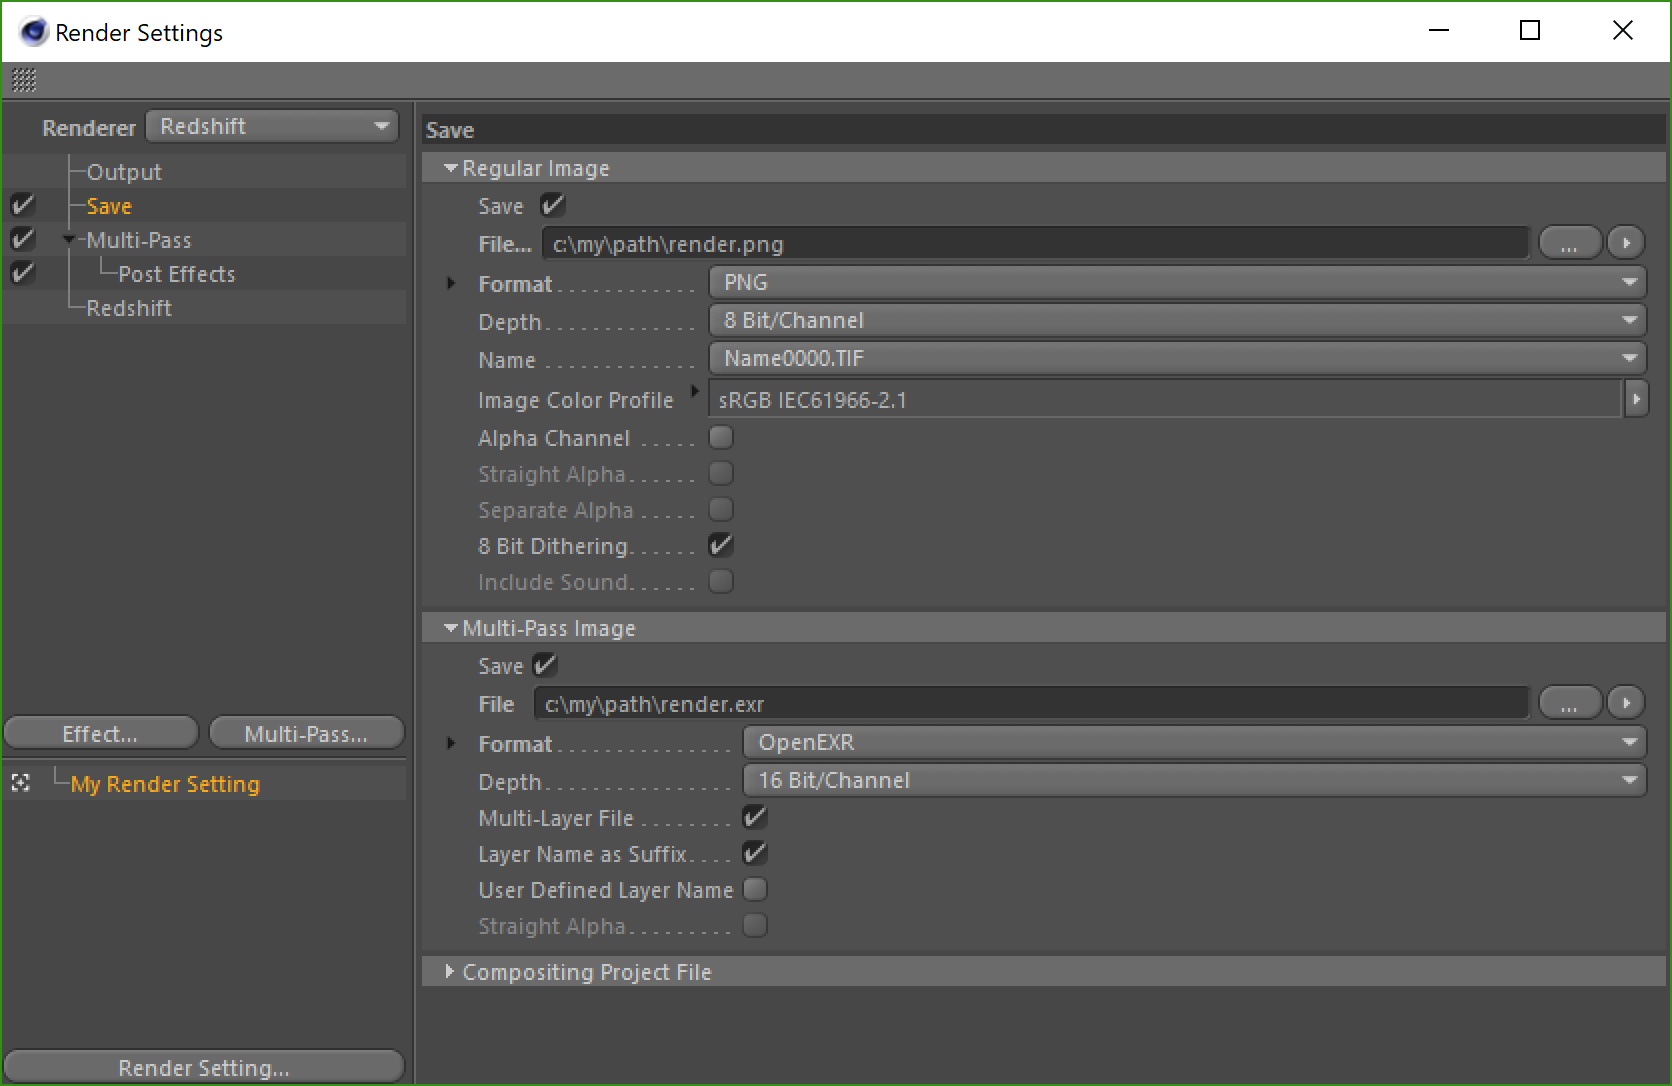
AOVs can be output via the Cinema 4D's Multi-Pass system, in addition to Redshift's native file output system. For C4D's Multi-pass system and previewing in the Picture Viewer, the Multi-Pass output should be enabled. The Multi-Pass setting needs to be enabled on the global render settings as well as per-AOV that you want passed through C4D's Multi-Pass system.

Render Settings > Multi-Pass

Multi-Pass settings in the Redshift AOV Manager
If you instead just want to use Redshift's native file output system and preview the AOV's in Redshift's Render View then Multi-Pass can be disabled and you can just have Direct Output enabled.

AOV Manager Direct Output settings and an example with Multi-Pass enabled simultaneously
Mult-Pass and Direct Output can be enabled at the same time and on the same AOVs but keep in mind that this will result in the output of each system's files, taking up more space.
Make note that Redshift's Render View will be able to view the AOV passes whether set to Multi-Pass or Direct Output but at least one of them has to be enabled to be output at all.
During proxy export, Multi-Pass-enabled-AOVs will be silently converted to Direct AOVs which Redshift knows how to store their settings in the proxy file.
A quick comparison of the potential pros and cons of each method are listed below:
Multi-Pass Output:
+ Integration with the Picture Viewer
+ Automatic handling of AOV images during TeamRender
+ C4D Render Post-effects are supported (subject to some limitations)
+ Supported by C4D’s Save Compositing Project function
- Limited saving options per AOV. Single save format for all AOVs
- Output may go through C4D’s color-space conversion functions depending on the output settings
- Order and naming of AOVs is not fully customizable.
Direct Output:
+ Save method identical to other Redshift DCCs, so output is consistent across DCCs
+ Per AOV save options
+ Supports special output for third-party denoising (two-pass render)
+ DeepEXR support
+ Order and naming of AOVs user controllable
- AOVs not visible in the Picture Viewer
- No automatic management of AOVs for TeamRender. Output paths need to be set manually to point to some network share etc.
- C4D Post-effects are not supported.
- No compositing project support
Disabling an AOV
To disable an AOV, uncheck the " Enabled" option at the top of the AOV's settings.
Deleting an AOV
To delete an AOV, select the AOV in the AOV Manager and hit the delete key.
Per-AOV General Options
|
|
This section covers only the Direct Output options.
This section covers the most common parameters that are available for most AOVs.
AOV
This section shows you what type of AOV it is.
Name
Here you can set a custom name for the AOV, by default this is set to the type of AOV.
The name is used as the $pass token seen in the path section below.
Denoise
Controls if the AOV has denoising applied to it.
Some AOV's can be created multiple times, this allows you to create denoised and non-denoised versions of those AOVs.
Secondary Ray Visibility
Controls if the AOVs shading component is visible in secondary rays effects like reflections and refractions. This is disabled by default for all AOVs.
This can be particularly useful for custom AOVs, where you may want an Ambient Occlusion AOV to be visible on objects that are seen through transmissive objects.
File Name Prefix / Path
This section shows you how the AOV file names will be output and allows you to change that here.
The $filepath token will use the regular or multi-pass image path as long as it has a sensible file path value derived from the main Cinema 4D render settings.
Cinema 4D Render Settings Save Paths
Data Type
Select the data output type for the AOVs from the following options:
- RGB
- RGBA
- Scalar (when appropriate)
By default AOVs output as RGB image files with no alpha.
Format
Select the image file format from the following options:
- OpenEXR (exr)
- Tiff (tif)
- PNG (png)
- Targa (tga)
- JPEG (jpg)
By default Redshift AOVs use OpenEXR file format.
Bits Per Channel
Select the bits per channel:
- 8 bits
- Half float (16 bits)
- Float (32 bits)
By default Redshift AOVs use Half float (16 bits).
Bits per channel options are dependent on the AOV file format currently selected.
Compression
Select the compression method for the relevent file format:
- OpenEXR compression
- default (zip scanline) / none / rle / zip16 / zip1 / piz / pxr24 / b44 / dwaa / dwab
- Tiff compression
- none / lzw / zip / packbits
- PNG / Targa / JPEG compression
- N/A
DWA Compression Level
Set the level of compression for OpenEXR file format, default of 45 will yield a perceptibly lossless image but a drastic reduction in file size. Higher values mean more compression at smaller file sizes and vice versa.
This setting only affects the DWAA and DWAB OpenEXR compression methods.
Storage Format
Select the storage format:
- scanline
- tiled
By default Redshift AOVs use scanline.
Apply Color Processing
When enabled the following color adjustments are baked into the AOV:
- OCIO View Transform
- Camera Tone mapping
- Gamma adjustments
The following AOVs have this option and it is enabled by default:
- Diffuse Lighting
- Diffuse Lighting Raw
- Specular Lighting
- Subsurface Scatter
- Subsurface Scatter Raw
- Reflections
- Reflections Raw
- Refractions
- Refractions Raw
- Emission
- Global Illumination
- Global Illumination Raw
- Caustics
- Caustics Raw
- Volume Lighting
- Translucency Lighting Raw
- Translucency GI Raw
AOV Processing

|
This section controls how AOVs are processed.
Enable Deep Output
Enables or disables OpenEXR deep output.
For more information on Deep output for Redshift please see this page where all of the deep settings below are covered in much greater detail.
Deep Merge Mode
Select the Deep merge mode:
- " Z " merges depth samples that are close to each other based on the "Deep Merge Z threshold."
- " ObjectID " merges all samples that belong to the same objectID without caring about whether they are close to each other in Z or not. By default, the ObjectID mode performs more sample merging than the Z mode, which in turn produces significantly smaller EXR files.
For the ObjectID Deep Merge mode to be effective, objects need to be assigned different ObjectIDs.
Deep Merge Z Threshold
The "Deep Merge Z Threshold" parameter controls how close the samples will need to be in order for them to be merged together.
This setting only applies to Deep Merge Mode: Z
Enable Clamping (Color and AO channels only)
This enables clamping on AOVs separate from the beauty.
In Redshift's Output tab and in Redshift's AOV tab there are options to clamp the color/AO AOVs. Redshift can perform sub-sample intensity clamping during unified sampling, which limits noise (grain) that can be produced when combining depth of field and motion blur with bright light sources. The AOV clamping offers the same type of sub-sample control for AOVs. Please refer to the AOV tutorial page for more information about how and when these should be used.
Max Value
This sets the maximum sub-sample intensity clamping value for AOVs.
Disable Importance-based Optimizations
Redshift has importance-based optimizations that can result in samples being dropped if they are deemed too dim to impact the final appearance of the beauty render, which is great for performance. AOVs however can suffer from these kind of optimizations, because if you wanted to brighten your reflections AOV channel and samples had been dropped because they were deemed too dim, then you would reveal unexpected noise that would be difficult to clean up by hand.
Disabling Importance-based Optimizations will not add noise to the beauty, but it will impact rendering performance.
By default Redshift uses importance-based optimizations for all AOVs.
Adjust RAW AOVs To Fix Halo Artifacts
This option works by adjusting the Raw AOV results based on the appropriate Filter AOV results in order to ensure the resultant composite will match the beauty. Because of this adjustment, you may see unexpected colors around the high-contrast edge images in the Raw AOVs – while this may look strange, mathematically it ensures the correct beauty results when multiplied with the appropriate albedo Filter AOV. For more information, please see here.
By default this option is enabled to ensure final composites matches beauty.