Motion Blur
Table Of Contents
- Introduction
- Settings
- Enable
- Enable Deformation Blur
- Transformation Steps
- Frame Duration
- Shutter Start/End and Start/Center/End On Frame
- Shutter Efficiency
- How To Use
Introduction
Real-life cameras capture images by opening their shutter for a short period of time and exposing the film (or digital sensor) to light. When the camera or the objects/lights in the scene move, the image becomes blurry depending on the shutter duration. Redshift's motion blur simulates that type of blurring effect.
Redshift supports three types of motion blur:
- Camera motion blur, where blurring happens because of camera movement
- Transformation motion blur, where blurring happens because of rigid-body motion (object/light transforms)
- Deformation motion blur, where blurring happens because the object vertices got deformed (due to morphing/skinning/etc)
Simulating motion blur requires Redshift to track the trajectories of cameras, objects/lights and vertices respectively. When it comes to motion blur, Redshift represents curves using a series of linear segments ('steps'). The more steps, the more accurate the trajectory simulation – but also more memory is required. In Redshift, camera and transformation blur can have up to 31 steps and deformation blur is limited 2, 3, 5, 9, and 17 steps.
Settings
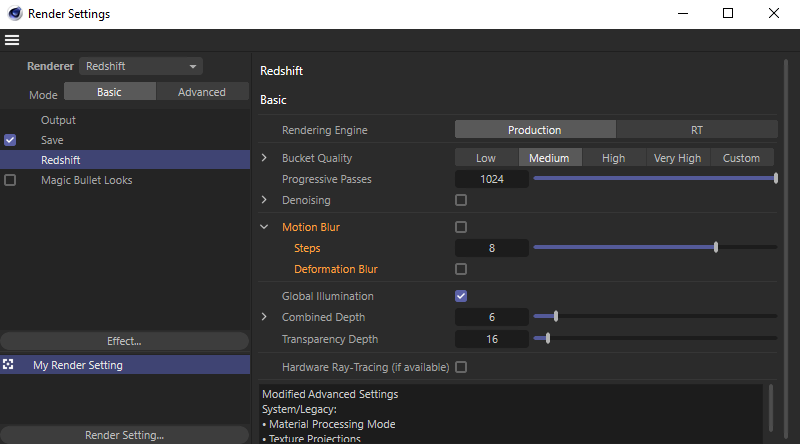
Basic Render Settings for Motion Blur

Advanced Render Settings for Motion Blur
Enable
Enables/Disables motion blur
If a Motion Vector AOV is enabled in your scene all Redshift motion blur will automatically be disabled in the beauty render as this would be undesirable for a Motion Vector AOV.
For more information on AOVs, please see here.
Enable Deformation Blur
Deformation blur (tracking the motion of vertices) can be memory-intensive especially for high-poly or displaced geometry. For this reason, it has a separate switch to enable/disable. If most of your scene's motion is due to rigid body animation or camera movement, you can leave this option disabled.
Transformation Steps
This controls the number of linear steps that Redshift will use to represent the trajectory of cameras, lights and objects. More steps means the trajectories will be more accurate but also more memory will be used.
Frame Duration
This controls the number of frames for which the camera's virtual 'shutter' will stay open. Like in real-life, the larger this value, the blurrier the results. Since this parameter has to do with frame duration, it is affected by the animation frame rate set in your modeling app.
Shutter Start/End and Start/Center/End On Frame
The 'shutter start/end' settings allows the user to fine-tune the time range of motion blur for the required frame range (remember that the number of frames is controlled by the 'frame duration' setting). These values can range from 0.0 to 1.0. The smaller the difference between the shutter start and end is, the shorter the blur - and vice-versa. For this reason, start/end pair values of 0.0/0.5 and 0.5/1.0 would produce the same amount of blur because the difference between them is 0.5 in both cases. However, the blur will be 'offset' the near the start and end of the frame range respectively.
The 'start/center/end on frame' setting controls whether motion blur should start at the current frame, be centered around the current frame or should finish on the current frame. This allow the user to control the motion blur 'trails' around objects.
Shutter Efficiency
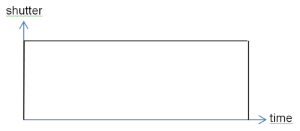
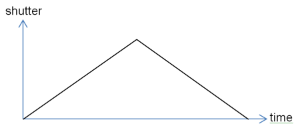
Real-life camera shutters don't open instantaneously – they open gradually. The 'shutter efficiency' parameter controls how fast the shutter opens. A setting of 1.0 (the default) means the shutter will open instantaneously, while a setting of 0.0 means that it will open as gradually as possible. The images below show how the shutter efficiency parameter affects the shutter opening speed.
|
|
|
|
|
Efficiency 1.0 |
Efficiency 0.3 |
Efficiency 0.0 |

The shutter efficiency parameter affect the look of motion blur trails, as it will be shown in the example pictures below.
How To Use
After you enable motion blur and assuming your scene contains animation (camera, object, light, etc), you should see a bit of blurring around objects that move and their shadows.
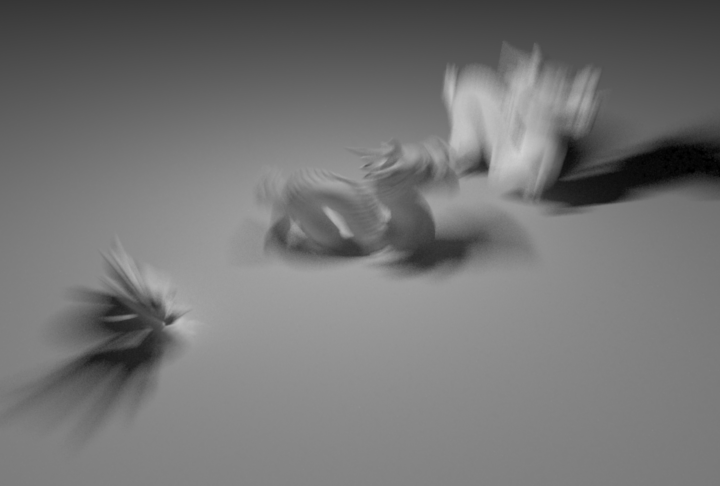
The example scene below contains 3 dragons. The upper right dragon is moving upwards, the middle one is rotating and the bottom left is scaled up.
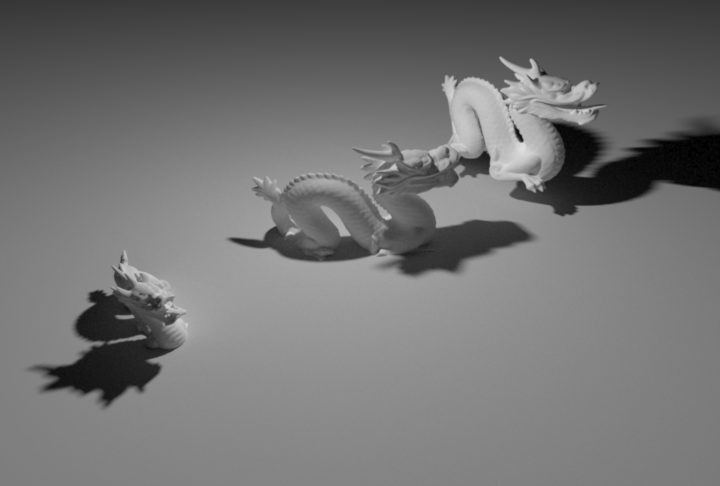
The three dragons with motion blur disabled
We enable motion blur and set the frame duration to 50 in order to accentuate the motion blur effect. As it can be seen, due to low unified sampling values (min:1, max:4) an excessive amount of noise appears around the blurred areas. Similar to depth of field, the more accentuated the effect, the more samples are required to clean it up. In the case of motion blur, noise can be produced by very fast motion or long motion blur durations.

Motion blur enabled. Unified sampling settings are too low and produce excessive noise.
As expected, increasing the unified sampling max samples to 64 improves the result a lot!
Unified sampling max samples increased to 64. The results are much cleaner!
We now look at the effect of 'start/center/end on frame' settings. This is a 100 frame animation and the current frame is 50. The dragon is moving upwards. The motion blur duration setting is set to 50 (i.e. 50 frames).
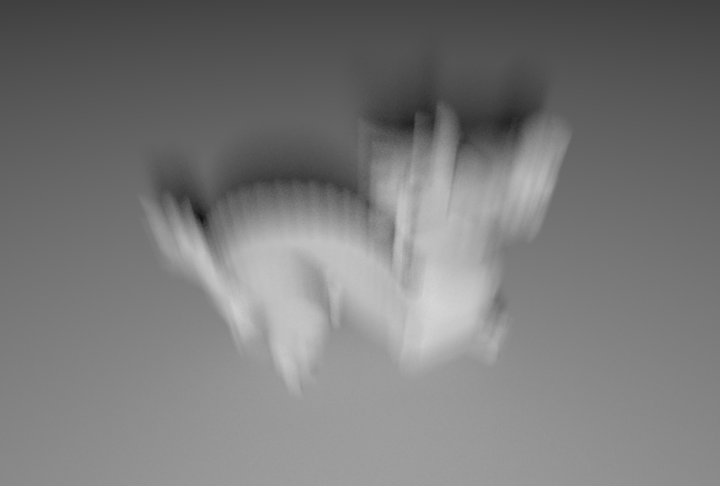
'Center on frame' selected. The motion blur is centered around the current frame so the motion blur trail contains the animation before and after the current frame.
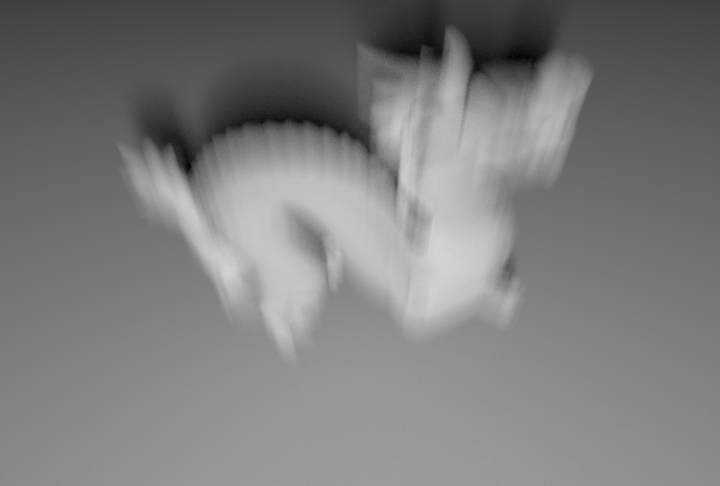
'Start on frame' selected. The motion blur starts at the current frame (frame 50) and only contains the parts of animation after the current frame (i.e. the second half of the animation when the dragon has moved higher up)
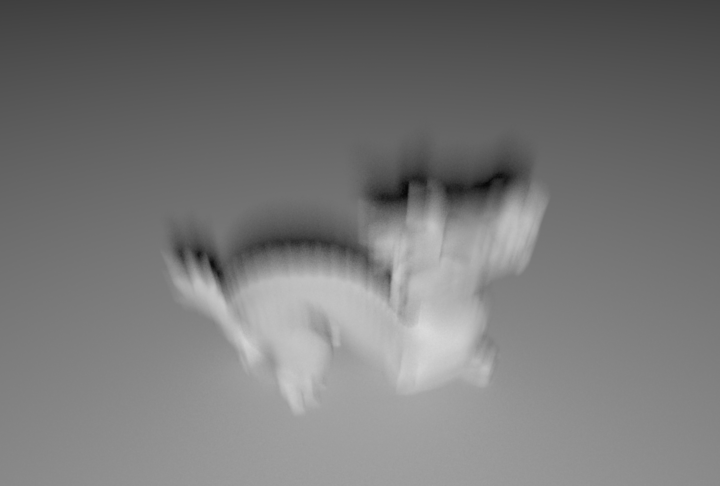
'End on frame' selected. The motion blur finishes at the current frame (frame 50) and only contains the parts of animation before the current frame (i.e. the first half of the animation).
The shutter efficiency can affect the look of motion blur trails. The lower the efficiency, the 'softer' the motion blur trails.
|
|
|
|
|
Efficiency 1.0 |
Efficiency 0.7 |
Efficiency 0.0 |


Finally, a note on the effect of the number of transformations steps on memory.
If your scene is using a very large number of instanced objects (this includes ICE particles in Softimage), we recommend using the lowest possible 'transformation steps' number the works for your scene. As mentioned above, complex movements can be represented more accurately with more transformation steps but doing so can also occupy significant amounts of videocard memory if there are many objects in the scene. You can see the amount of videocard memory used for the purposes of transformation matrices in the Redshift Feedback Display window, under the 'Matrices' category, as shown below.

The 3 dragons scene uses 1KB for matrices when 2 transformation steps are used
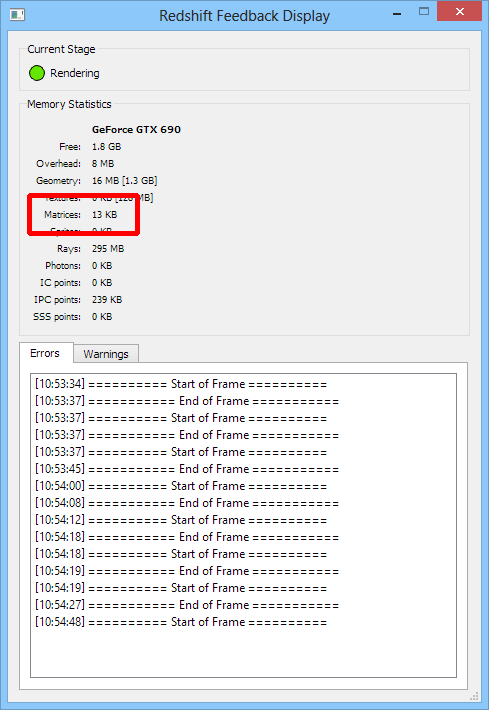
With 31 transformation steps, the same scene is using 13KB. Even though these numbers are tiny compared to the amount of memory a videocard has, a scene containing hundreds of thousands or millions of animated objects would mean several tens of megabytes used for motion blur transformation matrices.