Set Vertex Weight
![]()
To create a vertex map, first select the Points tool or Polygons tool from the left toolbar, then select the points or polygons that you want to weight. Next, choose Select / Set Vertex Weight.
This command is especially useful when working with deformation objects. You can use it to restrict a deformation object's influence with precision. For example, you can use it so that a twist Deformer twists the head of a figure only, not the entire body.
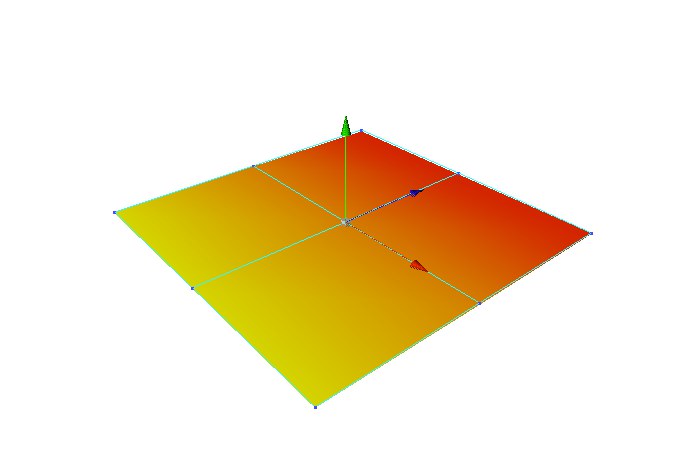
Points with weighting are colored. The entire object is colored as well (provided the Viewport's display is set to Gouraud Shading or Quick Shading). Yellow indicates 100% influence, red indicates 0% influence. The vertex map is represented in the Object Manager as a Vertex Map tag:
Value
This is the amount of weight that is used by the Mode setting.
Mode
Set means the weight in the Value box is assigned to the points. Brighten will cause the weight in the Value box to be added to the points. Darken will subtract the weight in the Value box from the points.
To blend out the influence of a deformation object smoothly, create a ramp from yellow to red. The following picture shows such a ramp:
 The first row of points is set to 100%, the second to 50% and the third to 0%. There is a smooth transition from yellow to red.
Any number of vertex maps can be assigned to an object. For example, a leg can be divided into separate areas of the thigh, calf and foot.
The vertex map currently selected in the Object Manager will be visible in the Viewport. Only this visible vertex map can be edited. The Set Vertex Weight setting can now be used to assign a new value to selected points.