Material Preview
To toggle the material preview on or off, click the arrow next to the preview (only in the Attribute Manager). To rotate the preview, right-drag (Windows) or Command-drag (macOS) or Shift-drag the preview.
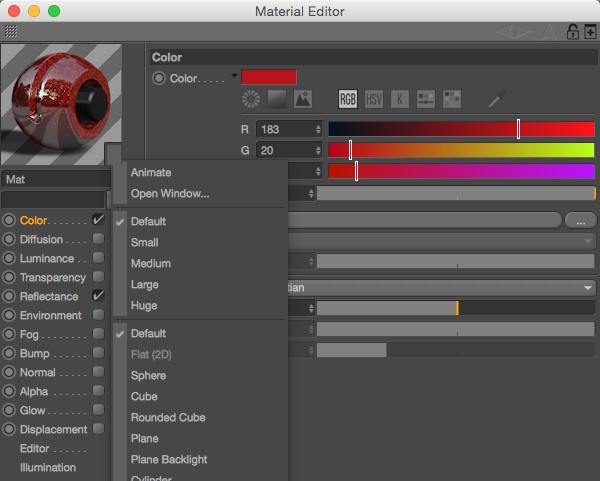
To change the display settings for the preview, right-click (Windows) or Command-click (Mac OS) on the preview and choose the new settings from the context menu that appears.
Ctrl+clicking in the preview window will turn the cursor into a color picker for the current channel color. This only works in the Material Editor (not in the Attribute Manager and also not for the Reflectance channel).
The following commands are available in the Material Preview's context menu:
Enable this option to switch on animation for the preview. If enabled, the animation will be played automatically, without moving the Timeslider, according to the settings in the menu (see Frame Rate (FPS)).
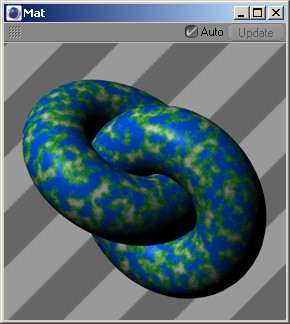
This command opens a window containing a material preview that you can scale as desired. The window also has a context menu that lets you choose which scene is used to create the preview (e.g., sphere, torus) and whether the preview is animated. With the Auto option, you can ensure changes made to the material are updated automatically. If the option is disabled, you must manually click on Update. Materials and shaders can also be placed here via Drag & drop.
Here you can choose the size of the material preview. The Default setting corresponds to the Default Size specified in the preferences on the Material tab.
Here you will find a series of self-explanatory scene names that can be used for the Material Preview. Default uses the scene defined in the Preferences menu (Material tab).
You can rotate the preview shape, as mentioned earlier, by right-dragging (Windows) or Command-dragging (macOS) or Shift-dragging the preview. The Reset Rotation button restores the preview shape to its original angle.
Most of these parameters change the size of the object that is used by the preview. So how is this useful?
Suppose you have created a material that uses a displacement map with Height on the Displacement tab set to 100 m or higher. Suppose also that the object used by the preview is a cube that has sides that are 100 m long. This cube would be too small to adequately display the Displacement map.
In such cases, simply change the object's size using the Preview Size or Relative Scale parameters. The Original Size box displays the object's original size. If the material is animated, specify the start frame for the animation using Animation Start.
Here you can define at which point the material preview animation should begin.
These two parameters allow you to define environment lighting (i.e. ambient light) for the preview. You can choose the color and brightness of the environment light.
Material preview for Node Materials
The material preview for Node Materials has fewer commands. The following is new:
If the material is open in the Node Editor and the Node is selected, the HUD can be enabled or disabled in the Node Editor's own Attribute Manager.