View Menu
These options define the size of the preview icons in the list.
These are the predefined steps with which you can zoom into or out of an image in the Picture Viewer. A value of 100% will display the image in its original size. This option can also be selected by clicking on the following button at the bottom left of the Picture Viewer window:

.
Filter
This filter makes it possible to exclude images with specific characteristics from the History list. The following settings are available:
Lets you display either all or none of the stills.
Lets you display either all or none of the animations.
Lets you display either all or none of the images rendered in the current session (regardless of whether or not they are saved to the cache).
Lets you display either all or none of the loaded (not rendered) images.
Lets you display either all or none of the images saved explicitly through the menu (and all loaded images).
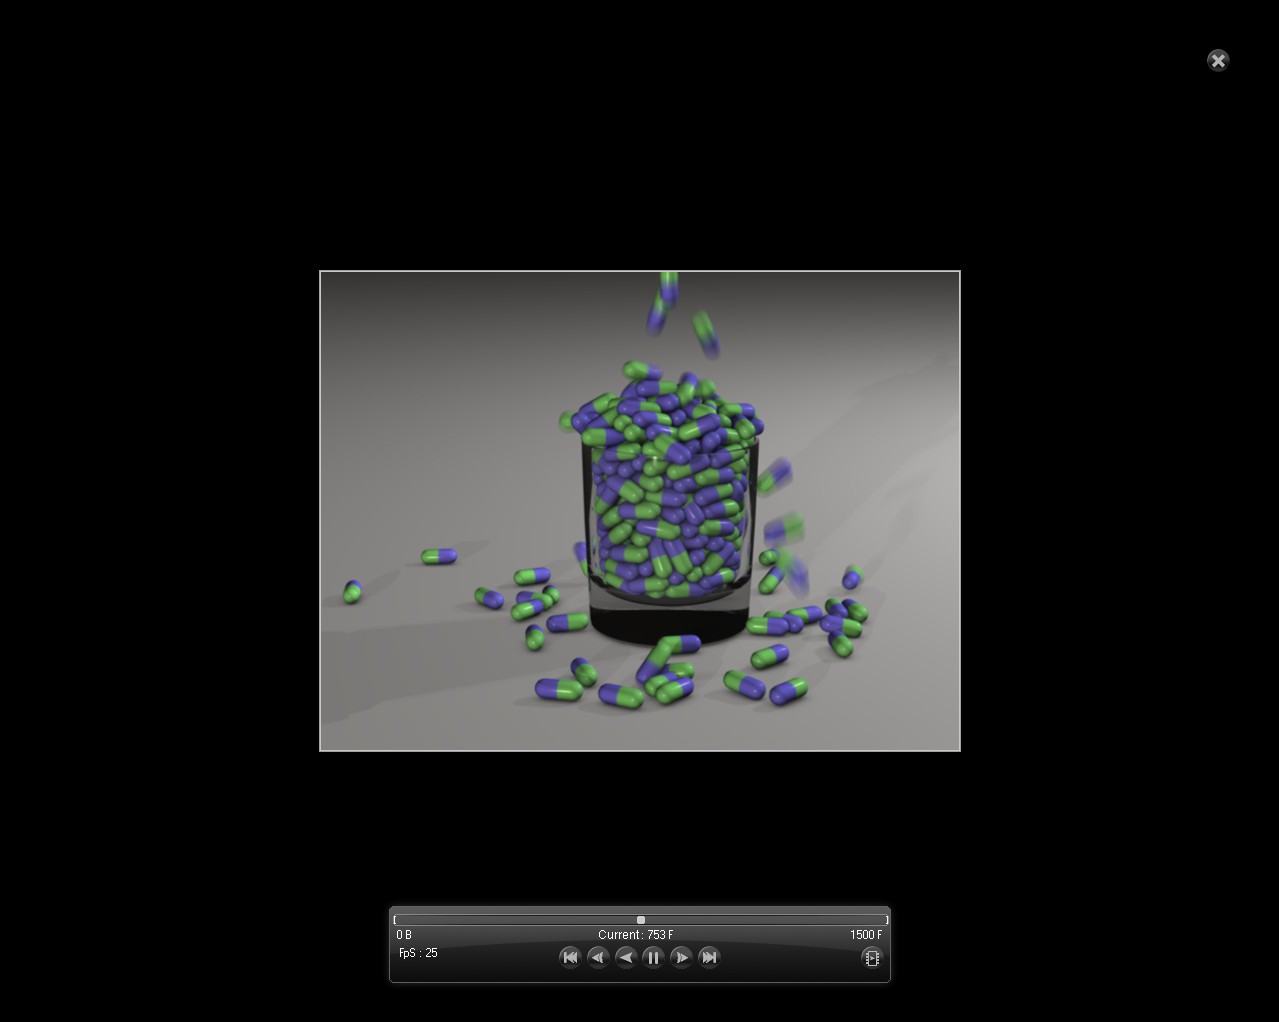
The Full Screen Mode is a presentation mode that lets you display images or animations in full-screen mode. All Cinema 4D windows and Managers will be hidden and the images/animation will be displayed in front of a black background.
For animations, an interface will be displayed at the bottom of the screen with which you can control the animation. This interface will fade out and will be re-activated by the next mouse movement. Pressing the space bar on your keyboard will stop/start the animation.
Press the ESC on your keyboard or click on the cross button at the top right to quit Full Screen Mode.
Lets you enable / disable the Navigator/Histogram display.
If this option is activated, images that are larger than the current preview area are scaled so that they take up the entire area, while smaller images are scaled to a maximum of 100%. A similar option can also be selected by clicking on the following button at the bottom left of the Picture Viewer window:
.
The image will be scaled to screen size and if the window is scaled the image size will remain unchanged.
Zoom in or out in pre-defined steps.
Fold or unfold directories.
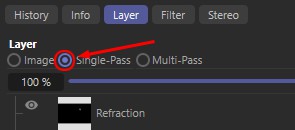
Has the same effect as selecting Single-Pass in the Layer tab.
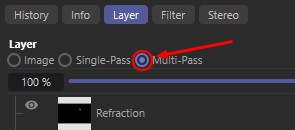
Has the same effect as selecting Multi-Pass in the Layer tab.
Enables or disables existing filters. This functionality is also available in the Filter tab (Enable Filter)
It may occur that you have to render images with an aspect ratio different from the normal ratio. Enabling this option lets you distort the image in the Picture Viewer as you want it to look for final output. For newly rendered images the Pixel Aspect will be displayed in the Information tab's Pixel Aspect setting. Otherwise you can enter a value manually.
If the image loaded into the Picture Viewer contains a color profile, enabling this option will ensure that it is evaluated correctly. Otherwise sRGB will be used.
If the loaded or rendered image has an alpha channel or has a material with transparent regions, the transparency can be displayed by activating this function.
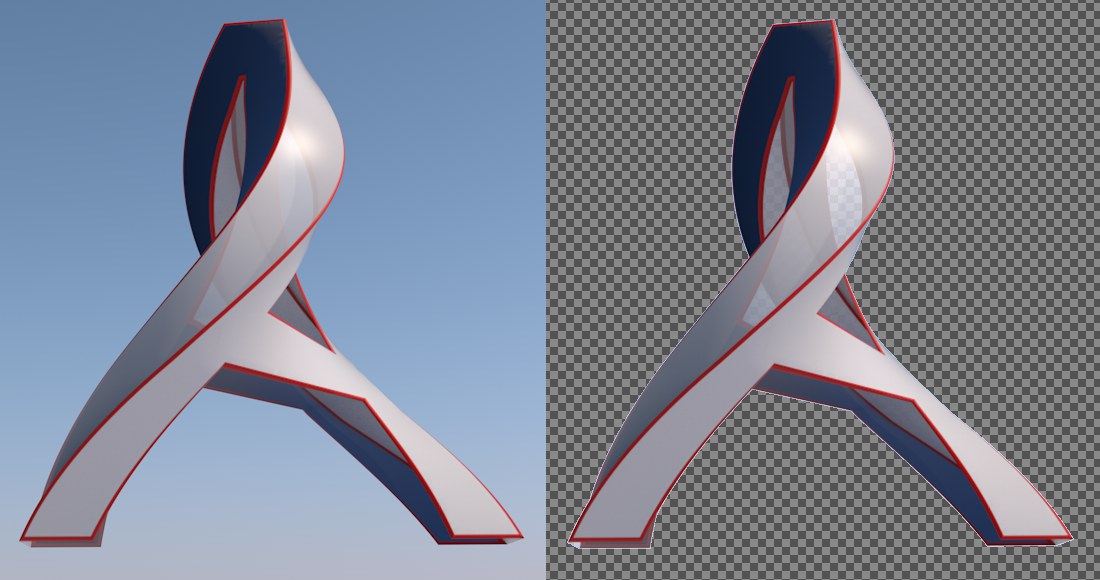 At left Enable Image Transparency disabled, at right enabled.
Enables/disables the display for these frames. Their size can be modified using the corresponding settings in the Information tab.
Since you can browse the list of images or even load new images while a render process is running, enabling this option will display the image currently being rendered in the preview window.
Assuming you have several images open, Cinema 4D needs to know where the newly rendered image should be displayed. This is done using this option.
Multi-Passes
If you open/render an image that contains multi-passes, you can send individual layers to Magic Bullet Look instead of using the render result (beauty pass) if the Simple Pass option was enabled and the respective layer is selected. After editing is completed in Magic Bullet Looks, a new layer named MBL Result (possibly sequentially numbered) will be created in the Picture Viewer.