Script Manager
![]()
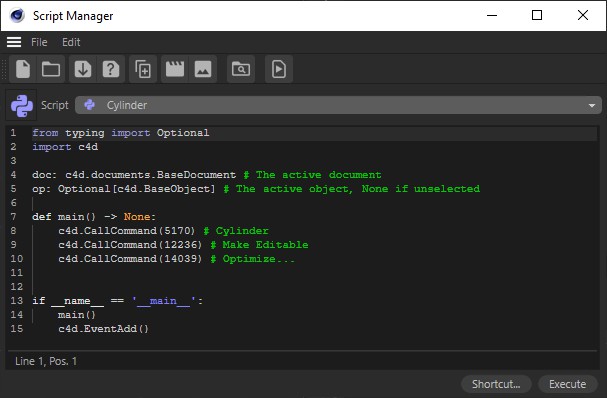
Call up the Script Manager via Extensions / Script Manager.
With the Script Manager you can create and manage Python scripts and even assign icons so that you can call them up later from the Extensions menu under User scripts. It is no longer necessary to create plug-ins.
Scripts created with the Script Manager are permanently stored in the Library / Scripts directory of the default settings directory.
Control elements
Operation within the script input field
The following things work within the input field:
- Double-click on a word to select it (continue to press the button to select additional text).
- Click on a line number to select the entire line (additional lines can be selected by holding down the button and moving vertically).
- In the case of special characters (quotation marks, brackets, etc.), these can be created in duplicate with an intermediate cursor so that you can start typing straight away and don't have to worry about closing them. The same applies to selected text: Entering such a character includes the block with the above-mentioned characters.
- Marked text is commented out by entering * (asterisk) in the block.
- Selected text can be moved with the mouse (duplicated by holding down the Ctrl/Cmd key), with a cursor indicating the new insertion position.
- Undo/redo works with texts.
- A colored marker with the following meanings is displayed between the text and the line number: Yellow (new), green (compiled), blue (saved but not compiled). However, these color codes only work for newly written text; as soon as you have saved the file, they will be removed.
- To obtain the IDs of parameters, all parameters listed in the Attribute Manager (also for the Node Editor) can be dragged and dropped into the script input field. Thwill also be works for the Python console.
File menu
A new unnamed and unsaved script will be created (however, unsaved scripts are stored in the preferences directory under Prefs/_last_script with the file extension *.py (Python); if a script causes a program crash, the script will not be lost).
Use this to load unprotected (unencrypted) Python scripts (*.py). The file selection dialog will jump directly to the appropriate preset directory.
You can use this to import code into the Script Manager. The following file formats are possible: *.py (Python).
Use this to save the script just selected under Script (unsaved scripts have a * in their name). A new name can be assigned with Save script as. The default settings will be saved in your default settings directory under Library/scripts.
This will save all newly-created or modified scripts.
This will delete the script currently selected under Scripts after a confirmation prompt.
This command duplicates the script just selected under Script.
If you do not have a suitable image at hand for your newly-created script, this function is the right one for you. This renders the current Cinema 4D scene and uses the result as an icon.
Use this to select a primarily square bitmap, which will then be used as the icon for this script and will also be displayed accordingly in the menu, in the icon bar and even in the Command Manager. Any existing alpha channel of the bitmap will be taken into account.
This command lets you send the script content of the active script to all IDEs connected to Cinema 4D. This command will also be available in the Script Manager layout next to the Start/end code exchanger button. Please also note the other code exchanger presets and commands in the Edit menu of the Script Manager.
Edit Menu
This can be used to undo and restore code edits.
Cut out selected code snippets and copy them to the clipboard.
Use this to copy selected code snippets to the clipboard.
Use this to paste code in the clipboard at the cursor position.
Use this command to delete selected code.
Select or deselect all code displayed in the window. Alternatively, you can also deselect the code by clicking in any area of the code window.
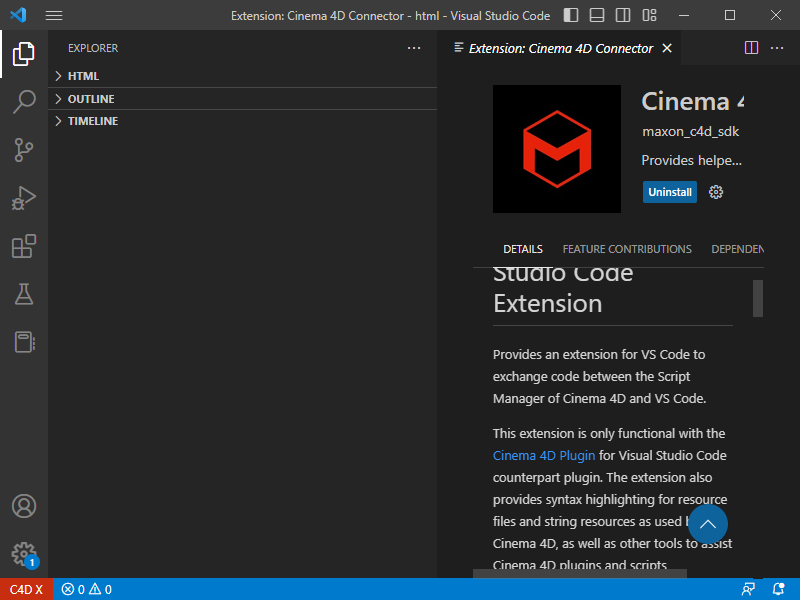
With R26, a plugin was introduced in Cinema 4D that communicates with a Visual Studio code extension. With version 2023.2, this code exchanger plugin was integrated directly into Cinema 4D so that you no longer need to install it manually. However, the Visual Studio Code extension must still be installed manually and can be found here: https://marketplace.visualstudio.com/items?itemName=maxonc4dsdk.cinema4d-connector.
The Code Exchanger feature enables communication between Cinema 4D and Visual Studio Code, allowing developers to send and/or execute a Python script from Cinema 4D to Visual Studio Code and vice versa.
In addition, the Visual Studio Code extension enhances the development experience of all Cinema 4D developers by enabling auto-completion of the `c4d` Python package, debugging support, syntax highlighting for ".*res" and ".*str" files, or even the output of Cinema 4D's Python console directly in Visual Studio Code.
This functionality can be switched on or off via this command or via the </> icon in the header of the Script Manager. An icon with a blue background indicates an active code exchanger.
As soon as the Visual Studio Code extension is installed in Visual Studio Code, you should see a red box with "C4D X" at the bottom left of the window in the status bar. When you click on it, a connection to the previously activated Code Exchanger in Cinema 4D will automatically be established so that the color of the box in the standard status bar changes
 A new C4D icon will appear in the status bar of Visual Studio Code
Send code from Cinema 4D to Visual Studio Code
Create a new Python file in the Script Manager or use an existing one. The Send to IDE command in the File menu of the Script Manager lets you send the script content of the active script to all IDEs connected to Cinema 4D. This command can also be found in the Script Manager layout as an icon at the top right, directly next to the icon for Start/end code exchanger.
Visual Studio code functions
c4d Python package auto-complete
The auto-completion for the c4d package in Visual Studio Code lets you work faster without always having to look in the documentation. The c4d.path setting must be defined for the extension to work. It is defined when Visual Studio Code establishes a connection to Cinema 4D for the first time.
Commands
All commands of this extension can be found by pressing Ctrl+Shift+P and searching for C4D. They all require Visual Studio Code to be connected to Cinema 4D.
- Load script in the Script Manager: Load the active script from the Visual Studio Code Editor into the Cinema 4D Script Manager. Visual Studio Code should be connected to Cinema 4D to use this command.
- Save file to disk: Works as expected, saving the file updates the script content both in the IDE and in Cinema 4D.
- Untitled script from Visual Studio Code: A new temporary file will be created in Cinema 4D. This file will be added back to Visual Studio Code and for communication with Cinema 4D you should use this file instead of the previous untitled file.
- Temporary script from Cinema 4D: Works as expected, Ctrl+S sends the content to Cinema 4D. The autocomplete function will not work.
- Execute in Cinema 4D as a script in the Script Manager: Execute a script directly in Cinema 4D. Visual Studio Code should be connected to Cinema 4D to use this command.
- File or script from a temporary Cinema 4D script saved on the hard disk: Update the content of the script in Cinema 4D and execute it.
- Untitled script from Visual Studio Code: Create a new temporary Python script in Cinema 4D. Execute it and delete it from Cinema 4D.
- Debugging in Cinema 4D as a script in the Script Manager: Start a debugging session for the specified script in Cinema 4D. Encrypted Python files (.pypv, .pype) will be ignored and cannot be debugged. Visual Studio Code should be connected to Cinema 4D to use this command.
- The file will be saved on the hard disk: Will work as expected.
- Script from a temporary Cinema 4D script: Not supported.
- Untitled script from Visual Studio Code: Not supported.
- Switch connection with Cinema 4D: Switches the current connection between Cinema 4D and Visual Studio Code. This is comparable to clicking on the C4D status bar in the bottom left-hand corner of Visual Studio Code.
Output in the Python console
As soon as Visual Studio Code is connected to Cinema 4D, new content from the Python console will also be displayed in the Visual Studio Code "Cinema 4D" console.
Syntax highlighting for *.res and *.str files
The c4d.path setting must be defined for the extension to work. This is defined when Visual Studio Code establishes a connection to Cinema 4D for the first time.
Extension settings
This extension comes with the following settings:
- c4d.path: Path to the Cinema 4D directory. This will be used for automatic completion. If not defined or invalid, it will automatically be defined when Visual Studio Code and Cinema 4D are connected for the first time.
- c4d.ip: IP address used for the connection with Cinema 4D.
- c4d.port: Port used for the connection with Cinema 4D.
Known problems
- Auto-completion does not work with temporary scripts from Cinema 4D that have a path that looks like Root@12345678/Scripts@12345678/untilted.py.
- When the Load Script in Script Manager command is used for an unnamed file, a new temporary file will be created in Cinema 4D and returned to Visual Studio Code. This file should be used for data exchange from/to Cinema 4D.
- In the first debugging session, a message about the obsolete use of ptvsd will be displayed; this is a false alarm and can be ignored.
Use this dialog to define which code exchanger should be used and which port should be used for communication.
Dialog
Icon
Here you can see the icon assigned to the current script. You can assign your own icons with Load icon or Render icon.
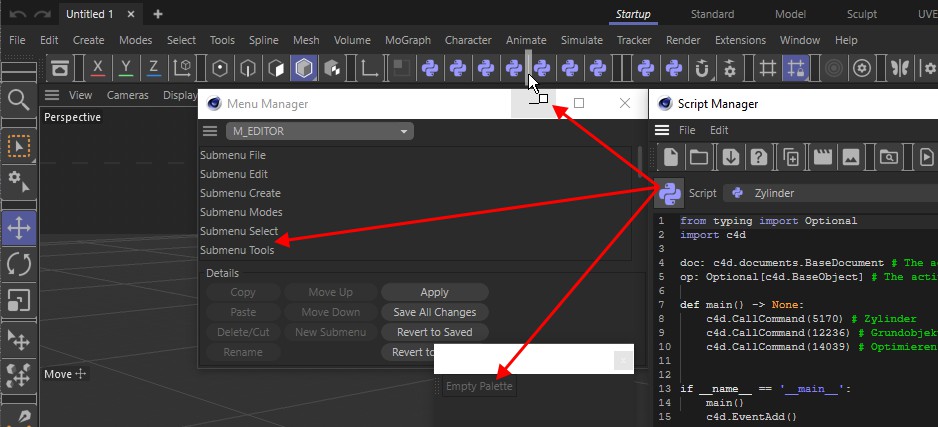
You can simply drag and drop this icon into an existing icon bar, a newly-created command palette or into the Menu Manager.
Script
All scripts in the library / scripts folder of the default settings directory are displayed here with the file name. If scripts are marked with a small x, these scripts have not yet been saved.
Keyboard shortcuts
Click on this button to call up the Command Manager, where the current script is already highlighted and is waiting for you to assign a keyboard shortcut to it.
Execute
Clicking on this button will execute the script. Any error messages will be displayed in the console (main menu: Extensions/Console).