UV Tools
UV Polygons
Selections
Move
Scale
Non-Uniform Scale
Rotate
Shear U / Shear V
Magnet
UV Transformation
Each object polygon has a UV polygon on the texture to control which part of the texture is mapped onto the object polygon. Because each object polygon has a UV polygon, the number of UV polygons equals the number of object polygons. If you delete an object polygon, its UV polygon is also deleted.
The UV polygon is otherwise independent and can be moved, scaled and rotated. In other words, no matter how you move, scale and rotate the UV polygon, the position, size and direction of the object polygon remains unchanged. All that changes is which part of the texture gets mapped to the object polygon.
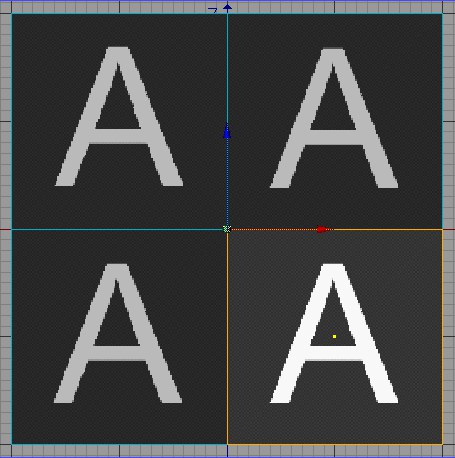
For example, suppose a UV polygon is over a black part of the texture. As a result, the object polygon is black. Next you move the UV polygon to a red area of the texture. The object polygon itself is not moved, but turns red.
To display textures in the view panel, ensure that Disable Textures is disabled on the Display menu and choose a shading mode (i.e. Gouraud Shading or Quick Shading).
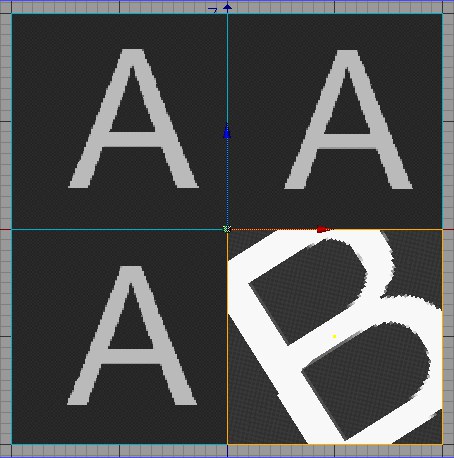
You can, if you wish, place UV polygons on top of one another. All UV polygons can occupy the same part of a texture, in which case each object polygon would receive the same part of the texture. Take a look at the following examples.
 |  |
 |  |
 | 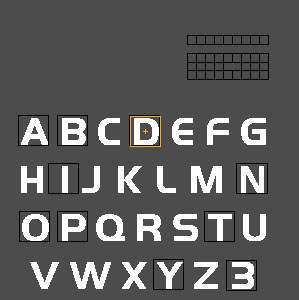 |
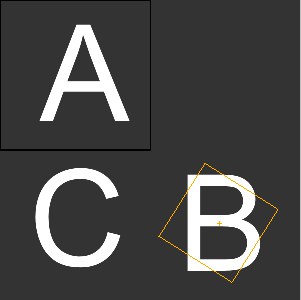
In the image on the right you can see how the UV mesh can be manipulated to achieve the desired result. At the top right, the original UV mesh has been scaled down and moved to empty regions of the texture.
The UV polygons in the center row were each positioned over the respective letters.
The tools described in the following sections work analogeous with the selected points. To provide a better overview, the functions are only described using polygons as examples. If a function differs with regard to points, this will of course be mentioned.
Most of the following tools work in both the 3D view and the texture view.