Specular
This channel primarily defines specular highlights. As in reality, rendered hair also has 2 sources of specular highlights. The first source originates from reflections on individual hairs, the second from an overall reflection from within the hair. The second source is, therefore, influenced much more by the color of the hair than is the first.
Hair lets you define each specular highlight separately.
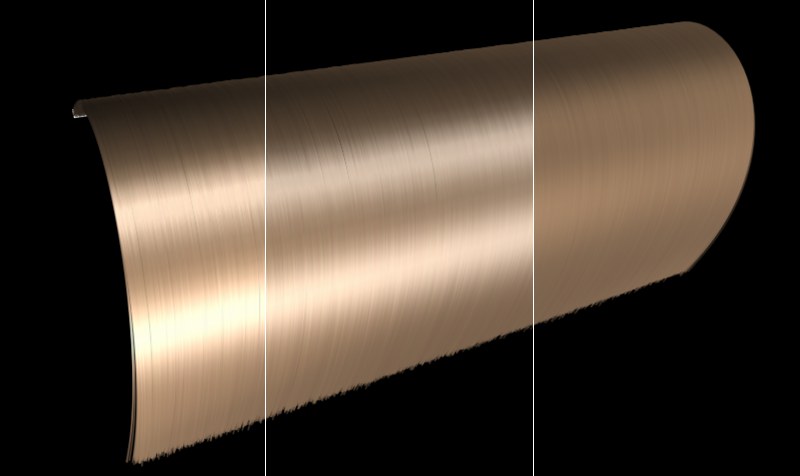 Left: Both specular highlights. Center: Primary highlight only. Right: Secondary highlight only.
![]() Primary
Primary
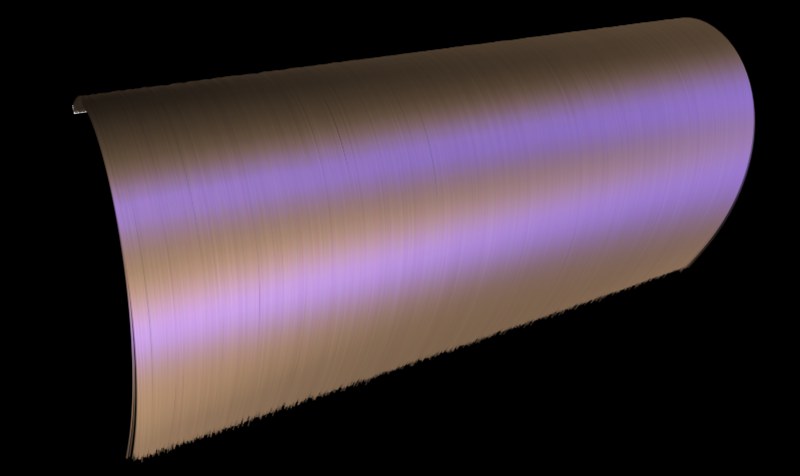 In this example, a blue specular highlight was used.
If you want to change the color of the primary specular highlight, this is where you do it. The color of the secondary specular highlight is determined by the hair color (Color channel). If you want to define the specular highlight color using a texture, simply load a texture into the Texture field.
Use this slider to adjust the strength, and therewith brightness, of the specular highlight. The lower the value, the more dull the hair will appear.
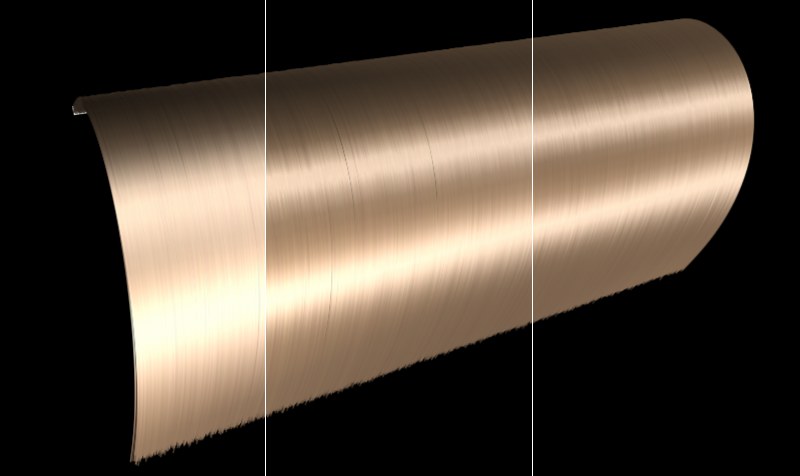 Increasing Sharpness values from left to right.
The Sharpness slider controls the spread of the specular highlight. Tip: You can enter a value greater than 100% for most Specular settings. Setting Strength and Sharpness to greater than 100% can be especially helpful in achieving really snappy specular highlights.
You can also get sharper specular highlights by changing the Sampling parameter to Vertex or Pixel (Render Settings: HAIR renderer / Render tab), which will increase the render time.
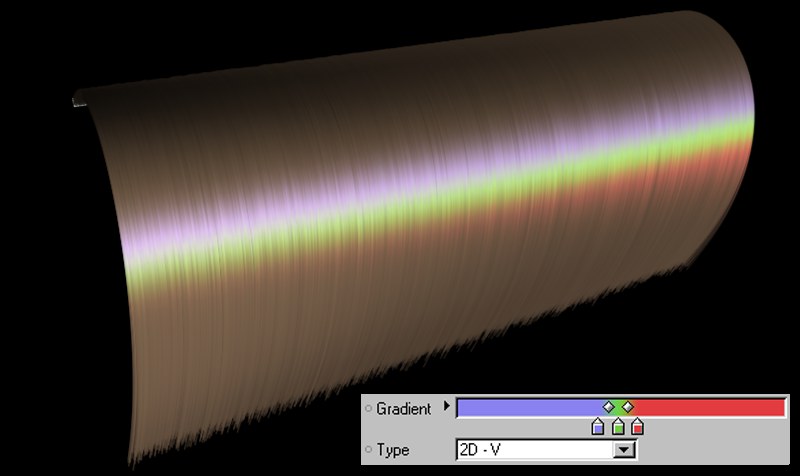
Here you can load a texture or shader to that will define the specular color along the length of the hair.
A good gradient to use is the 2D-V type – this gradient will run over the entire length of the hair.
See Blend Modes.
See Blend Modes.
![]() Secondary
Secondary
Strength [0..10000%]
Sharpness [0..+∞]
Texture
These are the settings for the secondary specular highlight. These settings behave just like the ones just described for the primary specular highlight. Below, the difference between the two is demonstrated:
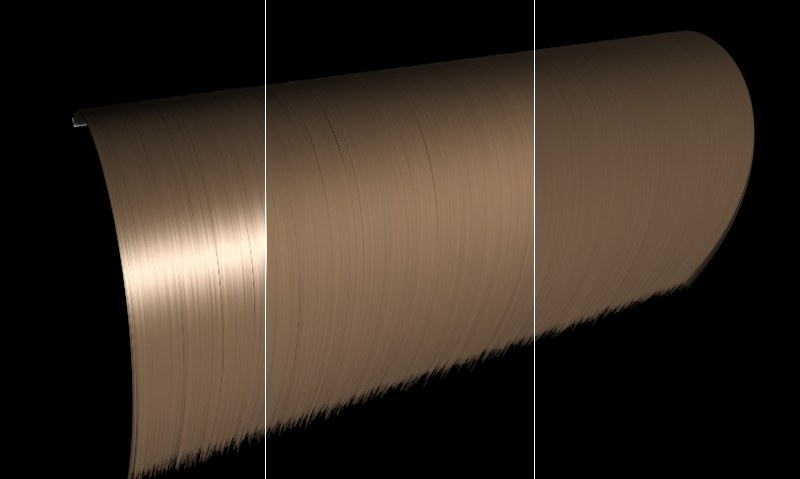 Left: Both specular highlights are active. Center: The primary specular highlight has been turned off. Right: Both specular highlights have been turned off.
See Blend Modes.
See Blend Modes.
Use this setting to adjust the specular strength resulting from back lighting (light source behind the hair).