Illumination
Receive GI
Strength [0..10000%]
GI can be applied to hair if the Raytrace render mode has been selected in the Hair render presets’ Render tab, the quantity of which can be adjusted using the Strength setting. The hair itself will not use GI to affect other objects.
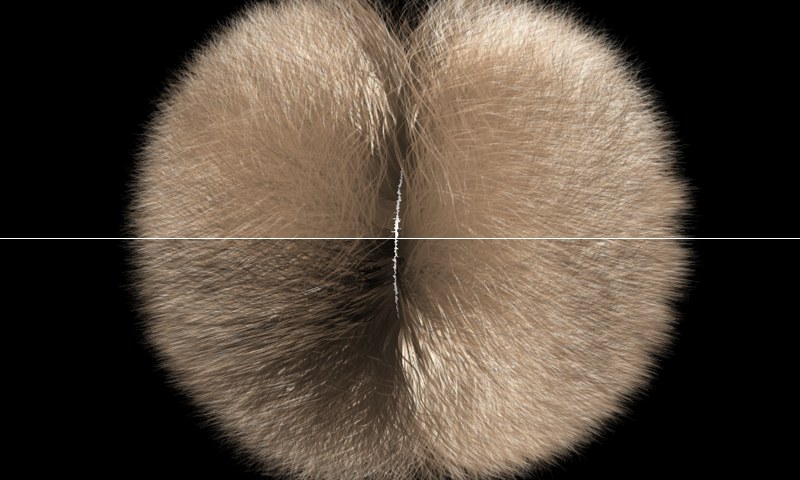
 Top: A very low Diffuse value. Bottom: Maximum Diffuse value.
The effect of this setting remains very understated and can best be seen when the hair tangents run in the direction of the line of sight, e.g., when looking at a parting in hair from the top. Diffuse hair shading does not function like Phong shading in that it utilizes surface Normals - diffuse shading of hair utilizes the hair tangents. If you look at a parting from the top, the hair tangents basically run towards you; this means the maximum amount of darkening at the base of the parting will be visible to you (this is the result of Diffuse shading of hair when a diffuse value greater than 0 is used). Use the Diffuse setting to adjust this effect.
Roughness [0..100%]
Variation [0..100%]
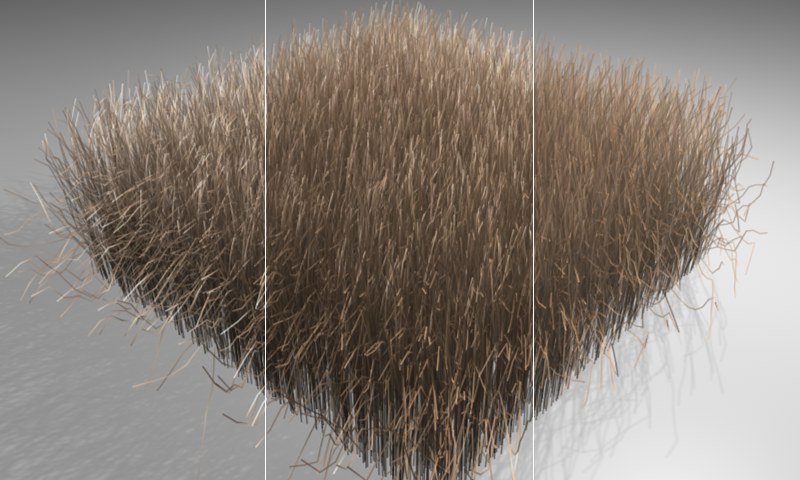
 Increasing Roughness value from left to right.
Roughness has its strongest effect on specular highlights and reflections. The higher the Roughness setting, the more the light will be distributed amongst the hair and the more dull the hair will appear.
Use the Variation setting to randomly vary the amount of roughness within the Roughness channel.
Reflectiveness [0..+∞%]
Translucence [0..+∞%]
Although these are two separate settings, they actually belong together: Reflectiveness defines the intensity with which the hair is lit from the front; Translucence defines the intensity with which the hair is lit from behind, whereby you can determine how much light should pass through the hair from behind.
Each slider is basically a brightness regulator for its corresponding effect.
If Translucent is set to 0, the hair will appear very dark if lit only from behind.
The following two effects are chiefly responsible for giving hair a realistic look when rendered:
- Translucence, which lets light pass through the hair.
- Transparency (Transparency channel), which makes hair visible through other hair.
Hair lets you adjust both effects, independent of one another. This gives you more control over backlight effects.
Transparency, which is turned off by default, has less of an effect on the hair than does Translucence, and therefore requires longer render times. In most cases you can forgo using Transparency. Only when rendering ultra-realistic images should you not be timid about using Transparency – but don’t forget to adjust Translucence accordingly.
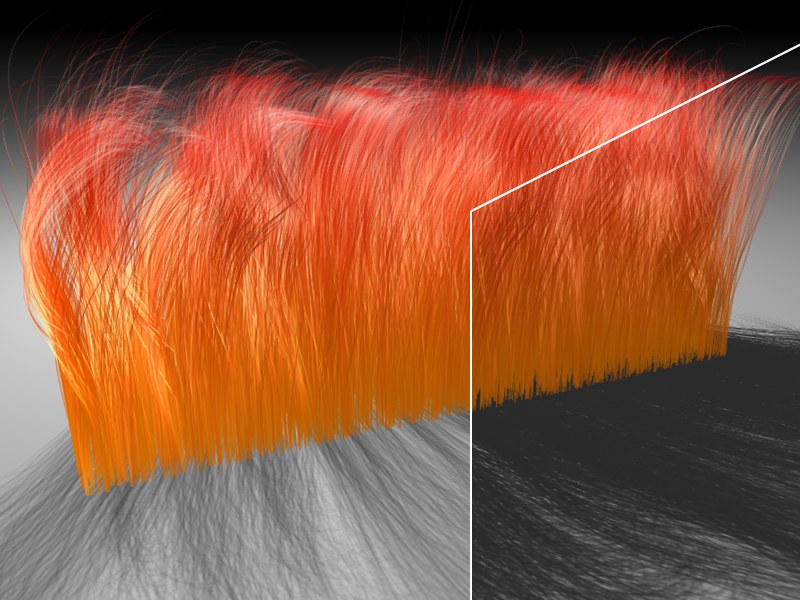
 At left a lesser, at right a greater Shadow Density value. Notice the difference in the hair itself.
Use the Shadow Density setting to control the density of the shadows cast by hairs on geometry as well as the hairs’ self-shadowing.
 Left: A lower Received Shadow value. Right: A higher Received Shadow value.
Use this slider to adjust the strength of the shadows cast by your scene objects onto the hair.
The effect of any of these three shadow settings can only be seen if a light source is actually casting a shadow onto the hair.
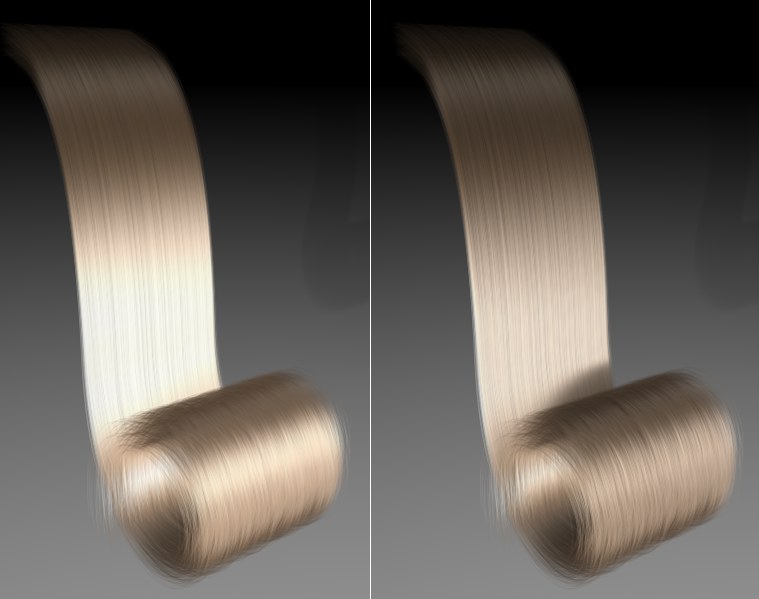
 Left: A lower Self-Shadow value. Right: A higher Self-Shadow value.
Use this slider to adjust the strength of the shadow on the hair itself.
This setting is primarily designed to adjust the light on the reverse side of the hair (as seen from the origin of the light source). This setting also has an effect on the Received Shadow and on the Self Shadow. Back Shadow is designed for fine-tuning all shadow effects on the reverse side of the hair.