Shape
This tab contains several graphs that can be used to alter the look of the feather as you wish.
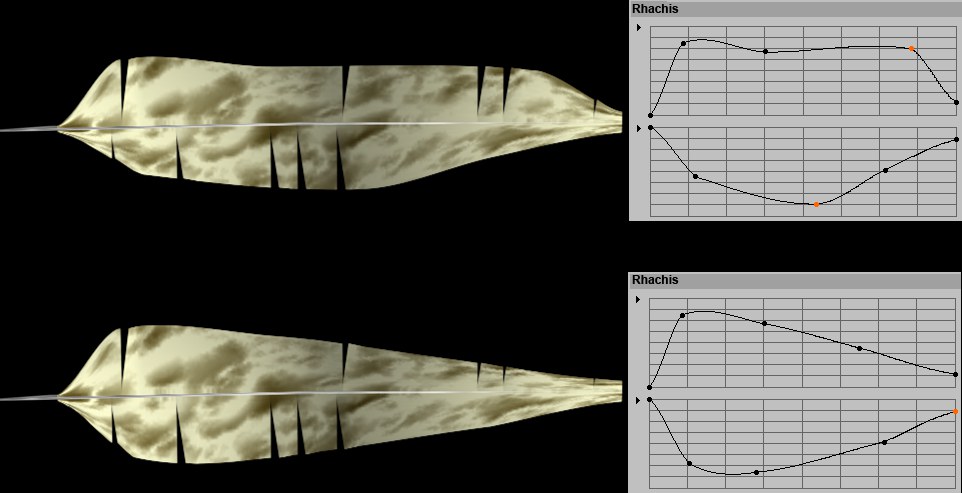
Use the Form graphs to give the outer edge of your feather a unique shape. Each side can be adjusted separately. The maximum Y-coordinate length is defined by the Barb Length, which is used to define the length of the feather hair.
![]() Cross Section
Cross Section
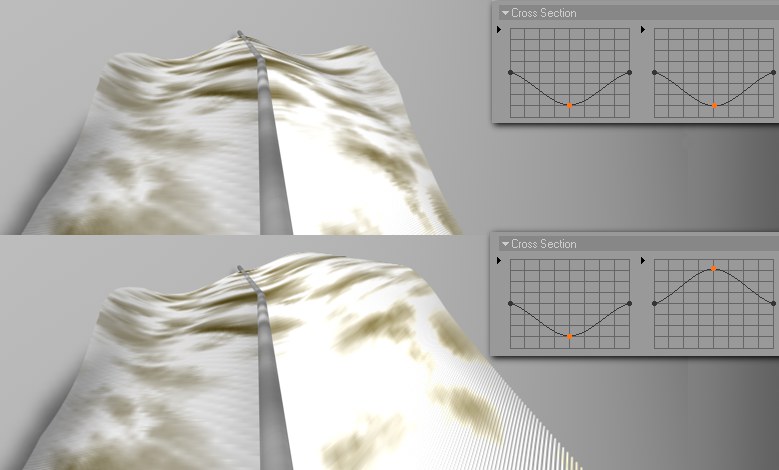
The Cross Section graphs let you adjust the height of each side of the feather separately. The maximum Y-coordinate length is defined in the Displace setting of the Displacement drop-down menu. Use Displace to then adjust the distance the barbs are moved, within the limits set by the graphs.
![]() Curve
Curve
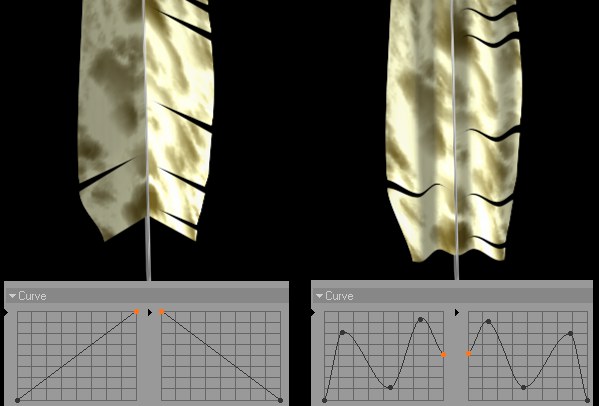
Use the Curve graphs to reshape the individual feather hair points (number of points set in Segments in the Object tab). Each half of the feather can be adjusted separately. The graphs can have negative or positive values - a horizontal line in the center is a neutral position. The hair roots will be displaced as well, which means that the feather hair can be moved past the defined end of the feather.
The amount of displacement can be defined separately for the top and base of the feather using the Curve (Top) and Curve (Base) settings.
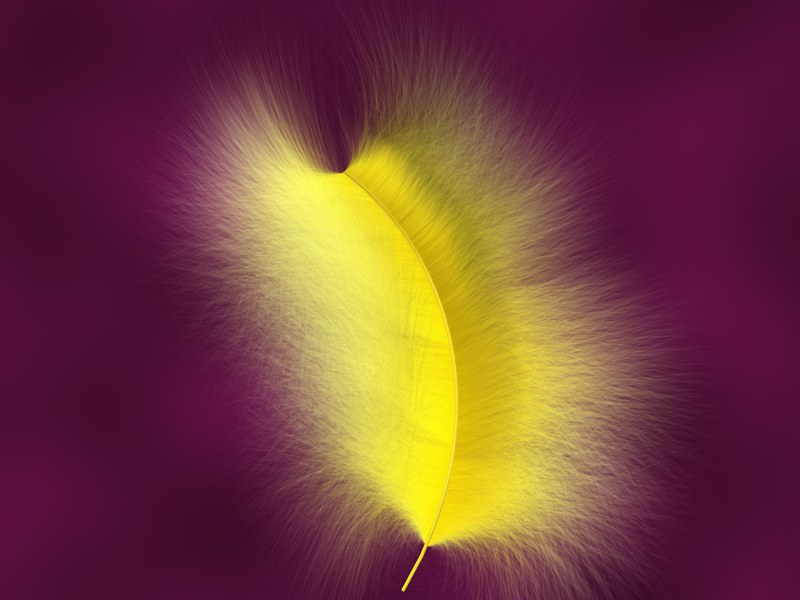
Don’t forget that each channel of the Hair material can influence the feather hair. In the sample below, the Frizz and Kink channels were applied in addition to Rachis Rotation and Barb Rotation:
Remember also, that the Feather object can be used to create anything that uses hairs attached to a spline, such as brushes, feather dusters, and much more.