Cameras
Navigation
Using these commands, camera modes, which are normally defined in the menu (see Camera Mode), can also be switched.
Each viewport has its own independent camera, called the editor camera. The standard camera is active by default, but you can create and activate your own cameras. Unlike the editor camera, your own cameras are shown as objects in the Object Manager (see Scene Cameras below).
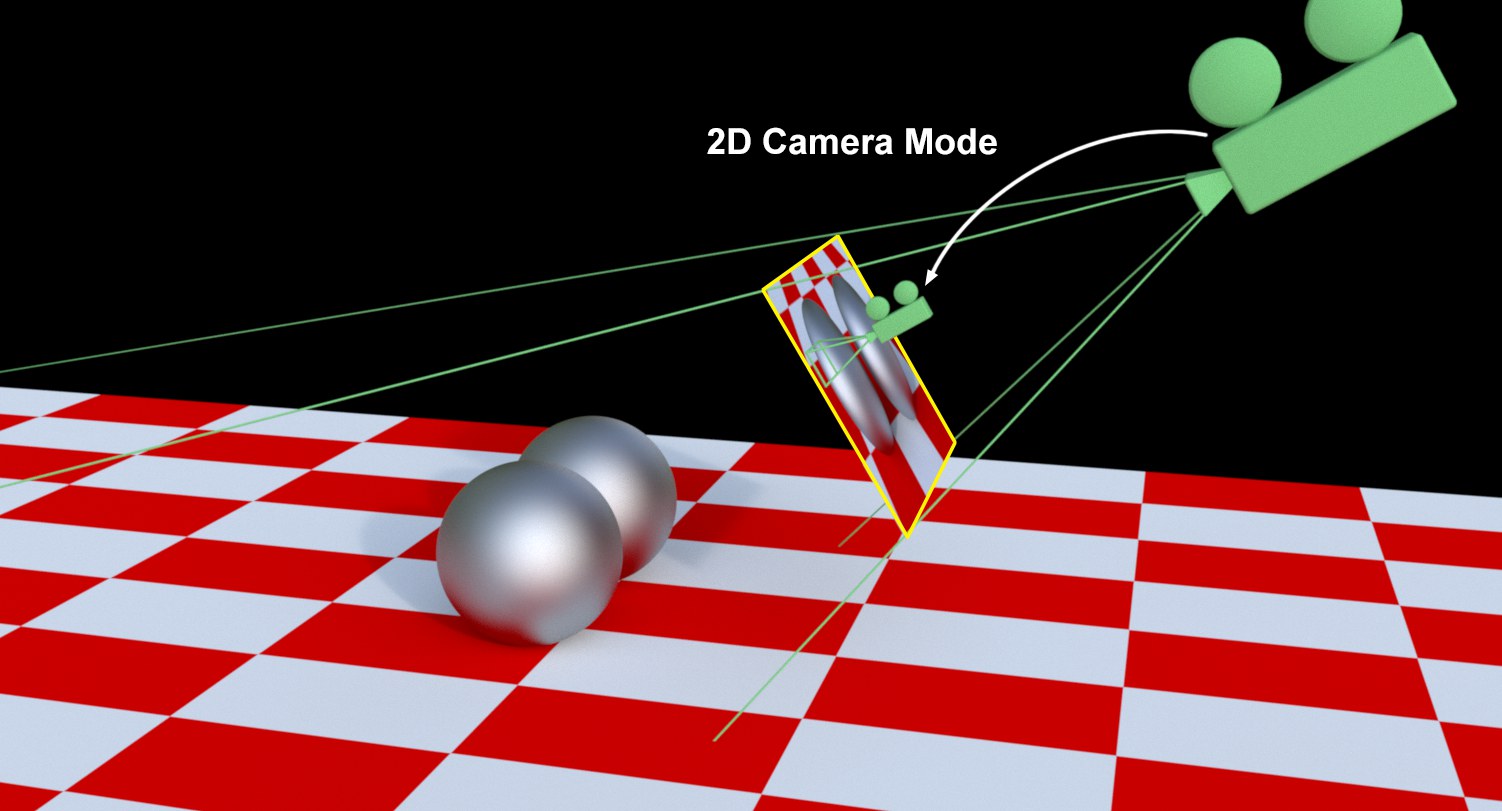
In this special camera mode, 3D object will be displayed in 2D. You can navigate as usual using the hotkeys 1 and 2 as well as the navigation icons at the top right of the view, i.e., you can zoom in and out, move through the scene without changing the persepective/parallaxe or position of the camera. Disable this mode to return to the previous viewing method.
This is a temporary mode, which can be used to more precisely examine parts of the scene, e.g., to paint or adjust something. This mode is designed for use in the perspective view.
A similar camera mode is available for the Motion Tracker when navigating footage.
To link a camera in the scene to the view so that the view looks though this camera, choose the desired camera from this sub-menu.
Choose this command to place the camera on the object axis (e.g., along the Z axis) of the active object. Your view will point in the direction of the object’s Z axis. This command can be useful, among other things, for checking which objects a light source can see. Keep in mind that in some display modes your view may be blocked by the active object’s surfaces.
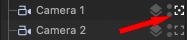
Alternatively you can click on the corresponding camera’s icon in the Object Manager.
This command activates the editor camera.
Perspective
Here you choose the projection mode for the camera. You can choose from over a dozen modes. The Perspective view shows a horizon line, which corresponds to the horizon at infinity.
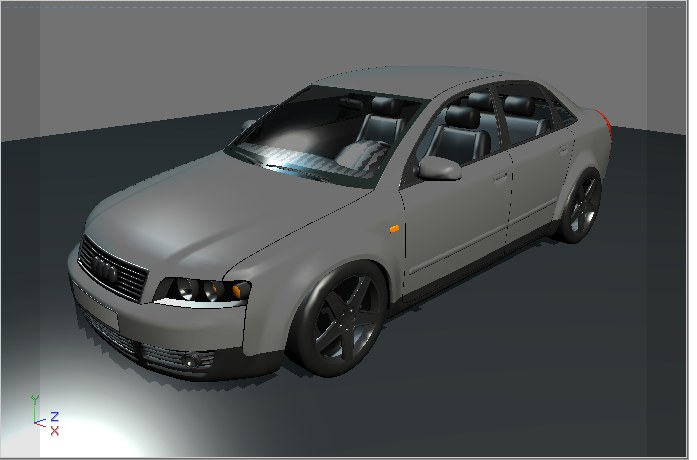
The default projection mode for the viewport. It shows you the scene as though looking through a conventional camera.

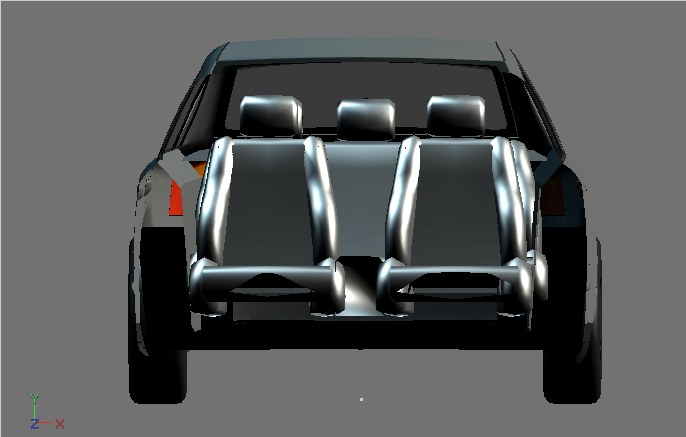
The vanishing point is infinitely distant. All lines are parallel.
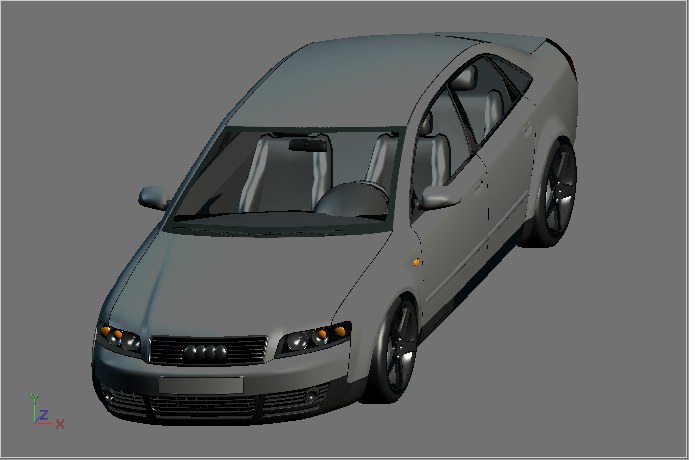
The YZ view.
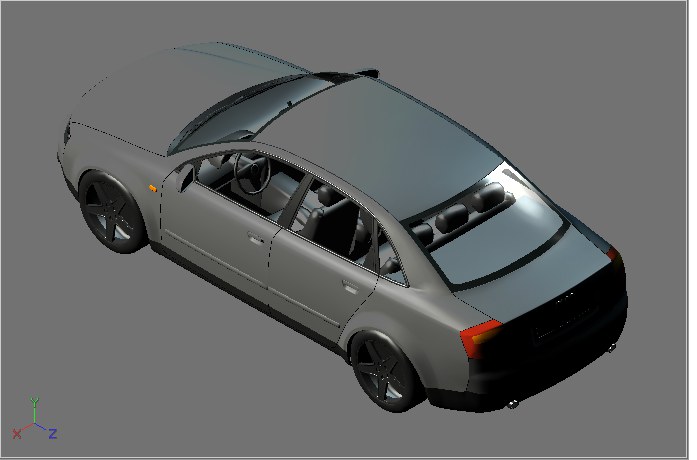
The ZY view.
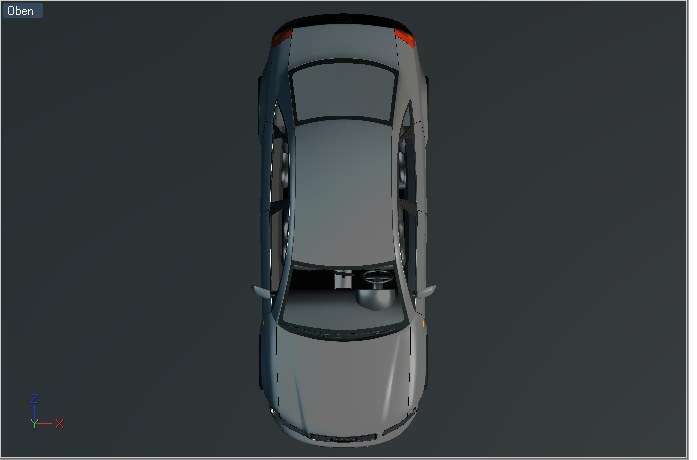
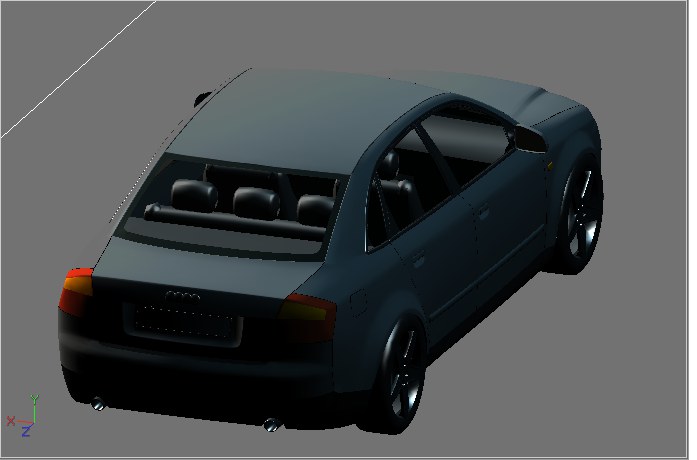
The XY view.
The YX view.
The XZ view.
The ZX view.

 X:Y:Z = 1:1:1.
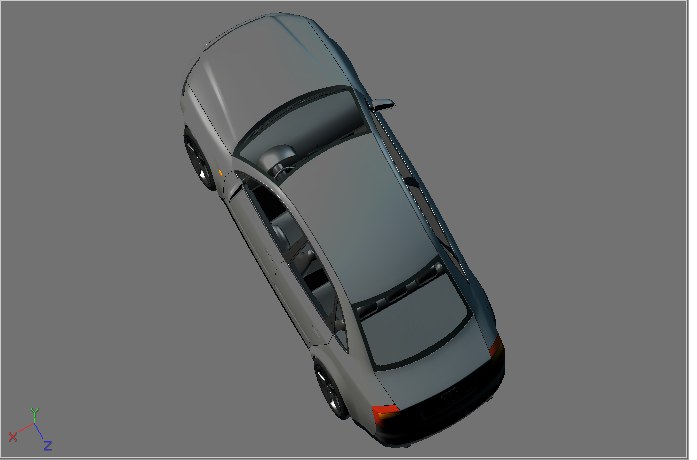
 X:Y:Z = 1:2:1.
 X:Y:Z = 1:0.5:1.
 X:Y:Z = 1:1:0.5.
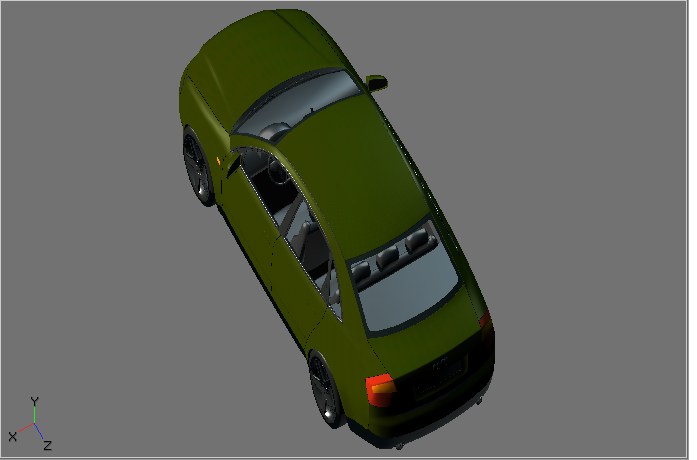
This is a popular choice for architecture.
A popular choice for technical subjects (e.g., machinery). The X:Y:Z format is 1:1:1.
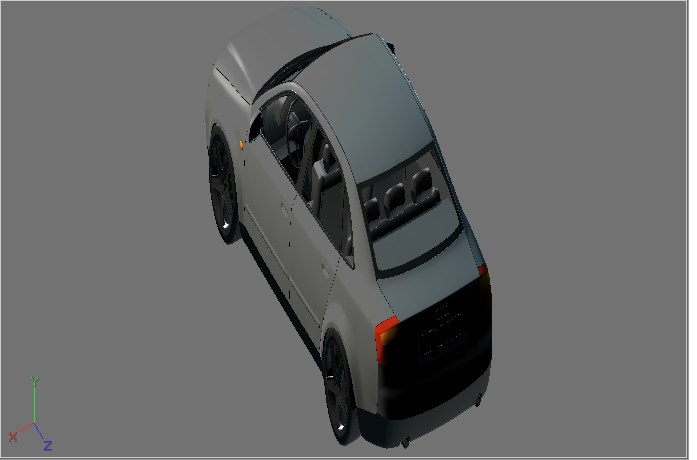
Diametric (right): Similar to Isometric, but with an X:Y:Z format of 1:1:0.5.