Generate
This tab mainly serves to replace hair with polygons (even selected objects using the Instance option) or splines. If, for example, you want to use the Cinema 4D Standard renderer to render HAIR, or render HAIR in conjunction with Sketch and Toon, you will need polygons. Furthermore, plugins are available that require splines for their special areas of use. This can all be set using the Generate tab. The Hair object can also be made editable (by pressing the c key), which will make it polygonal. Otherwise polygons will only be present internally. The same applies to splines.
Glass hair with an area shadow, as shown in the image below, can only be created using the Cinema 4D renderer. If you want to create a similar effect, simply apply a normal Cinema 4D material to the Hair object:
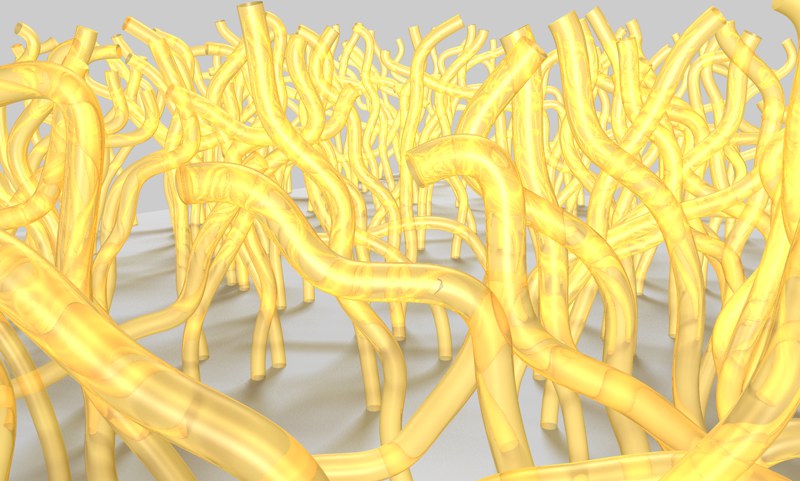 Hair rendered using the Cinema 4D renderer: Transparent, refracting hair, and area shadows on the floor.
If you want to render polygonal hair with lighting properties similar to those of the Hair material, use the polygon hair shader (see Polygon Hair Shader).
Even trees can be created using the parameters in this tab
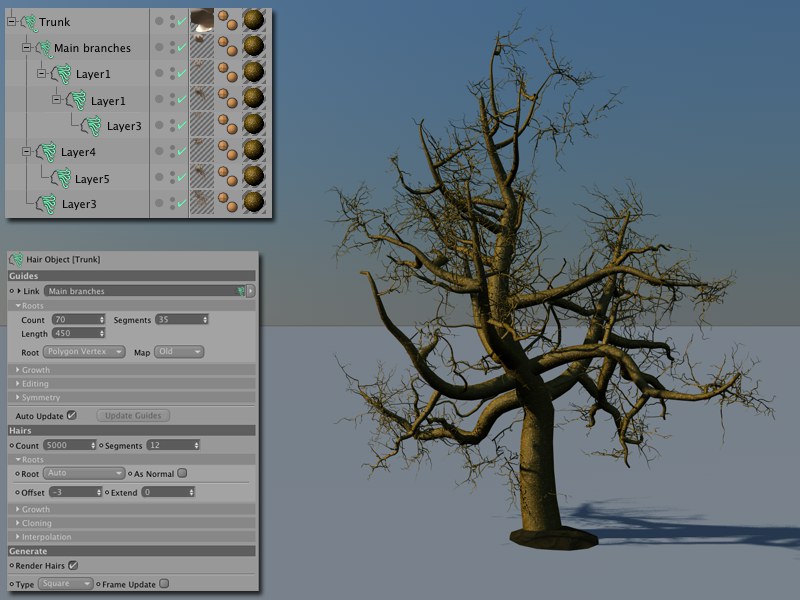 © Bernd Neutag (JackMcRip).
The branches in the example above are each individual HAIR Objects with increasing Guide and hair counts. The Kink channel was used to create the smaller sprawling branches.
Even leaves could be created, if desired. All you would have to do is add HAIR Object and add simple layers with Alpha channels cut out in the shapes of leaves and apply the Instance type.
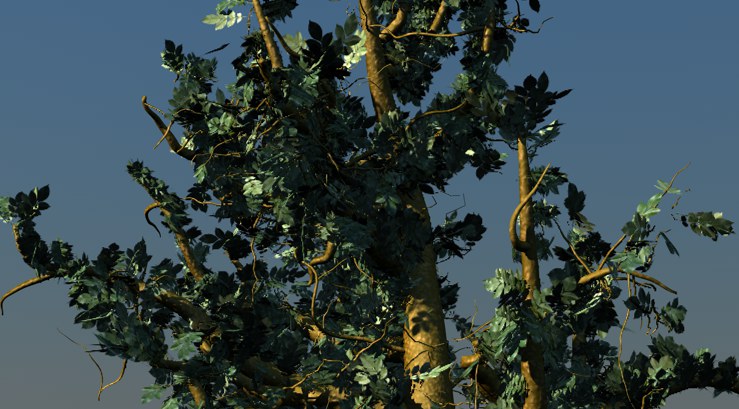 These leaves were created using instances.
Use this setting to turn the hair of a given Hair object on or off for the Hair renderer. This setting will not have an effect if applied to polygons used as hair, in conjunction with the settings described below.
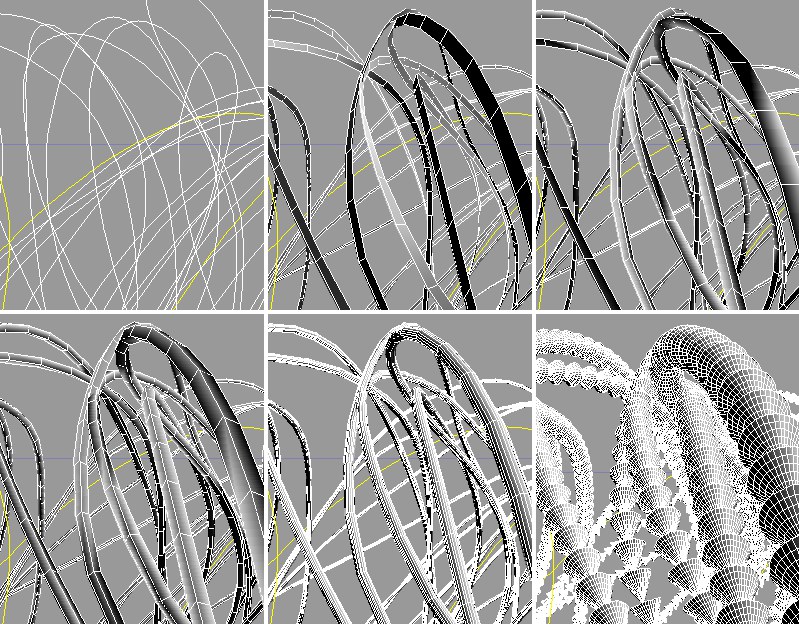 Clockwise from top left: Spline, Flat, Triangle, Square, Circle, Instance (with cones).
The following types of generation are available (each is affected by the hair and segment settings in the Hairs tab):
No polygons or splines will be generated.
A spline segment of a common spline object will be generated from each hair.
A flat polygon band will be generated from each hair.
A polygonal tube with a triangular cross-section will be generated from each hair.
A polygonal tube with a square cross-section will be generated from each hair.
A polygonal tube with a circular cross-section will be generated from each hair.
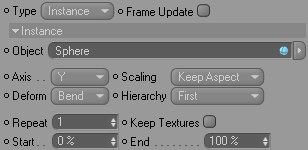
The Instance option lets you use any polygonal object (e.g., no parametric primitives or Generators) in place of hair:
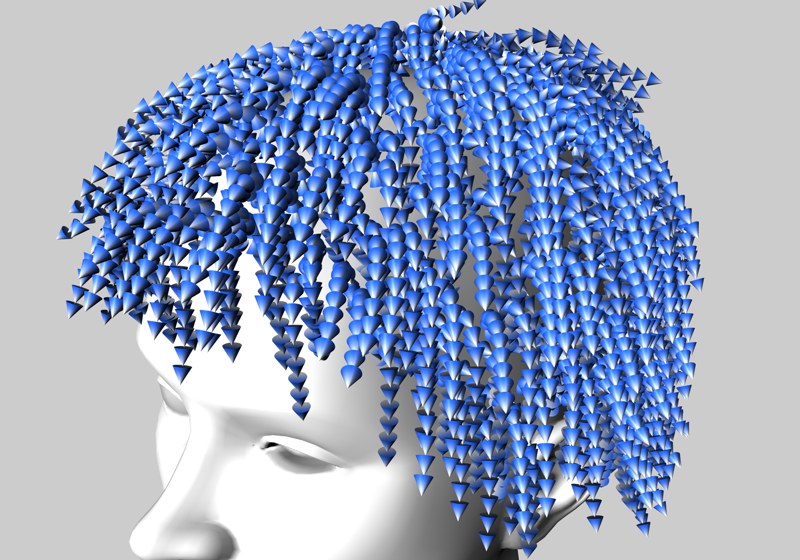 A cone that was replicated using Instance (define the thickness in the Thickness channel of the Hair material).
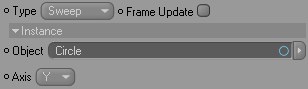
A polygonal tube will be generated from each hair, whose profile can be defined freely. To define the profile of the tube, place a spline object into the Object field. Use the Axis setting to define the axis on which the spline object should run along the hair in order to generate the volume of the hair. It is not possible to generate caps for this Sweep. If you want to create caps, select the Spline option and assign a Sweep object to it, which will give you more control.
If shaders are animated in the Hair material (e.g., in the Displace channel in order to simulate hair billowing in the wind), activating this option will refresh the generation type at each frame.
 Instance
Place the object, from the Object Manager, into this field that should be used in place of the hair. Make sure that the object is made up of as few polygons as possible, since memory requirements can increase dramatically once the object is instanced.
This setting defines along which axis the instanced object will run along the hair.
Use this setting to define how the instances should be scaled in accordance with the thickness of the hair.
Use this setting to define how the instanced object will be deformed when it runs along the length of the hair. If None is selected, no deformation will take place. If Bend is selected, the instances will bend in accordance with the hair (make sure the original object contains enough subdivisions). Align will arrange the instances consecutively along each hair without deforming them. The axis defined in the Axis setting corresponds to the hair tangent.
Uniform will scale each instance equally and proportionally along all axes – hence, its shape will not be changed. Keep Aspect will maintain the aspect ratio of each instance, whereas Fit will scale each instance according to the thickness of the hair.
If more than one object is instanced, the sequence in which the objects are applied from the hair root can be defined using Hierarchy. The original objects must be child objects (in the Object Manager) of the object located in the Object field of the Generate tab. The hierarchical sequences listed below are available. The examples are based on the following scenario: 4 objects are used – A,B,C & D. Objects B,C and D are all child objects of object A. The possible sequence of objects, starting at the root are:
- First: A, A, A, A, A, A, A, A, etc.
- Forward: A, B, C, D, A, B, C, D, etc.
- Reverse: D, C, B, A, D, C, B, A, D, etc.
- Cycle: A, B, C, D, C, B, A, B, C, D, C, B, A, etc
- Random: C, A, B, B, D, A, B, C, D, etc., for example.
Use this setting to define the number of instances that will be generated per hair.
If a material has been assigned to the original object, activating Keep Textures will assure that all instances will be textured as well.
Use these settings to define over which length of the hair the instances should be arranged. If, for example, Start is set to 50%, instances will be arranged onto the hair beginning at its midpoint:
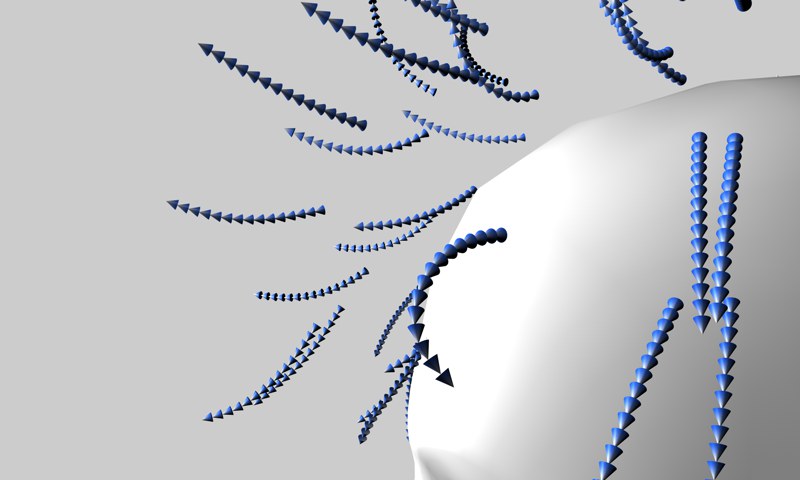 Start = 50%, End = 100%.
Alignment
Use this setting to define the direction the hair will lay (the shape of the hair itself will not be changed, only the (internal) orientation of the hair segment). This becomes important if Flat is selected in the Type menu, where hair is rendered as polygonal bands. You can define the alignment of the individual polygons in the direction of the camera, thereby ensuring the best visibility (of the polygons). The orientation of instances can also be set (whereby it is important that their Z axis is rotated to the correct direction). The following directions can be defined:
- Free: The alignment will be defined by the shape of the hair.
- Look X / Y / Z: Elements will be aligned to one of these three directions.
- Look Camera: Elements will point in the direction of the camera.
- Random: Each hair will be assigned a random direction, and the elements will be aligned accordingly. This option can also be used to assign a random thickness to polygon bands.
- Object: An additional field will be made available into which an object can be placed. The elements will then orient themselves based on this object.
Use this setting to define which coordinate system should be used.
Rotates the elements to be aligned by 180°. They will show in the exact opposite direction of the Alignment setting.
See Alignment / Object.
Advanced
Use this setting to define if polygon hair or spline hair should be converted (c-key) to a single object or if each hair should be converted to a separate polygon object (setting not active) or spline object (setting active).
The Triangle, Square and Circle generation types basically generate a simplified Sweep object, with the corresponding cross-section, along the length of a hair in order to give the hair volume. Start Cap and End Cap let you add caps to the ends of these elements.
If this option is active, the Square and Triangle generation types can only be displayed as squares or triangles, respectively, at segment joints. The slice will take place perpendicular to the hair, and the resulting shape will be defined as a polygon.
 From left to right: Hair, Camera, Normal.
Use the options in the Axis setting to define in which direction the polygons created using the previous Slice option should be arranged:
- Hair: The polygons will be perpendicular to the hair tangent.
- Camera: The polygons will point in the direction of the camera.
- Normal: The polygons will only point in the direction of the surface Normals at the hair root.