Clone Tool
![]()
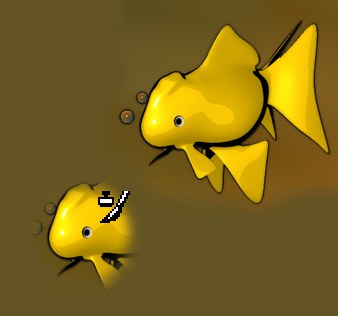
Use this tool to clone parts of your texture. When you select the tool, the mouse pointer changes to a pipette (press the
To clone a new region, Ctrl-click. Otherwise the clone tool works in the same way as the brush tool.
Cloning textures can also be done across multiple open Texture views, each with its own texture. Make sure you lock the Texture views ("lock" icon at top right). Textures from various bitmaps can be easly cloned.
In the Attributes Manager, you will find all the brush settings that are described in Brushes. Brush effects such as Spacing and Jitter are evaluated — you will probably want to disable these effects when cloning.
If this option is enabled, the composite image (i.e. the image you see in the Texture view) is cloned; otherwise, only the pixels in the active layer are cloned.
This option corresponds to the Painting Mode setting in the Color manager (see Painting Mode). In short, it defines whether each new brushstroke is cloned from the same source position.
These settings control the scale and rotation of the cloned texture areas.
The Clone Tool also works in MultiBrush mode. The Clone Tool will take into account all material channels (in either the Color Manager or the Material Manager) that have been activated via the pencil symbol.
