Sketch and Toon Shader
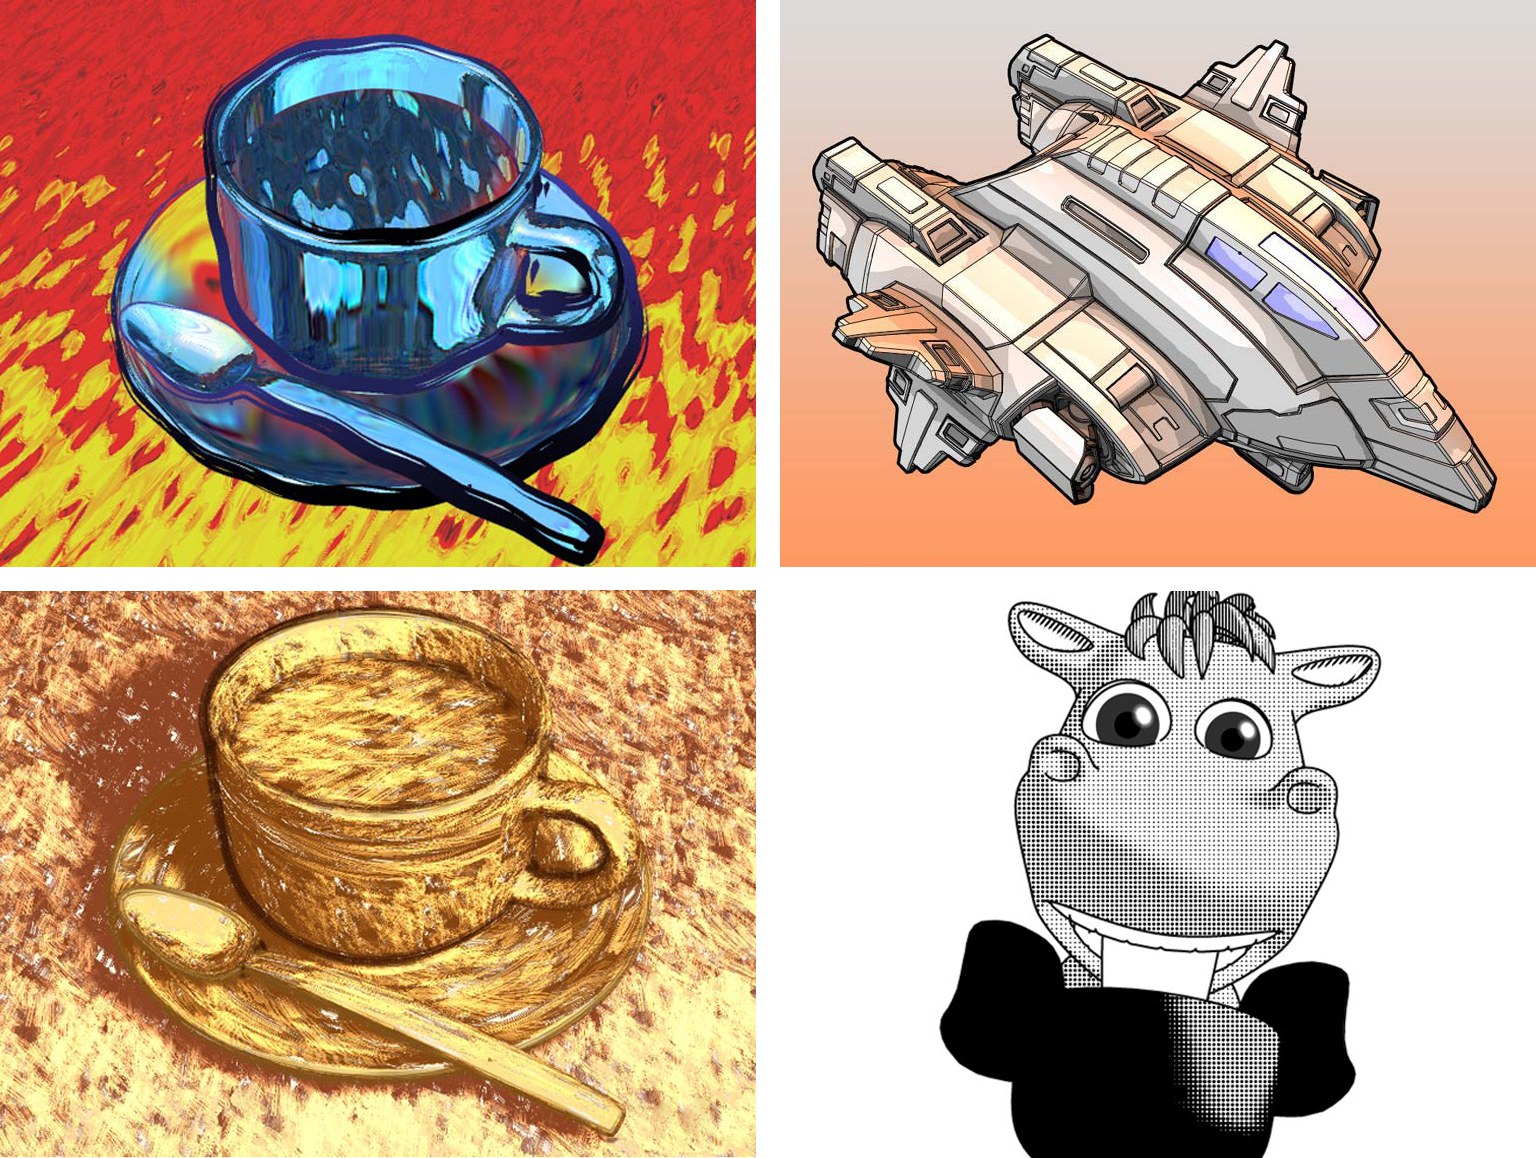 Images © Artur Bala (1 & 3), Michael Welter (2), and Toshihide Miyata (4).
Sketch and Toon comes with four powerful Channel Shaders: Art, Cel, Hatch and Spots Shader.
The Art Shader uses a sphere to calculate the lighting and shading of a given object. Uniform shading can be achieved by varying the surface and color of the sphere. This Shader can turn a run-of-the-mill rendering into an abstract masterpiece.
The cell Shader combines Manga and Anime shading styles with quantized color shading. Freely definable color gradients make it possible to create just about any look.
The Hatch Shader applies a freely definable hatch pattern based on any texture you select.
With the Spots Shader, points (or any other element you want to use) shrink in correlation to the brightness of the surface. This is useful for creating halftone effects that are common on low-resolution prints.
The Sketch shaders are channel shaders. You can load them into any material channel which accepts a texture, but generally they work best in the Luminance channel with all other channels such as Specular disabled.
Keep the following in mind: The Sketch shaders are rendered by Cinema 4D, not by the post effect. The post effect has some shading options which will affect the Cinema 4D rendering including the result of the Sketch shaders unless you switch off the options.
- In the Material Manager, choose Create / Materials / New Sketch Material to create a new material.
- Double-click the material’s thumbnail to display its settings in the Material Editor (or access the settings using the Attribute Manager if you prefer).
- In general, ensure all material channels are disabled except Luminance.
- On the Luminance tab, click the Texture triangle button and choose which Sketch shader you want to use (Art, Cel, Hatch or Spots) from Sketch.
- You will see the shader’s name appear to the right of the Texture triangle button. Click the shader’s name or its preview to display its settings.
To switch off post effect shading:
- On the Render Settings / Sketch and Toon / Shading tab, set Object to Off.
- If you want to switch off the post effect’s background color (a white background by default), set Background to Off.
Sketch and Toon allows you to shade the object using any standard shader, not just the Sketch shaders. As with the Sketch shaders, switch off the post effect shading options unless you want them to affect the rendering. For more details, see the previous section: Creating a Sketch shader.
The Art shader, Hatch shader and Spots shader each use a texture to shade the objects. For example, the Hatch shader uses a picture of a stroke or block of strokes to draw hatches onto the objects. Naturally you will want these texture strokes to look smooth and antialiased when rendered, which would usually mean setting Cinema 4D’s Antialiasing mode on the Render Settings / Antialiasing tab to Best.
A tip to speed up rendering is to set the Antialiasing mode to Geometry instead of Best and blur the texture slightly using the texture’s Blur Offset and Blur Scaling values. Although Cinema 4D will not antialias textures in Geometry mode, this blurring will produce smooth strokes that look antialiased, and the rendering will be much faster. Ideal for when you are using thousands of hatched lines.