Channel Shaders
Channel shaders have their name because they can only be used for a single material channel (i.e., a material property such as Color, Transparency, etc.). You can, however, copy shaders including all of their properties and paste them into other material channels.
Shaders are loaded in the Material Editor in place of bitmap textures or films. To open a channel shader, click the triangle button next to the Texture box and choose the shader from the drop-down list that appears. To edit a shader, click the shader’s name or preview picture.
The following parameters will appear.
You can assign a name to the shader. This name is used to refer to the texture in the XPresso editor and Timeline.
The Blur Offset and Blur Scale are present on the Basic Properties tab of all shaders.
These are the individual properties for each shader. You will find descriptions for these properties in the following pages.
Working with shaders in the Material Editor
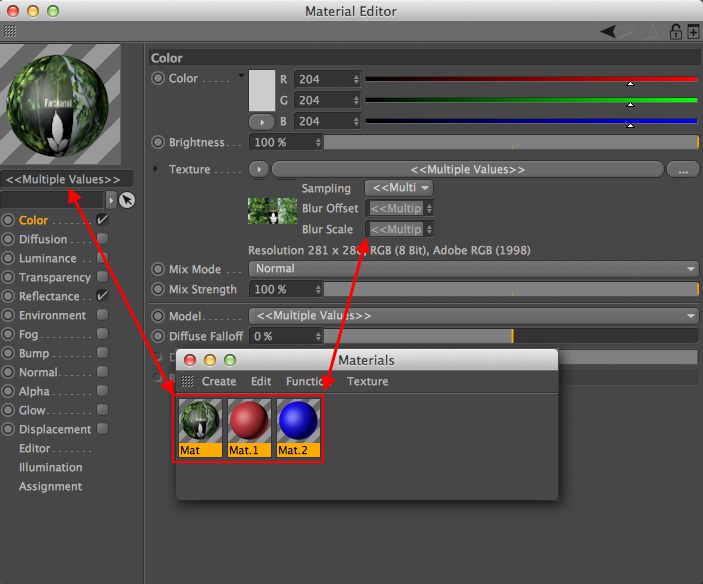
- Shader channels support multiple selections.
 Shader channels support multiple selections.
For example, you can select multiple materials and assign the same shader or texture to all of them in one go. Any changes that you make to the shader or texture will be applied to all the selected materials.
If the selected materials have different settings for an option, the option is highlighted in light blue and in addition is marked with a  .
.
Click the x to set all selected materials to the same state.
- You can drag & drop shaders from one material channel to another. Drag the shader’s preview onto the name of a different material channel, wait for the target channel’s parameters to appear, then drop the shader onto the Texture text box.
- Pop-up material channels in the Material Editor: Drag a shader preview over the channel of another shader and hold briefly. The menu for the channel over which the preview is held will open and you can drop the preview onto the channel.
2D shaders are always flat (like image textures) and can be applied to an object using a projection method (see Projektion).
All 2D channel shaders can be positioned precisely by adjusting the texture axis system. By changing the texture axis’ length, the positioning can be modified (in addition to the modifications created by the shader settings).
The tiling and texture length can also be fine-tuned.
3D channel shaders are also called Volume shaders because they permeate an object’s volume and in essence come to light through its surface.