Object Properties
Click the button and use the file selector that opens to choose which image file should be used to create the relief.
These values define the object’s dimensions in the X, Y and Z directions.
Width Segments [4..1000]
Depth Segments [4..1000]
The values define the number of width and depth subdivisions of the surface. The more segments you define, the finer the structure.
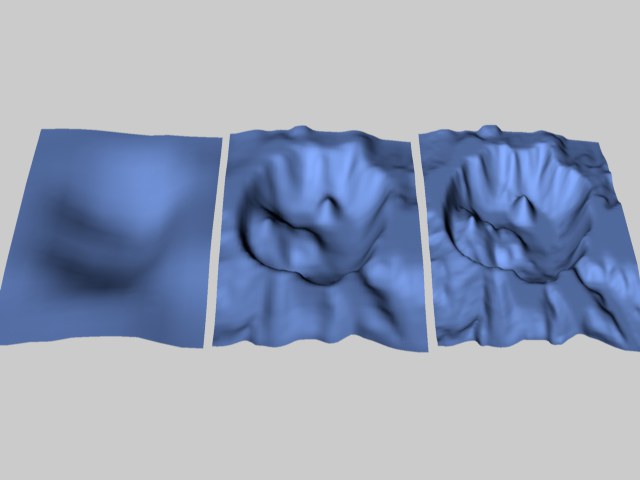 Reliefs of different subdivisions (on the left 10, center 50, on the right 100).
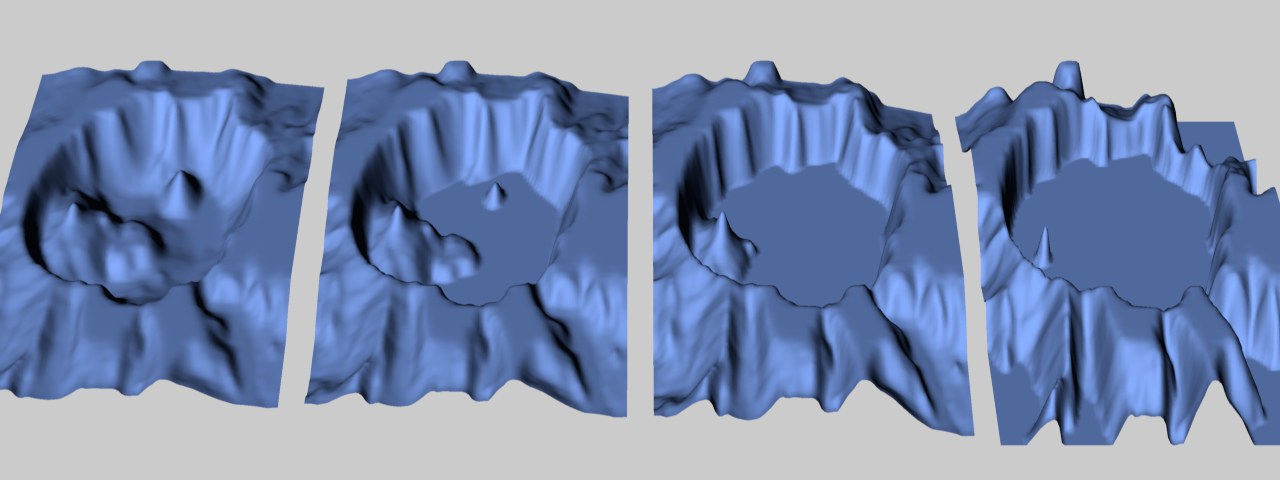
This defines the height of the notional sea. The greater this value, the further the landscape slips into the sea. At 100%, the entire landscape is flooded and disappears — a simple plane results.
 Different bottom levels (0%, 25%, 50%, 75%).
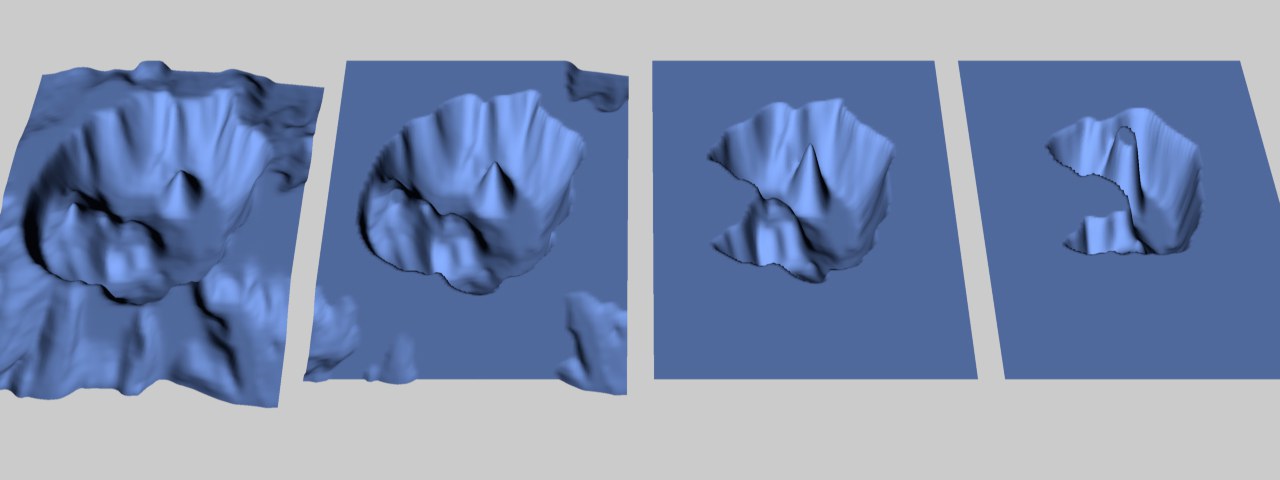
The value works in the reverse way to Bottom Level. Instead of being cut off from the bottom, the landscape is truncated from the top, creating flattened mountain tops. If the top level is set to 0%, a plane will result.
 Different top levels (100%, 75%, 50%, 25%).
Choose a value from this drop-down list to set the object’s initial orientation in space. This gives you a quick way to turn the object on its axis.
Enable this option if you want to create a globe. The radius of this globe is defined by half of the width value (the first Size value). The height of the relief above the globe’s surface is taken from the height value (the second Size value).
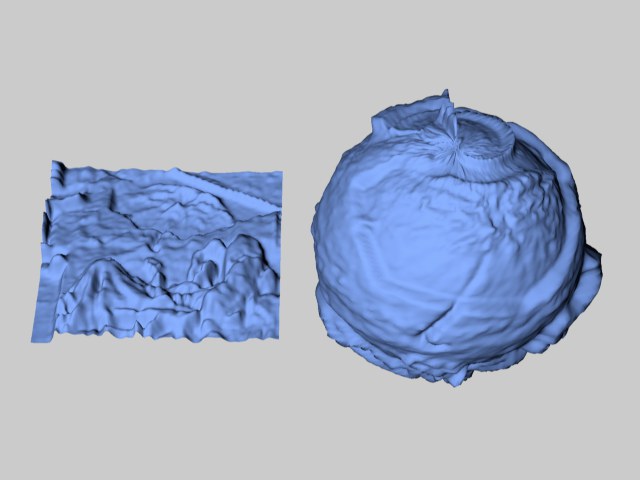 Figure 1: Spherical disabled (left) and enabled (right).
A general problem of this wrapping operation is that, depending on the image used, you may get discrepancies at the edge of the relief, especially when using a non-tilable texture. Figure 2, above, illustrates this problem. Choose your images carefully and be prepared to experiment.
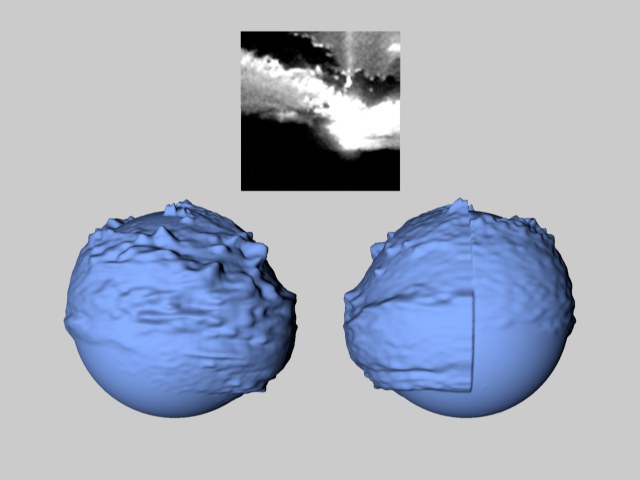 Figure 2: The image used (top), the sphere relief from the front (left) and the rear (right).
With the introduction of Cinema 4DR21, the Relief object has its origin at the height of its lowest point. If you change the height interactively, for example, only the height will be adjusted if the lowest point remains constant. If you load an older scene you can switch to this behavior using this option. A warning message will first appear that alerts you to the fact that the Relief object’s position may have to be adjusted.