Function available in CINEMA 4D Prime, Visualize, Broadcast, Studio & BodyPaint 3D
![]() Spline Deformer Object
Spline Deformer Object
Spline Deformer Object
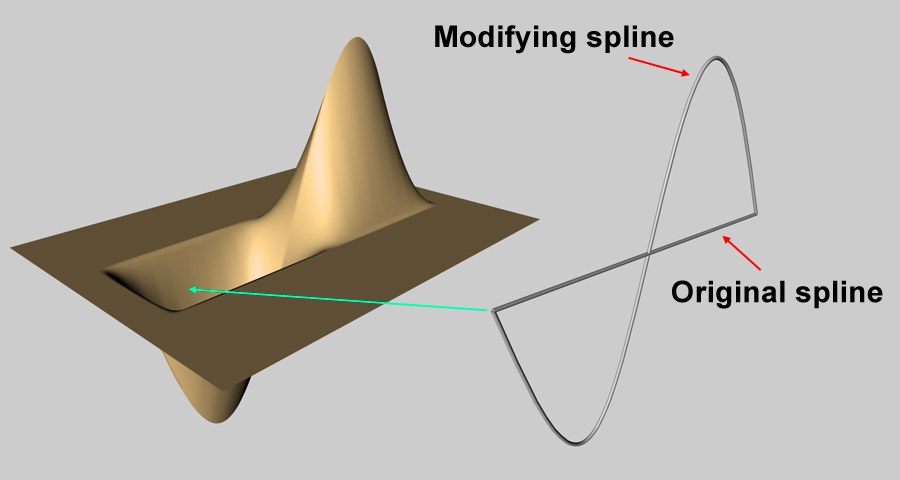
The Spline Deformer deforms objects using two splines: an original spline and a modifying spline. The Spline deformer considers the differences in position and shape of the two splines and deforms the object accordingly.
The Spline deformer is especially useful for character modeling and animation. For example, you can use several modifying splines to quickly and easily create various facial expressions or tendons stretching the skin.
To use the Spline deformer, draw a spline on the surface of the object that you wish to deform. You can do this in a number of ways:
While you draw the spline, use the snap settings to snap the spline to the polygons of the nearby object.
- Draw a spline, switch to the Model tool and, with the spline selected, choose Mesh / Spline / Project. Choose a plane for the projection of the spline (so that the spline will fall onto the object) and click OK.
- Select the object onto which you want to draw a spline, switch to the edge select mode (Tools / Edges), select some edges and choose Mesh / Spline / Edge To Spline.
- Draw the original spline onto the surface of the object that you want to deform (you may find it helpful to switch on point snapping, or use the Project command or Edge To Spline command).
- Copy the original spline and edit the points of this new spline (the target spline) to create the target shape for the object.
- In the Object Manager, click the Spline deformer’s name to select it and display its settings in the Attribute Manager. On the Attribute Manager’s Object Properties page you will find two boxes, named Original Spline and Modifying Spline. Drag & drop the name of the original spline from the Object Manager into the Original Spline box. Then Drag & drop the name of the modifying spline from the Object Manager into the Modifying Spline box.
