![]() Sculpt Brush Grab Tool
Sculpt Brush Grab Tool
Sculpt Brush Grab Tool
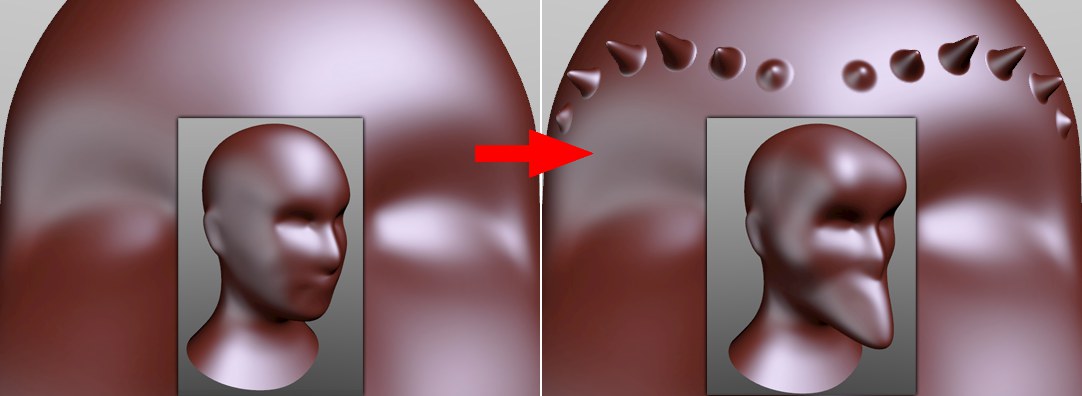
As the name suggests, this brush can be used to grab part of the mesh and pull it into the desired position.
On the one hand you can pull a narrow spike from a surface and on the other hand you can use a large Grab brush to sculpt globally (on Layers with low subdivision), e.g., to shape a character’s chin or head.
An overview of all available brushes can be found here: Brushes.
Link Size / Link Pressure / Link Symmetry
If one of the first three options is enabled, the value will be applied to all Sculpt brushes (even if you use a preset). Example: You set the Wax brush’s Size value to 15 and you switch to the Erase brush. This brush will also have a Size value of 15 if the Link Size option is enabled.
If this option is enabled you will also be able to sculpt on the back side of a polygon (the cursor color will change to blue). The direction of the brush’s effect will remain unchanged for most brushes (the Pull brush, for example, will still pull in the direction of the surface Normals). The exceptions are the Scrape and Fill brushes.
If this option is enabled, the brush size will change accordingly when the Viewport is zoomed in or out to keep the visual size relative to the screen. If this option is disabled, the brush stroke will always have the same diameter no matter what the Viewport’s zoom factor is.
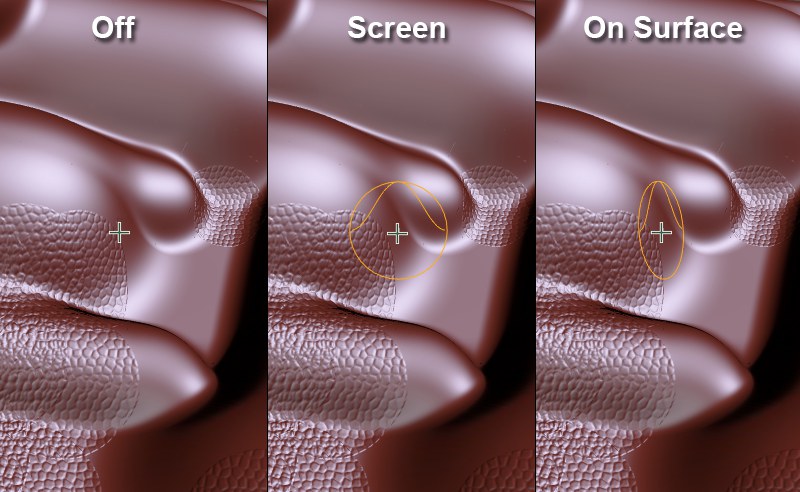
Here you can define how the brush preview should be displayed around the cursor:
- Off: No preview will be displayed
- Screen: The preview will always be displayed perpendicular to the camera
- On Surface: The preview will show in the direction of the average Normal (those beneath the brush’s diameter. This makes it easier to see the direction in which the brush will sculpt (in most cases along the Normal average).