Options
The Radius value defines the radius within which the tool will affect the spline. The effect is most pronounced directly below the cursor and lessens towards the radius’ edge. The Radius value can be adjusted interactively in the Viewport by pressing the MMB and dragging horizontally or vertically.
The Strength setting is a slider that defines the tool’s general strength in addition to each mode’s own strength. This value can be adjusted interactively in the Viewport by pressing the MMB and dragging horizontally or vertically.
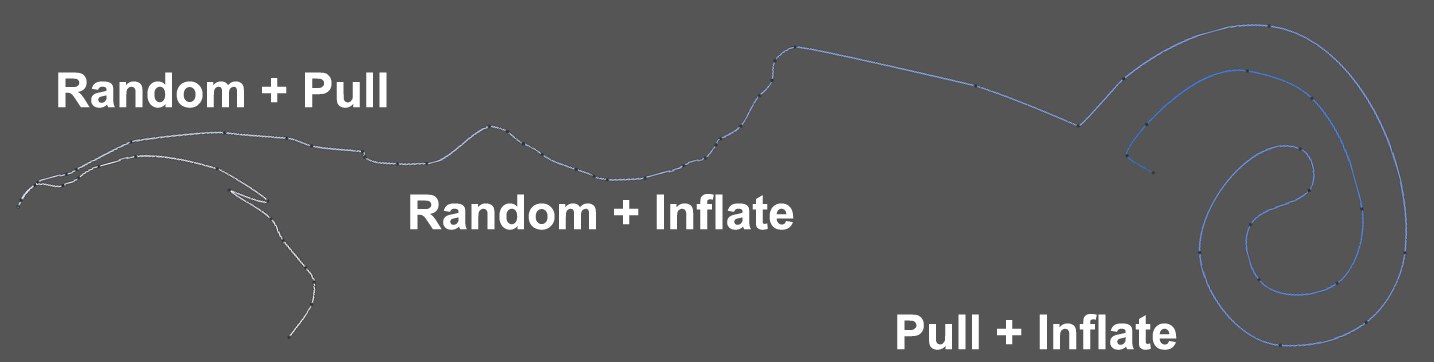 A few mode combinations applied to a simple curved spline.
Each of the modes described below can be combined with another mode by activating the respective modes using the check boxes at the left and adjusting each mode’s strength as desired.
This mode smooths uneven parts along the spline. If a moderate strength is used, the spline’s overall shape will not be affected much and only ,high frequency’ disruptions will be smoothed out.
When used in conjunction with other modes, the Smooth mode will, internally, always be applied last. Used in conjunction with the Random mode, for example, the Smooth mode will tone down random, high-frequency variations and create a calmer, more harmonious random dispersion.
This mode makes sections between the tool’s dots linear. Flattened edges can be created along a curve. This mode also works well in combination with the Smooth mode.
This mode adds randomness to the tool’s effect. This tool works well in combination with other modes and prevents their effect from appearing too uniform.
This mode works similar to a combination of the Magnet and a smear effect. Spline segments can be modified in the direction in which the mouse is dragged.
If positive values are defined, spline segments will be spiraled clockwise around the cursor. The
This mode presses spline segments radially away from the cursor towards the tool’s radius. Pressing the
If a visible object is located in front of or behind the spline from the angle of view of the camera, the spline will be projected onto the visible surface. Pressing the
This can, for example, be used to create nice lens effects like these (without having to add a large amount of subdivisions for the Project function):
Note that one of the shading modes was activated in the projection view’s Display menu due to the type of surface on which the projection took place.