Magic Bullet Looks
General
The rendered image from the renderer is rarely in its final state. - something almost always needs to be edited before its finished.
One of these editing steps is the color correction. For example, if the renderred object should be adapted to live footage that was filmed using a special camera, a color correction can be made here to create a realistic look for the rendered material (e.g., with the help of a LUT profile).
Or think of the movie Amélie, which is kept in a yellow-green tone throughout the movie. These types of effects are more and more part of color grading. Nevertheless, all these effects - and many more - can be created using Red Giant's Magic Bullet Looks, which has been integrated into Cinema 4D.
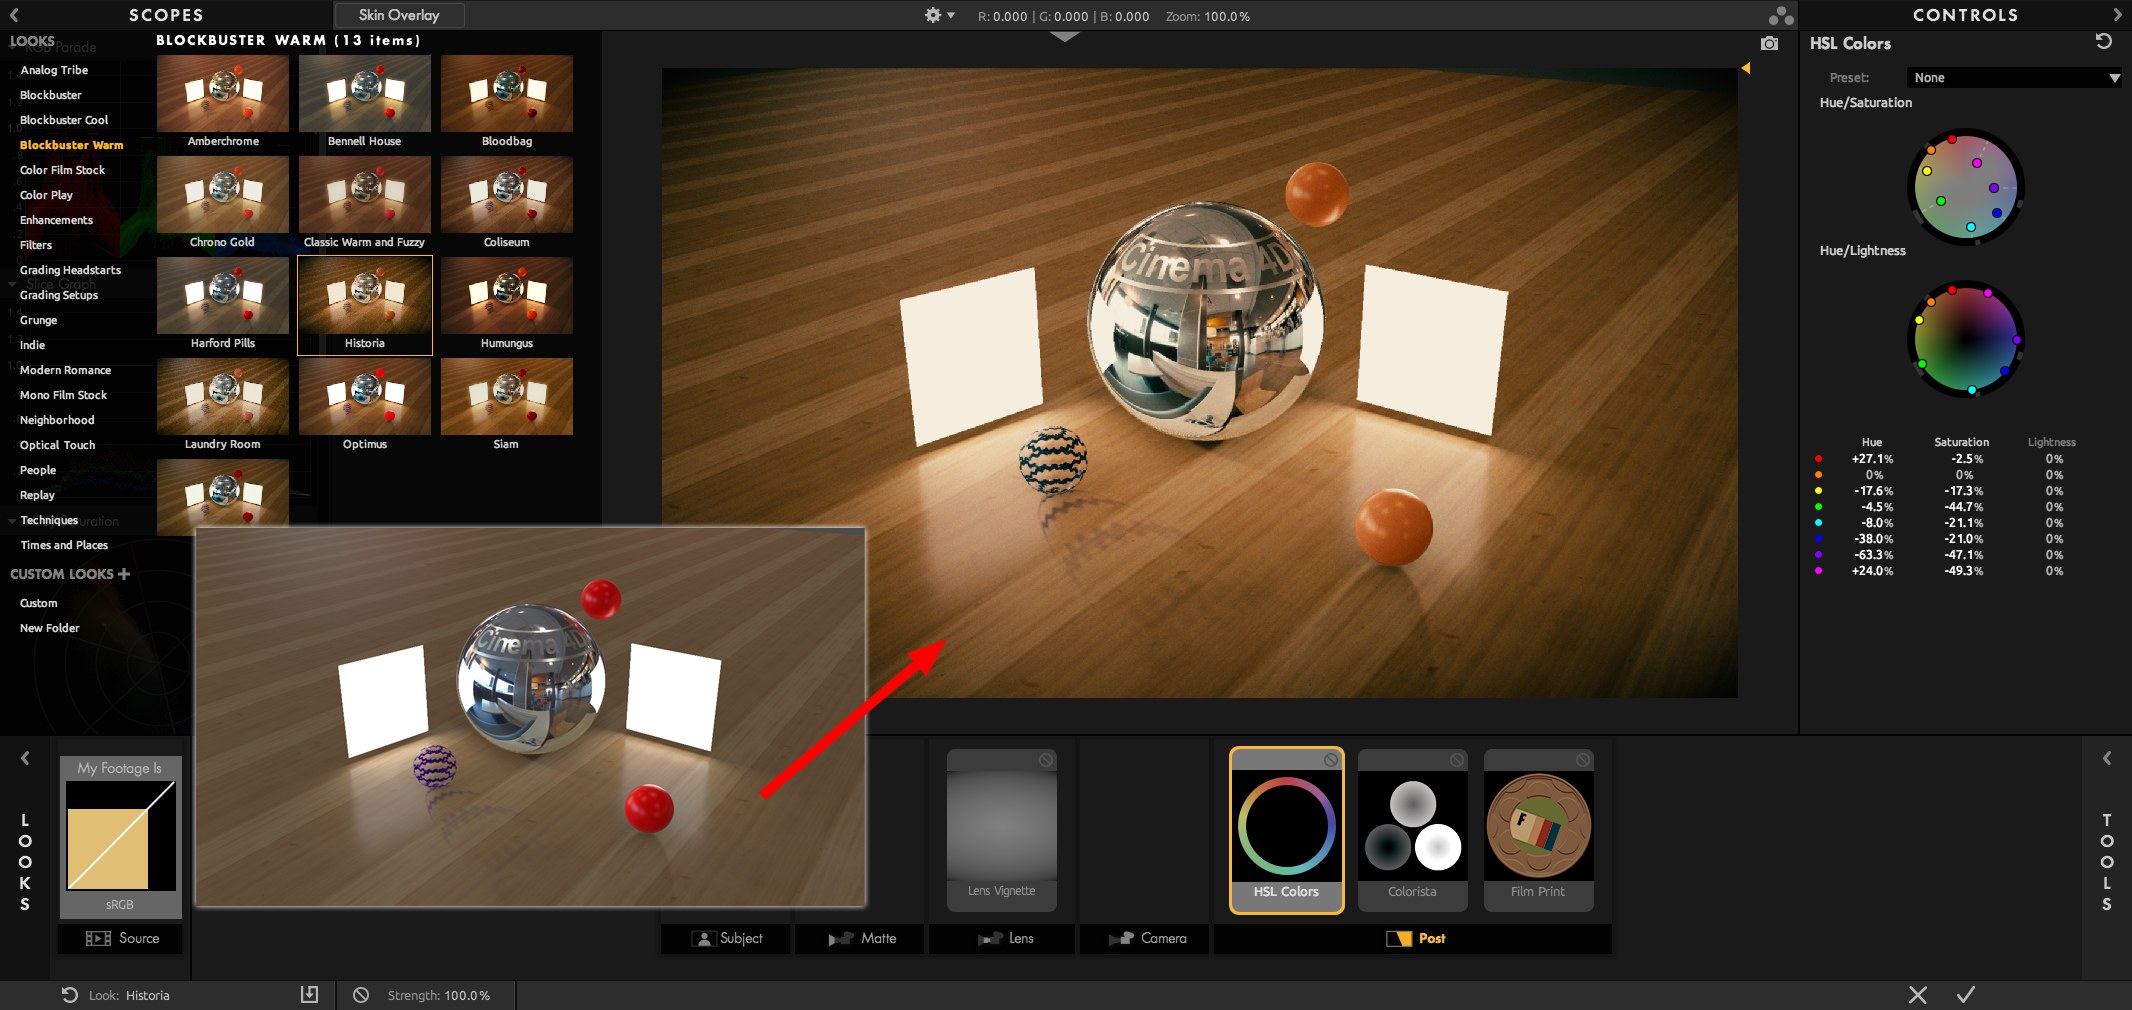 A sober, technical look can be given a warm, inviting feel.
How can the post effect Magic Bullet Looks be activated?
-
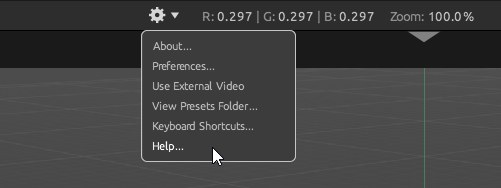
Activate the Magic Bullet Looks option in the Edit Render Settings menu
-
Click on the Open Magic Bullet Looks button
-
The Magic Bullet Looks application interface will open. Make the desired settings and to finish, click on the check mark at the bottom right.
- When you render in the Picture Viewer, the Magic Bullet Looks effect will be applied to the rendered image(s)
Note also that Magic Bullet Looks
-
can already affect the Viewport view (
 Magic Bullet Looks) in the Editor's Options menu)
-
be used to edit the view currently displayed in the Viewport - rendered or not (see
 Send to Magic Bullet Looks... in the Editor's Display menu)
-
can be used to affect the image currently displayed in the Picture Viewer (
 Send to Magic Bullet Looks... in the Editor's Display menu).
- is also taken into consideration by Multi-Passes (see MBL Raw).
Changes made in Magic Bullet Looks will be permanent, regardless of where in Cinema 4D the scene is opened in Cinema 4D. This means, for example, that a test render made in the Viewport and send it to Magic Bullet Looks where you create a unique look and confirm when finished, the Magic Bullet Looks post effect will be active in the Render Settings after you exit the Magic Bullet Looks app. This behavior applies on a per document basis.