Tonemap Pattern
Overview
|

|
|
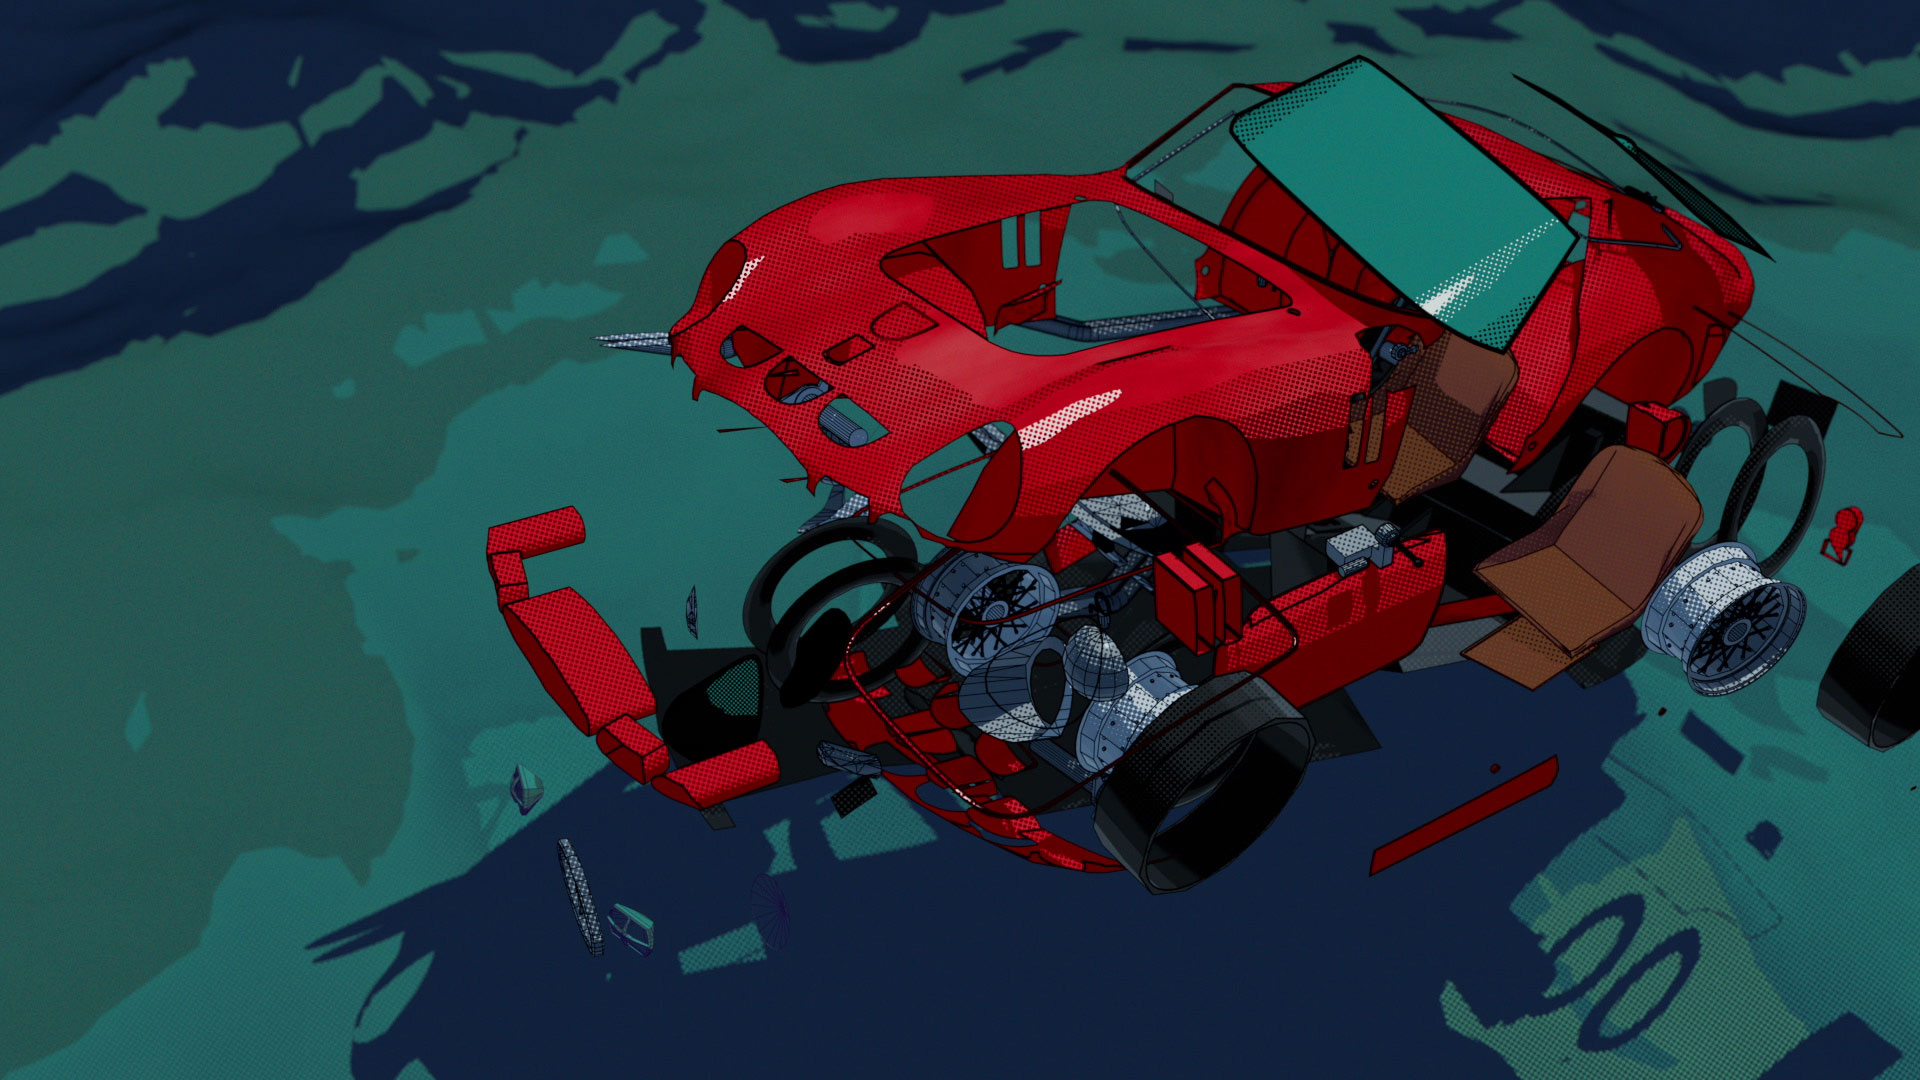
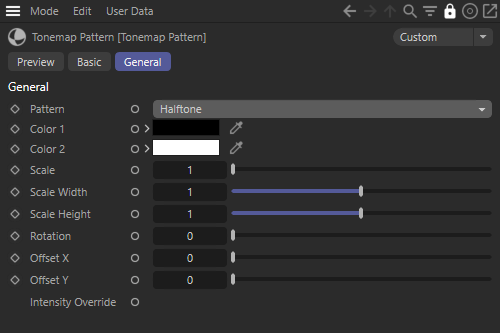
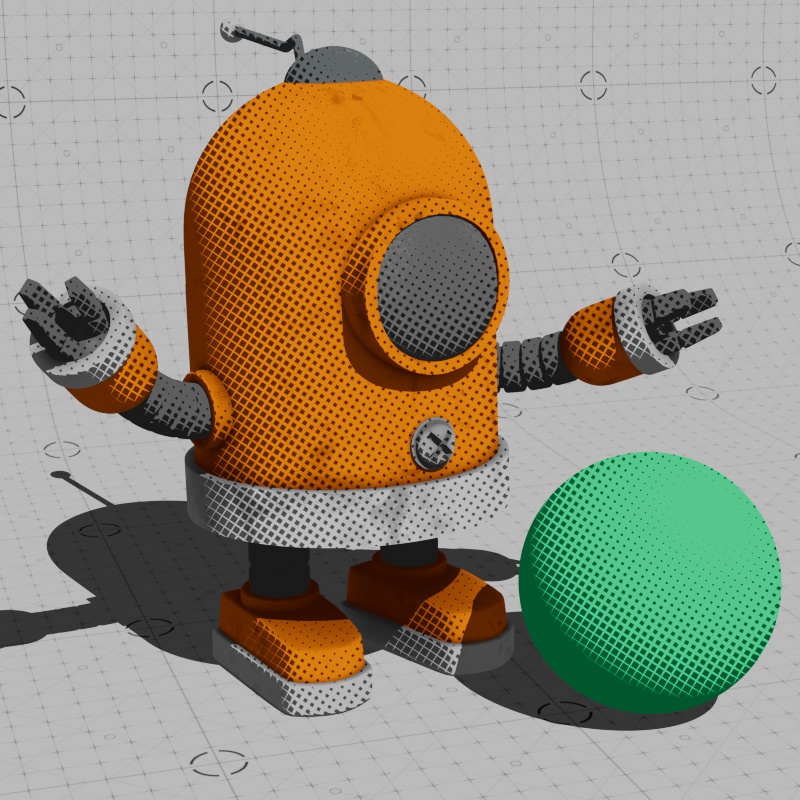
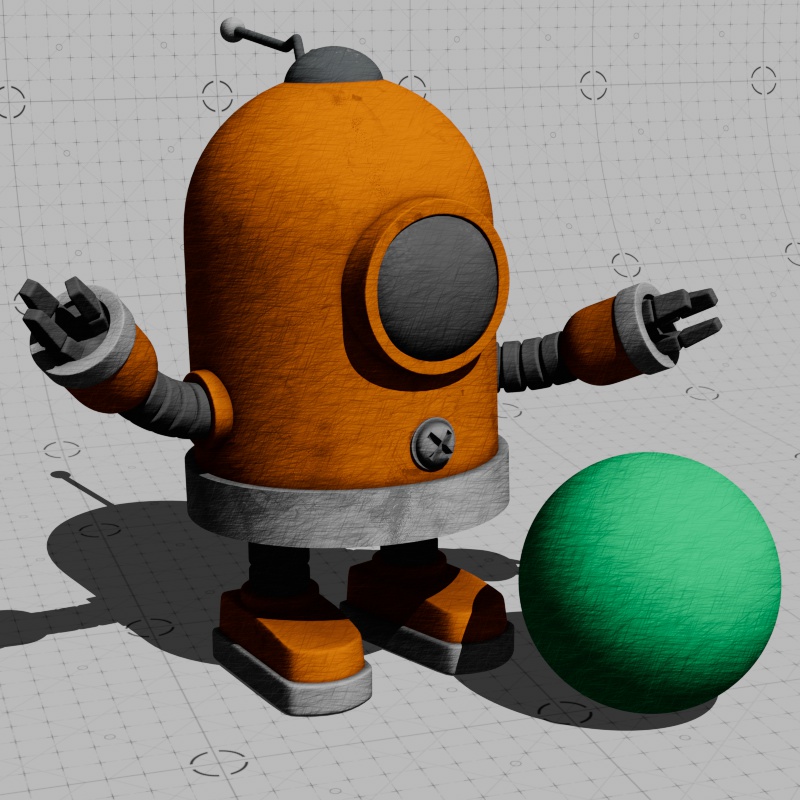
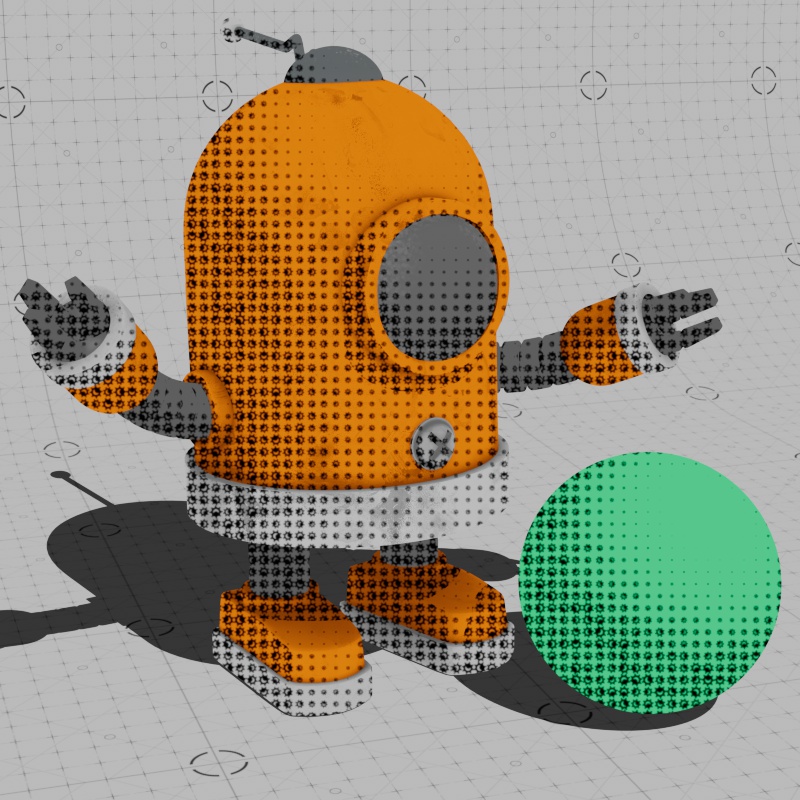
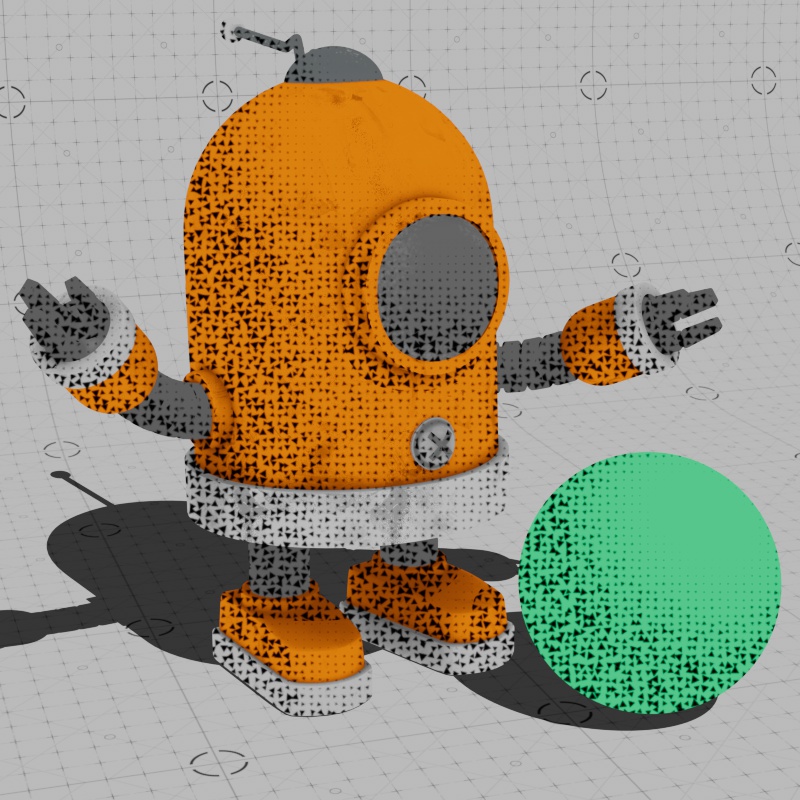
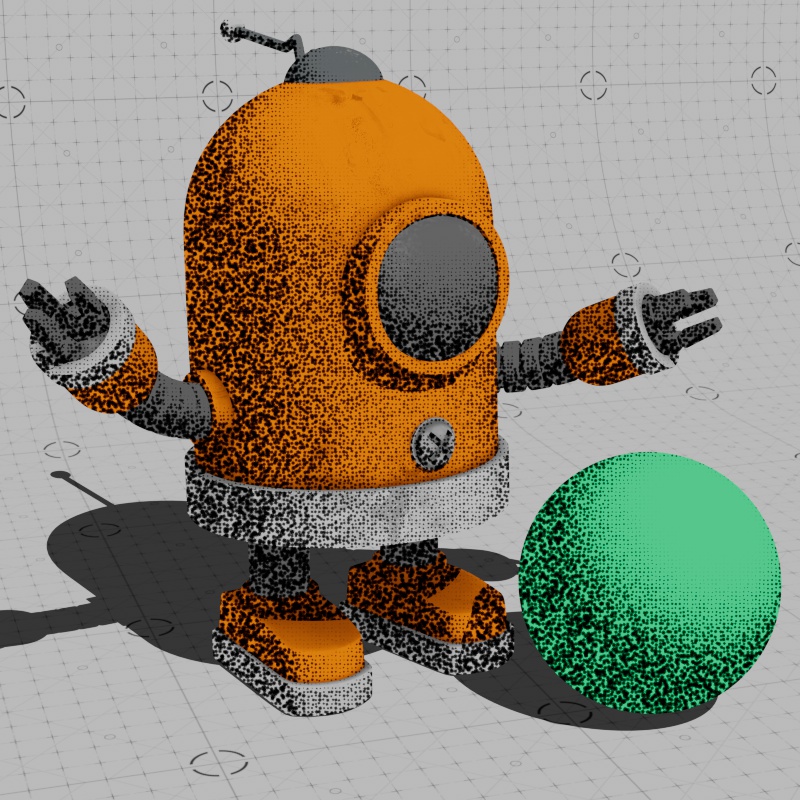
| Credit: HelloLuxx.com | Robot Model by Ian Robinson | |
The Tonemap Pattern texture node can be used to add stylized screen space effects to Toon shaders. It is one of three shaders that make up Redshift's core offering of non-photorealistic tools. The Toon Material is used as the primary shading element to create stylized cel shaded looks, the Contour shader is used to create outlines around your objects, and the Tonemap Pattern is used in combination with the Toon Material for more stylization.
Examples
Shader Graph
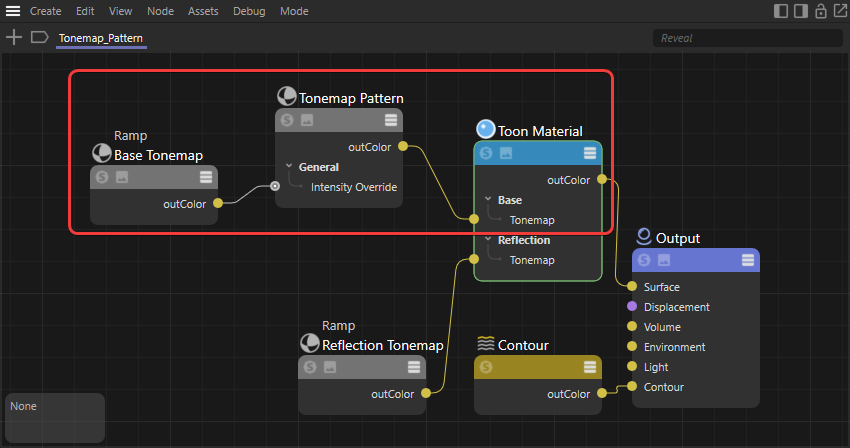
To use a Tonemap Pattern node, simply plug it into a Tonemap input on the Toon Material and the pattern scale will automatically be driven by the scene lighting. For added control, create a custom ramp to drive the Intensity Override of the Tonemap Pattern, this allows you to control exactly how the pattern scales.
|
Animated Cross Hatching
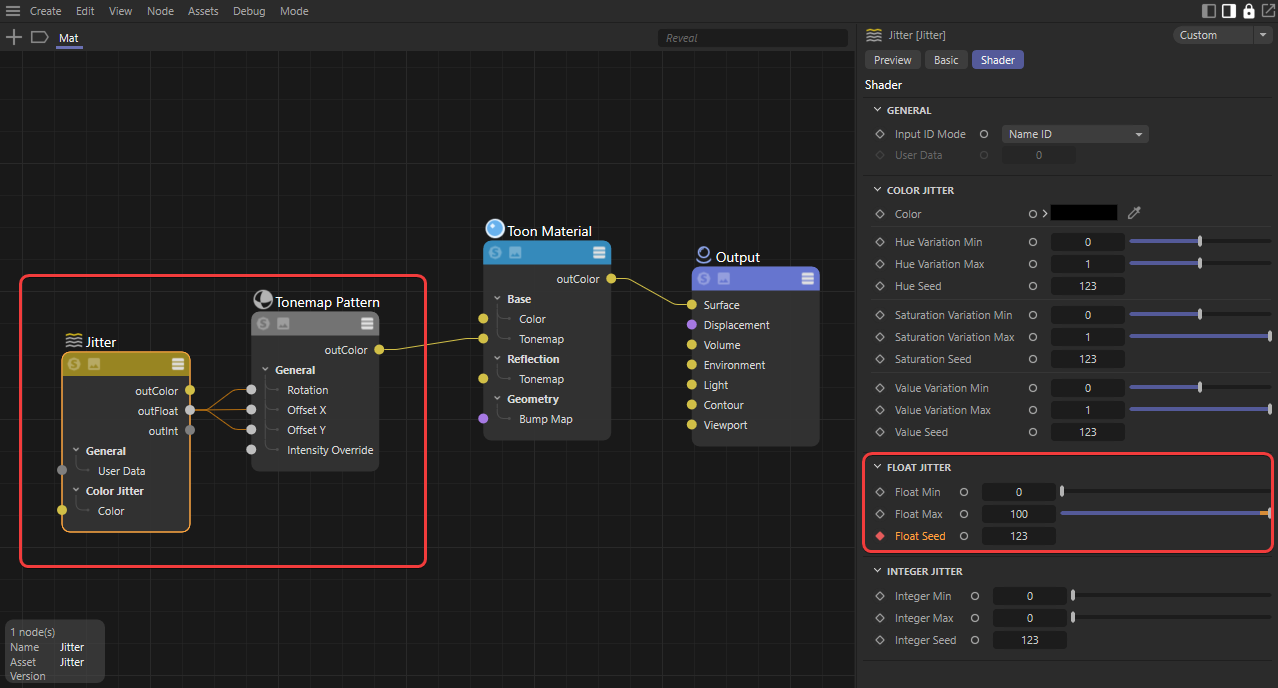
The cross hatch pattern is great for hand drawn styles but the thing about hand drawn art is each frame of animation is unique. Fortunately we can easily make our cross hatch pattern unique with a little bit of randomization and Redshift has just the tool for you, the Jitter node!
You can apply randomization to many different areas of your tonemap pattern for interesting effects but in this example we're going to focus on offset and rotation. Offset moves the pattern around the screen and rotation changes the orientation, we'll randomize these values to make sure the pattern doesn't line up in the same location on each frame.
To set this up all you need to do is connect a jitter node's Out Float to the Offset X, Offset Y, and Rotation of a Tonemap Pattern.
|
The jitter node outputs random values within a minimum and maximum range, try something like 0 to 100. It's important to use a min and max range that is high enough for the pattern to move on each frame, if the range is too low, it might look like your pattern is vibrating in place instead of appearing unique on each frame. The only thing left to do is change the float seed value so the jitter output is different on each frame. You can keyframe the seed change over a series of frames or in regular intervals for different effects — in the example below the seed changes every 10 frames. In the videos below, note how the example with a range of 100 looks more unique.
| Jitter Float Range: 100 | 1 |
Custom Pattern
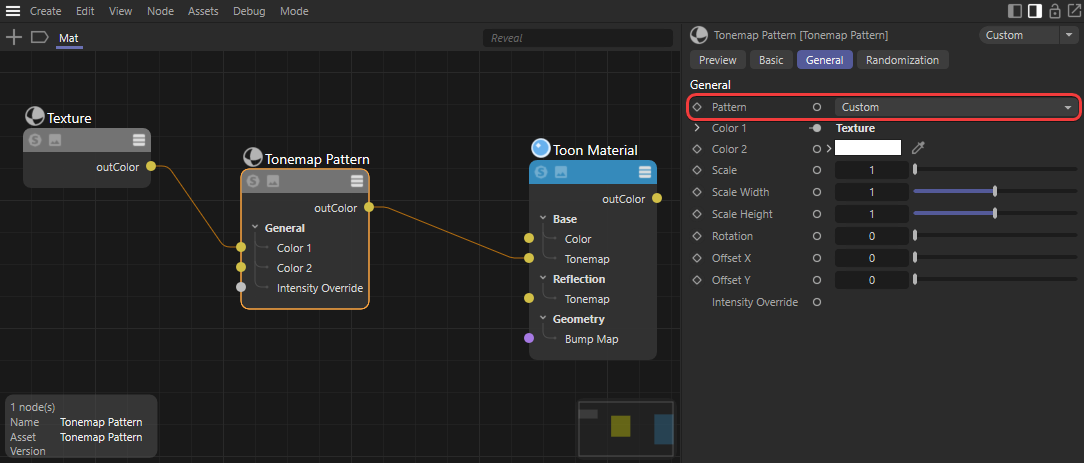
Creating a custom tonemap pattern is as simple as connecting a texture with an alpha channel to the
|
Parameters
General
|
Pattern
Controls which of the following patterns is used. The scale of each pattern's shape is based on the light intensity on the surface.
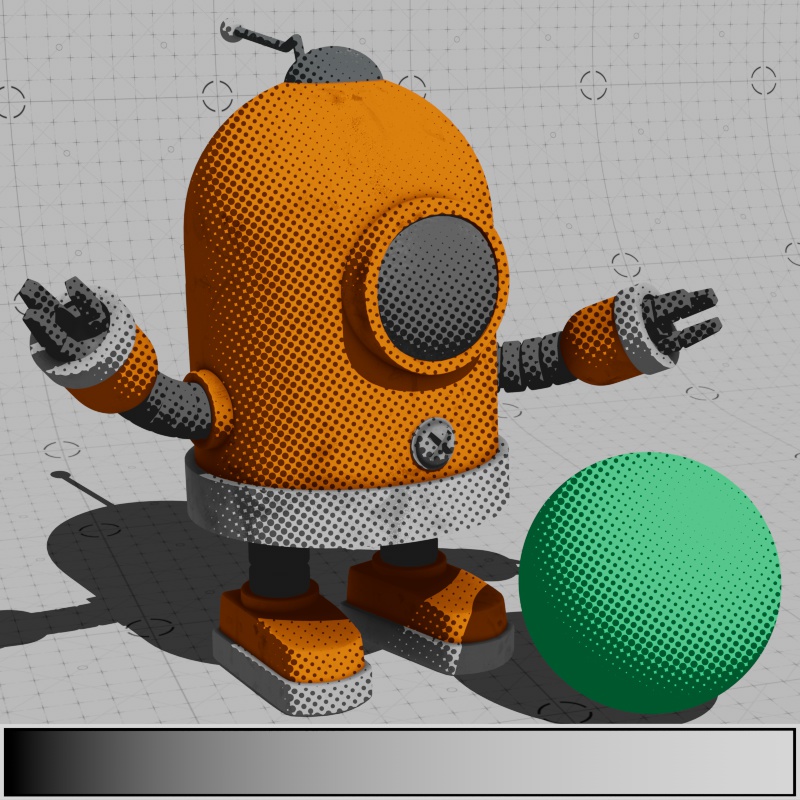
Halftone - Creates a pattern made up of dots of varying sizes. By default, large dots are mapped to shaded areas and small dots to bright areas.
Sine Wave - Creates a pattern made up of sine waves of varying thicknesses. By default, thick sine waves are mapped to shaded areas and thin sine waves to bright areas.
Grid - Creates a pattern made up of squares of varying sizes. By default, large squares are mapped to shaded areas and small squares to bright areas.
Cross Hatch - Creates a pattern made up of short pencil strokes to simulate the appearance of traditional cross hatch shading. By default, dark pencil strokes are mapped to shaded areas and light strokes to bright areas.
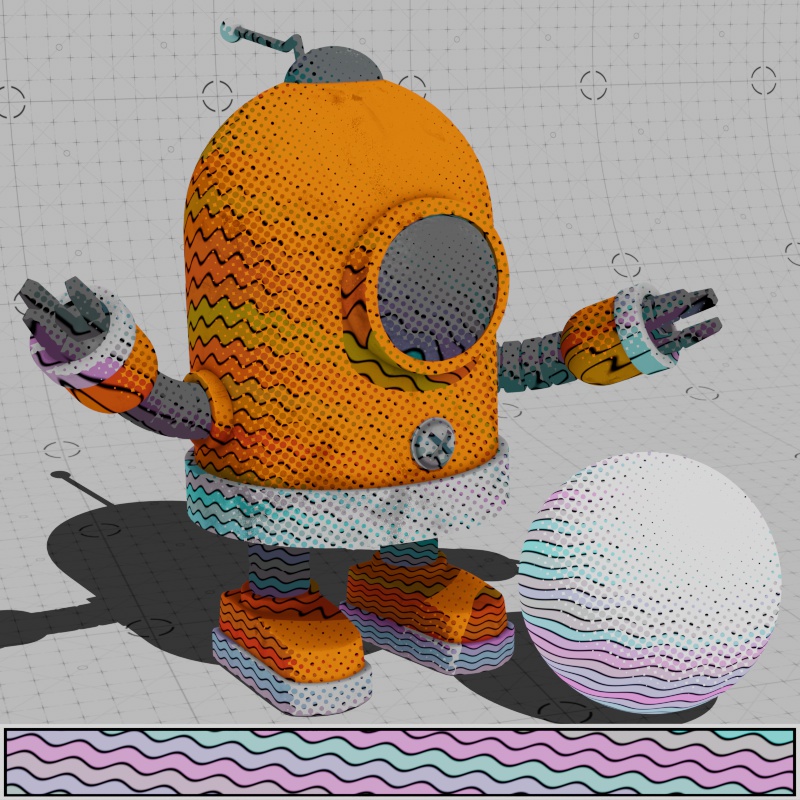
Custom - Creates a tiled pattern made up of a custom texture connected to the

|
|
|
|
| Pattern: Halftone | Sine Wave | Grid | Cross Hatch |
The Custom Pattern expects a square texture with an alpha texture which is used to overlap the tiles on top of other tiles. The following examples were created with a custom texture and different randomization values. Any texture can be used but in general the custom texture works best with geometric patterns at a small overall scale.
|
|
|

|
| Custom Texture: Crescent Star | Random Triangles | Random Dots | Random color hatches |
Pattern Color
Controls the color that is generally responsible for the dark portions of the shading. Textures can be used here to interesting effect, you can even use the same texture for Pattern Color and Background Color but with different brightness levels or hue offsets in order to differentiate them.
The shading implied by the Tonemap Pattern is dependent on having two contrasting colors for Pattern Color and Background Color. If both colors are the same then no pattern is visible.

|

|
|
|
| Pattern Color: Blue | Red | Tiles Texture | Animated Black to White |
Background Color
Controls the color that is responsible for the bright portions of the shading. Textures can be used as well.
The shading implied by the Tonemap Pattern is dependent on having two contrasting colors for Pattern Color and Background Color. If both colors are the same then no pattern will be visible.

|

|

|
|
| Background Color: Light Blue | Light Yellow | Tiles Texture | Animated Black to White |
Scale
Controls the overall size of the pattern, this is multiplied with the Intensity Override input.

|

|
|
| Scale: 1 | 2 | Animated Texture |
Scale Width
Controls the width of the pattern in the X direction. Note that width of the pattern is dependent on the rotation of the pattern.
| Scale Width: 1 - 3 |
Scale Height
Controls the height of the pattern. Note that height of the pattern is dependent on the rotation of the pattern.
| Scale Height: 0 - 2 |
Rotation
Rotates the pattern in image space.

|

|

|
| Rotation: 0 | 45 | 90 |
Offset X
Moves the pattern horizontally in screen space. Higher values offset the pattern more than lower values, this can also be driven by a texture.
When using the cross hatch pattern, you can create the illusion of unique hand drawn frames by changing the offset value by a large amount every few frames — the jitter shader's float output with an animated seed value is a good tool for this effect.

|
||
| Offset X: -2 to +2 | Textured with tile shader | Jitter every 5 frames |
Offset Y
Moves the pattern vertically in screen space. Higher values offset the pattern more than lower values, this can also be driven by a texture.

|
|
| Offset Y: -2 to +2 | Textured with tile shader |
Intensity Override
This input overrides the scale of the pattern, connect a ramp here to directly control how the scale of the pattern changes based on the lighting in the scene. Dark colors increase the scale of the pattern while bright colors decrease the scale of the pattern.
In a common setup, a horizontal ramp is used to control the scale of the pattern from darkest (largest scale) on the left to brightest (smallest scale) on the right. However, you can remap the scale of the pattern in any way you like, including bringing what is traditionally the dark color (Pattern Color) into the brightest parts of the lighting as seen in the Stylized Ramp example below. Additionally, the pattern scale does not have to be based solely on light intensity with a ramp, using a texture will also control the size of the pattern and this can be layered together with a ramp as seen in the last two examples.
|

|

|
||
| Intensity Override: Default (Linear Transition) | Stepped Ramp | Stylized Ramp | Animated Ramp | Texture with Ramp |
Tile Scale Bias
Only affects the Custom Pattern mode.
Controls each tile's starting scale. Higher values increase the size of each tile relative to their starting size.
Note that the scale can be set so high that the pattern clips with neighboring tiles instead of overlapping with them. The maximum value that can be used before clipping depends on your custom texture, like how much of the texture space is used up by your custom pattern and how much the pattern is offset from its original starting position.
In the example below take note of how each tile stays centered in the same location and scales up and down. This is different than the General Scale parameter which scales the entire tiling pattern.
| Tile Scale Bias: 0 - 2 |
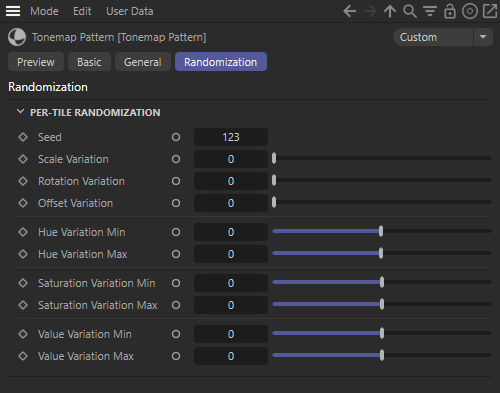
Randomization
|
The Randomization parameters covered below are only available when the Custom pattern type is used.
Seed
Changes the seed value used to determine the randomized results for all variation types.
| Seed: Animated |
Scale Variation
Randomizes the scale of each tile when increased. Increasing this value randomly adjusts the scale of each tile both larger and smaller than the starting scale. A value of 0 results in no variation.
Note that the scale can be set so high that the pattern clips with neighboring cells instead of overlapping with them. The maximum value that can be used before clipping depends on your custom texture, like how much of the square texture space is used up by your custom pattern, and how much the pattern is offset from its original starting position. Please keep this in mind when setting up your variation levels.
In the examples below, note how when the scale goes above 2 the pattern begins to clip.
| Scale Variation: 0 - 2 No Randomization |
0 - 3 |
Rotation Variation
Randomizes the rotation of each tile when increased. Increasing this value randomly rotates each tile. A value of 0 results in no variation.
| Rotation Variation: 0 - 1 |
Offset Variation
Randomizes the position offset of each tile when increased. Increasing this value randomly moves each tile in X and Y directions from the starting position. A value of 0 results in no variation.
Note that the position offset can be set so high that the pattern clips with neighboring cells instead of overlapping with them. The maximum value that can be used before clipping depends on your custom texture, like how much of the square texture space is used up by your custom pattern, and how much scale variation is used. Please keep this in mind when setting up your variation levels.
In the examples below, note how when the offset goes above 2 the pattern begins to clip.
| Offset Variation: 0 - 2 | 0 - 3 |
Hue Variation Min / Max
Controls how far the hue can be offset from the custom texture's original hue in degrees along a color wheel. Higher ranges between the min and max result in a greater variety of hue values, low ranges result in less variation, and a value of 0 for both results in no variation.
| Hue Variation: 0 - 360 |
Saturation Variation Min / Max
Controls how far the saturation can be offset from the custom texture's original saturation. Higher ranges between the min and max result in a greater variety of saturation values, low ranges result in less variation, and a value of 0 for both results in no variation.
| Saturation Variation: 0 - 1 |
Value Variation Min / Max
Controls how far the value can be offset from the custom texture's original color value. Higher ranges between the min and max result in a greater variety of color values, low ranges result in less variation, and a value of 0 for both results in no variation.
| Value Variation: 0 - 1 |