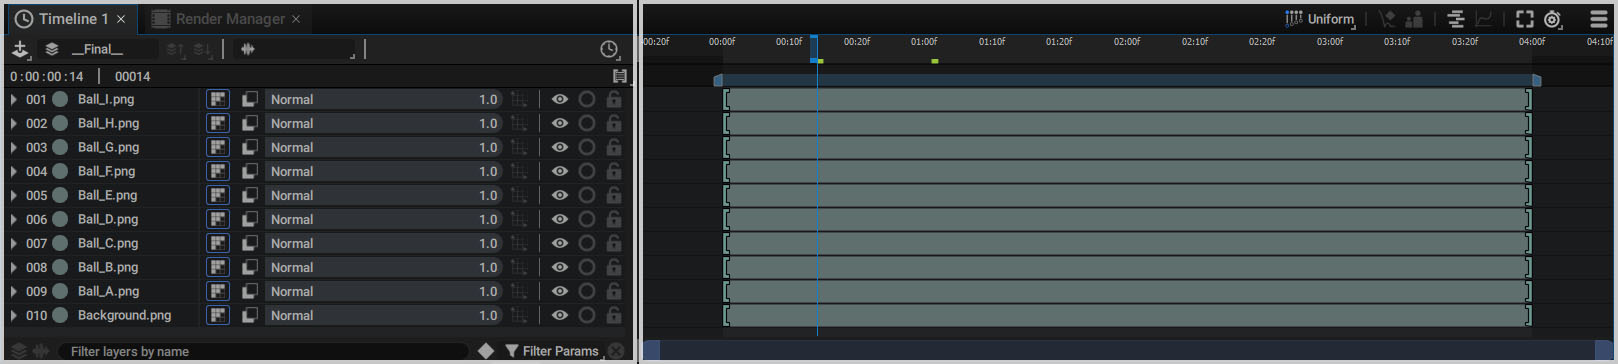
Timeline
The Timeline is one of the interface panels where you can place and visualize different elements chronologically. Each element is represented by a line called a "layer", which together form a layer stack.
Two Key Sections
The Timeline panel is split into two main sections:
- The layer stack, on the left
- The dope sheet, on the right (visible by default, but later we will go over other available modules)
You can adust the space these two sections take up by clicking on the separator and dragging it left and right.
Timeline controllers
Here is a breakdown of the first line of Timeline controllers:
- A + button to add a new layer to the stack. It can be a Generator, a Null Layer, an Adjustment Layer or a 3D Object. The new layer will be added above the current selection. The contents of this menu are also available in the Quick Access menu.
- A slot that can bring up the list of all existing compositions in the Project panel; you can assign one of them to the current Timeline, disconnect the current one, create a new one, or display the current compositon's properties.
- A button for moving up one level in the parent composition, when the Timeline is connected to a Sub-Composition (page-up or ctrl + alt + up).
- A button for jumping down to one of the Sub-Compositions used in the current stack via a drop-down menu, or directly if there is only one Sub-Compositon. (page-down or ctrl + alt + down).
- A similar slot to the one for compositions, but dedicated to Audio Mixes.
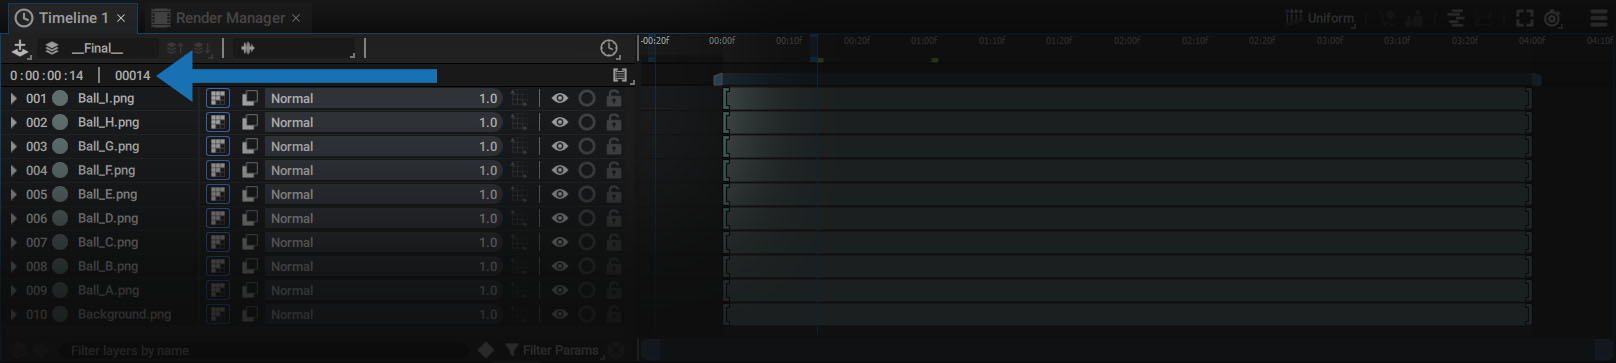
- A switch to select the display method of the timing information in the dope sheet (Frame number or Timecode)
Just below:
- A time controller, including a timecode and a frame counter to display or enter the playhead position in the dope sheet.
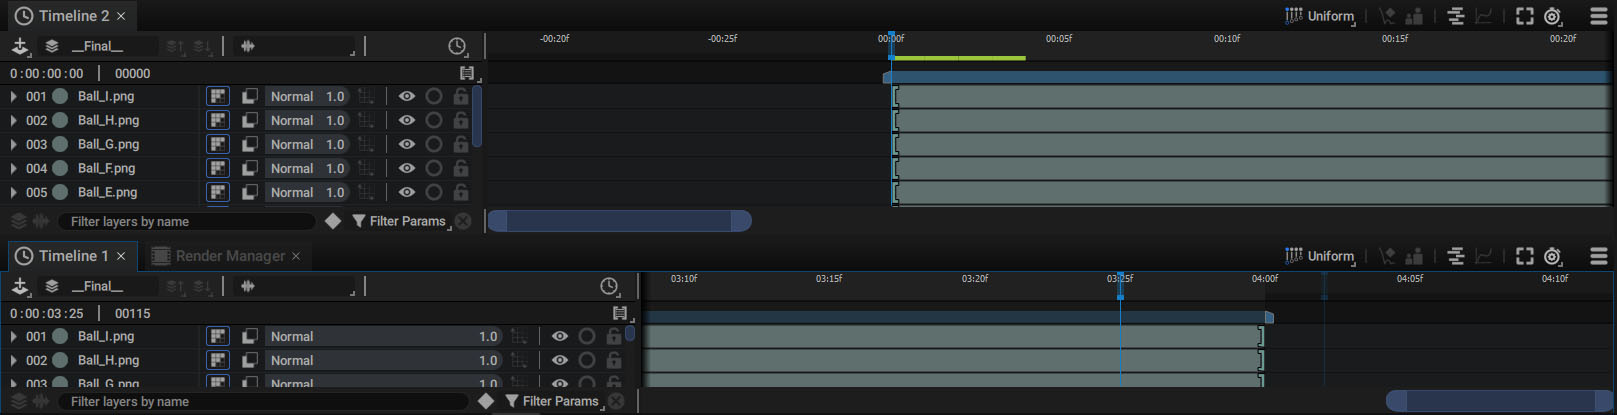
Mutiple Timelines and Viewers
You can display multiple Timelines at the same time by simply adding new panels to your workspace, using the Panels > Timeline > New timeline menu, in the top bar. You can move this new panel to the desired location and select the composition you want to look over from the list.
You can even display two or more Timelines that refer to the same composition. This way, you'll be able to look over different parts of the stack or different timing in the dope sheet.
Assigning Timelines to Viewers:
When two Viewers and two Timelines are displayed on the screen, it's important to determine which Timeline controls which Viewer. At the bottom of each Viewer there is a Timeline selector, as shown below:
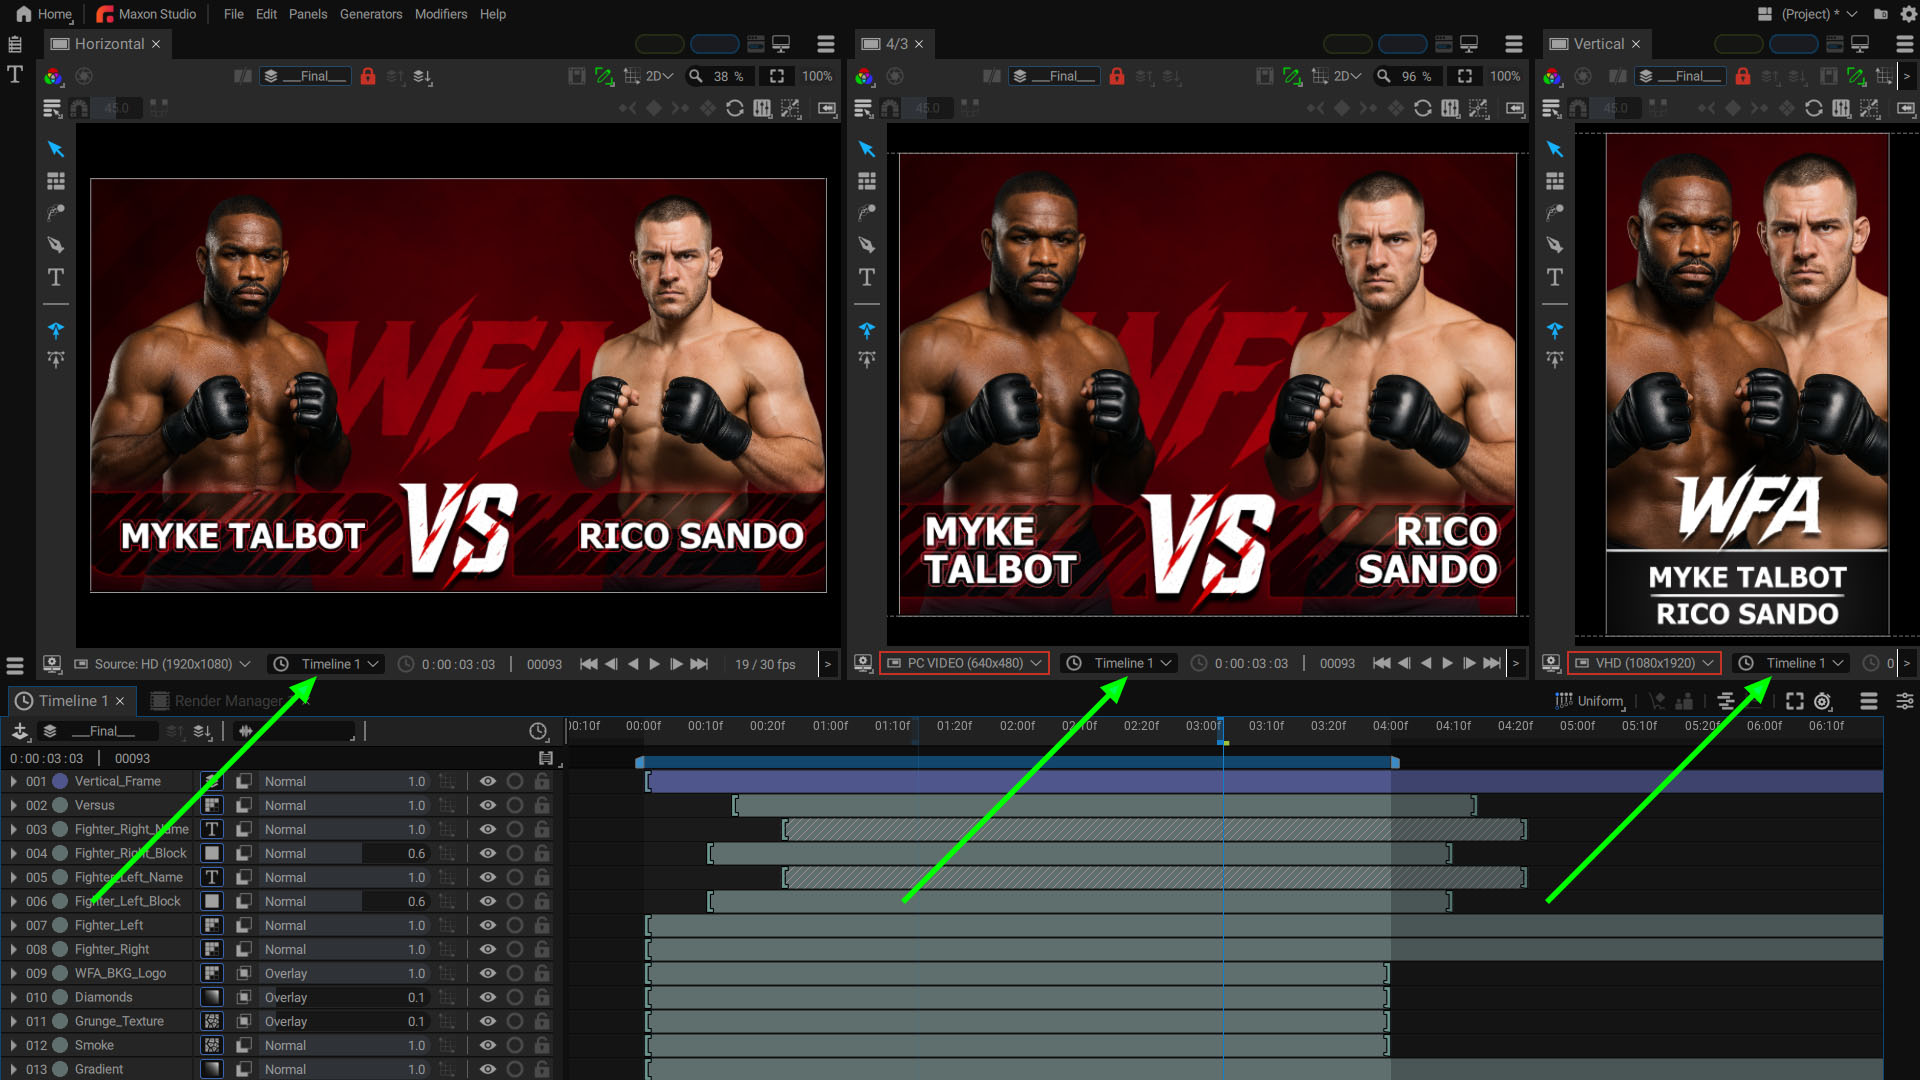
The selector contains a list of all visible Timelines on screen. This lets you choose which Timeline's current time will define the image to be rendered in a specific Viewer.
The composition connected to a Timeline is not necessarily the same as the one connected to the Viewer using the selector at the top of the Viewer. This makes it possible to render the same composition in several formats at the same time, or to render several compositions driven by the same Timeline.
Populating the Stack:
In the Stack on the left, you can stack elements according to the principle of layer stacking.
To add new layers to the Stack, you can:
- Drag a Source from the Project Panel to the Stack
- Click on the + button at the top-left corner of the Timeline
- Copy/Paste existing layers (which can also be done between two Autograph projects that are open at the same time)
Selecting and Reordering layers:
Selecting layers is similar to the process of selecting files in your file browser, with some minor differences:
- Single clicking selects only one layer
- Pressing the ctrl/cmd key allows you to add layers to the current selection, one by one
- Pressing the shift key selects a group of layers between clicks
- Pressing the up or down keys moves the selection one level up or down in the stack.
Selection Order:
When you press ctrl/cmd and click on layers, the selection order is retained. When you want to Copy/Paste or Duplicate a group of layers, the clicking order will define the stacking order of the new layers.
The same is true when using the shift key:
- Selecting from the bottom to top will retain the current order
- Selecting from top to bottom will invert the order of the new layers, compared to the original ones
All layers in the current stack can be:
- Selected by pressing ctrl/cmd + a
- Deselected by pressing ctrl/cmd + shift + a.
When you press ctrl/cmd + a, the selection order is defined from top to bottom. So, if you Copy/Paste these layers, the original stacking order will be retained.
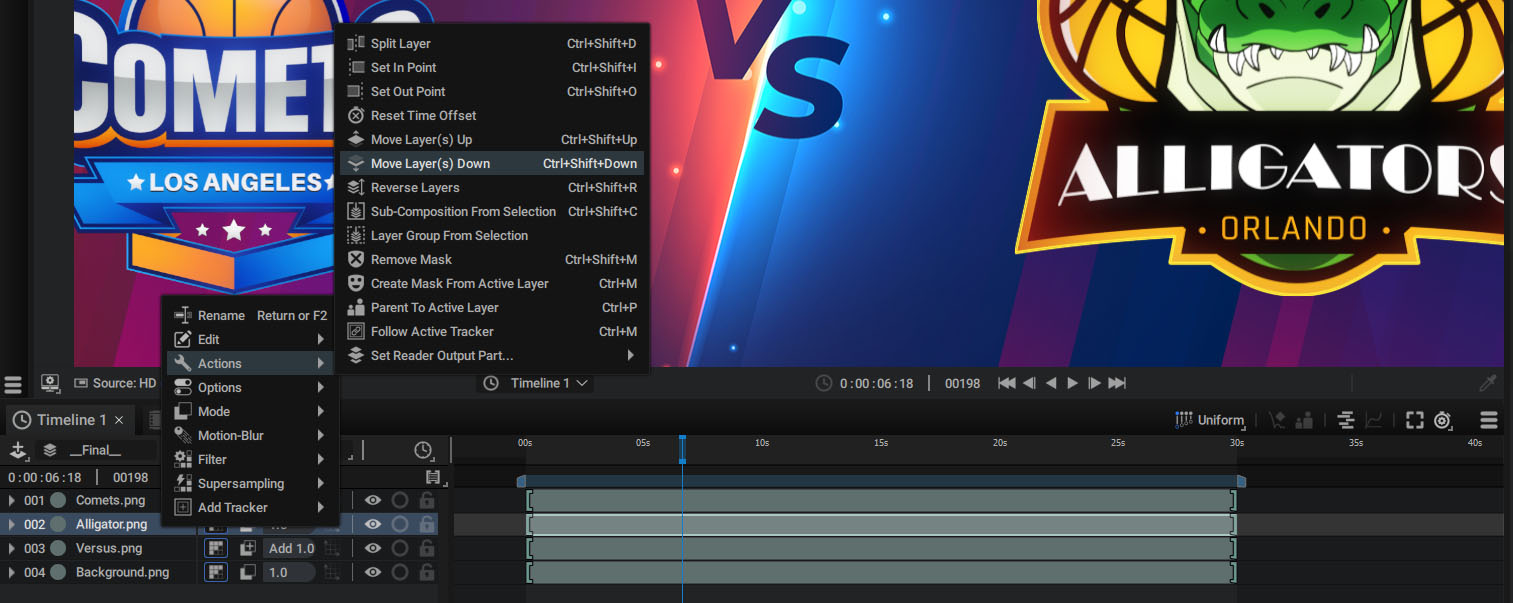
Reordering layers:
- To move selected layer(s) up or down in the Stack, click and drag them to reorder the Stack
- To move up or down by one layer, Right Click > Actions:
- Move Layer(s) Up (ctrl + shift + up)
- Move Layer(s) Down (ctrl + shift + down)
Navigating in the Timeline
Since Autograph is available on Windows, Mac, and Linux, it is important to accommodate all types of systems that do not have identical keyboard shortcut policies. Depending on the mouse or tablet used, certain combinations are sometimes easier to use on certain systems.
This is why several shortcuts are available for the same action:
Scrolling through the stack:
- Use the "Mouse wheel"
- Press the middle-button
You can also use the scroll bar on the right.
Moving in the Dope sheet:
-
Panning:
- space + left-button
- middle-button
- alt/opt + left-button
-
Zoom:
- alt/opt + "Mouse wheel"
- ctrl/cmd + alt/opt + left-button
- f key to fit the current selection or the composition duration if nothing is selected
Shortcuts in Autograph are contextual and dependent on mouse position. These shortcuts are valid when your mouse cursor is over the Timeline.
Modules and tools
The dope sheet is situated on the right part of the Timeline by default. This module lets you manage the timing of composition elements.
- Each layer is represented by a block that you can move by simply clicking and dragging
- The Dope sheet is also where you can select and move keyframes when parameters are animated
The right part of the Timeline may vary depending on the module used and the side panels.
Buttons at the top-right of the header allow you to switch from one module to another or display additional panels named Dock:
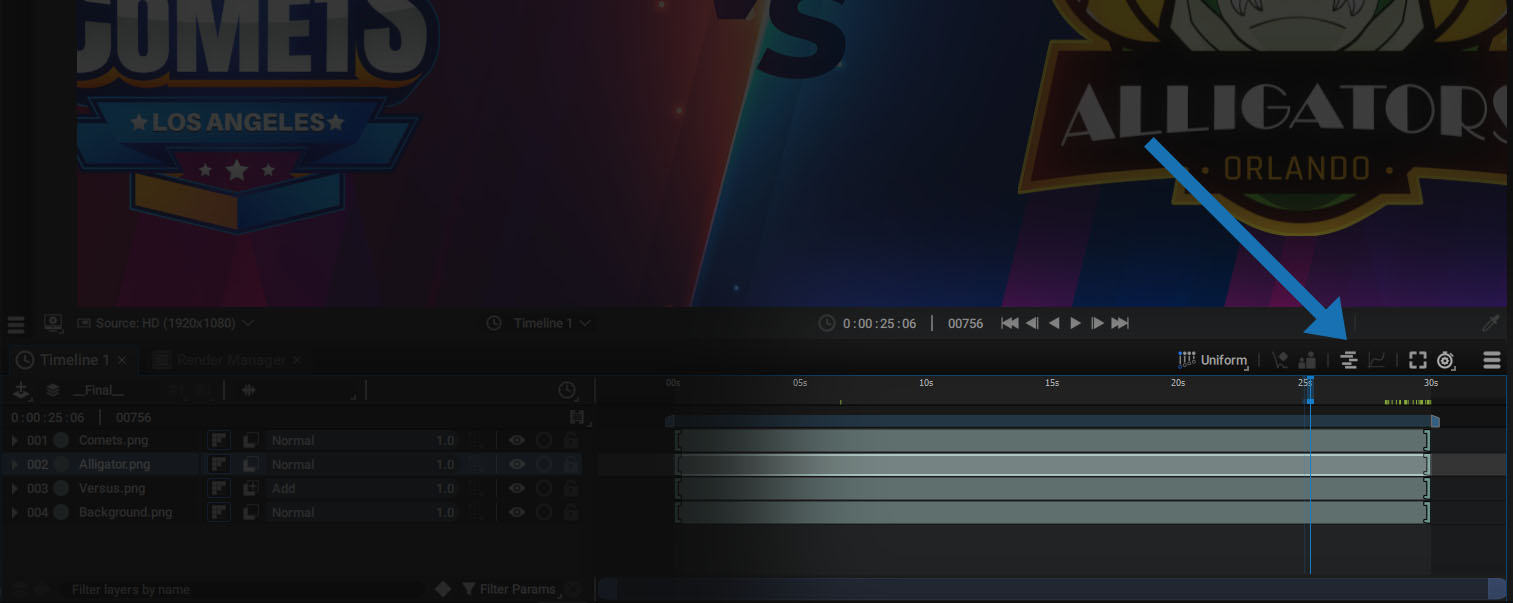
The buttons in this header are listed below, from left to right:
-
Multi Edit Mode selector
-
Keyframe Properties dock
-
Parenting dock
-
Dope sheet module
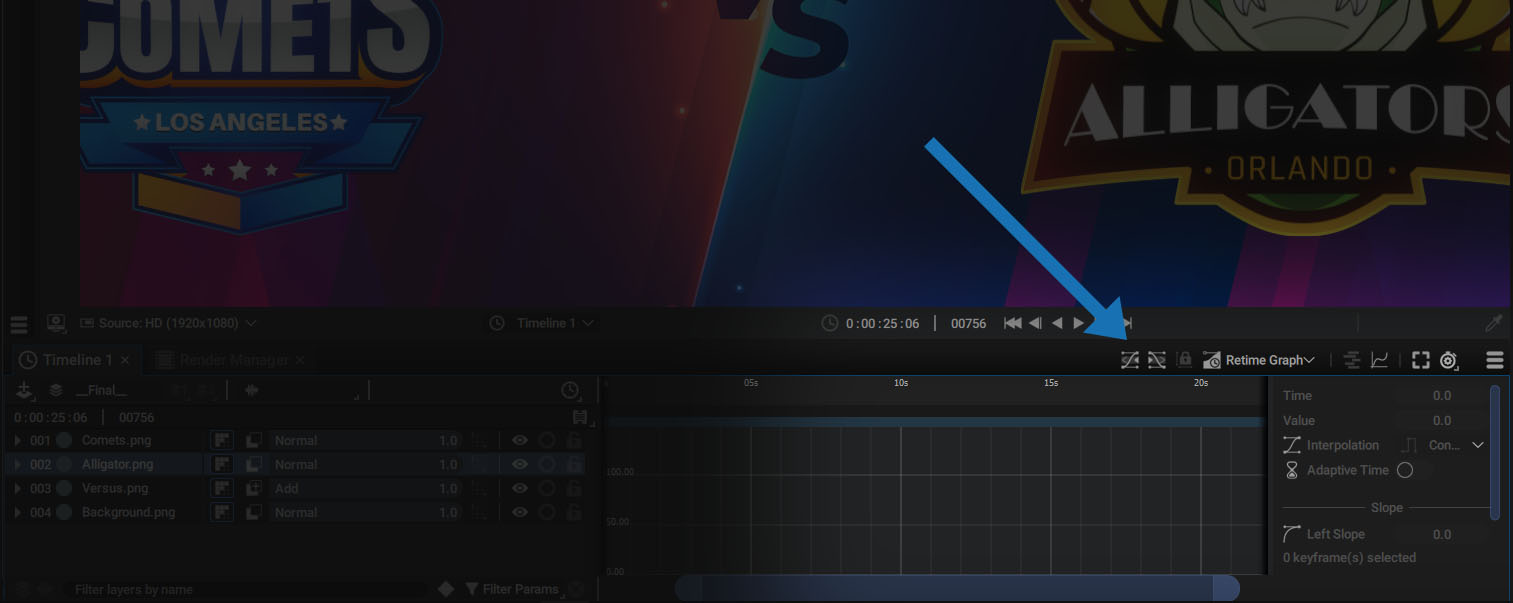
-
Curve editor module
-
Fit the current selection or the composition duration if nothing is selected (f key)
-
Playback and selection options
Multi Edit Mode selector is one of the tools attached to the dope sheet. Switching to the Curve editor module will display other tools on the left.
Filtering the Stack
The Stack contains many items, and unfolding hundreds of parameters can make navigation difficult. Autograph offers a filter system to easily access the most used parameters or reduce the number of layers displayed in the Stack.
Filtering layers by name:
At the bottom of the Stack, there is a field to define a string. If this string can be found in the name of a layer - whether it is at the beginning, middle, or end - this layer will always be visible. All layers that do not contain this string will be visually removed from the Stack, although Autograph will still use them for calculating images visible in the Viewer.

The string in the layer names will be highlighted in green:

Whenever a filter is active, whether it is the name search or the other filters described below, a red X appears at the bottom right of the stack.
Click on it or press alt/opt + f to remove any filter applied to the stack.
When using filters, you may also notice that some indexes are missing in the layer numbering on the left of the Stack. This is another indication that a filter is currently in use.
FILTERS SHORCUTS
After selecting a few layers in the Stack, you can apply filters to display only certain parameters for this selection. If nothing is selected, all layers will be affected. These filters may or may not be cumulative.
To add a filter to the existing ones, just press the shift key in the menu or use a shortcut. Without this key, adding a new filter will remove the previous ones.
Filtering layers containing keyframes:
By clicking on the diamond at the bottom right of the Stack, only the parameters containing keyframes will be displayed. The shortcut for this action is u.

Filtering layers by parameter type:
Next to the keyframe filter button, a drop-down menu gives you access to the transformation parameter filters as well as additional options.
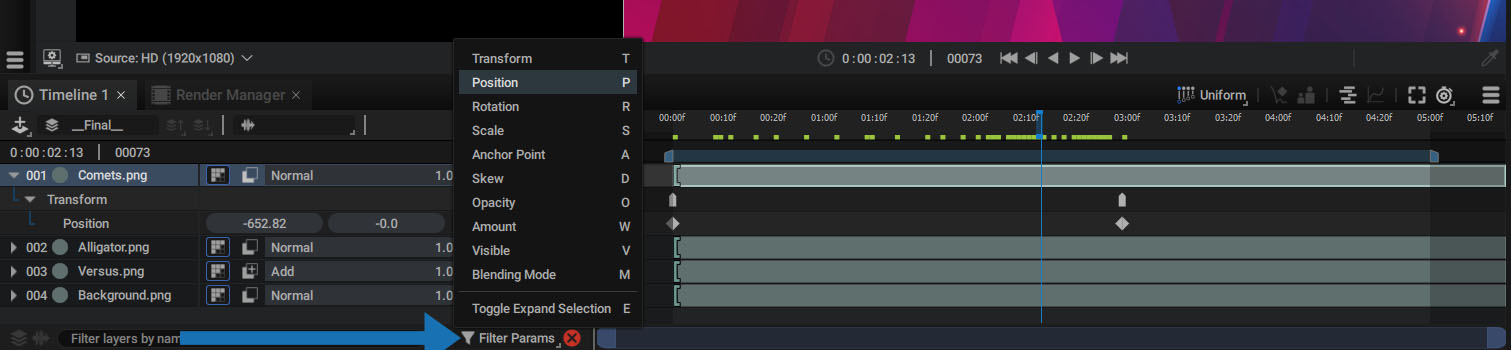
- Transform: displays and unfolds all Transform parameters. The shortcut is t
- Position: shortcut is p
- Rotation: shortcut is r
- Scale: shortcut is s
- Anchor Point: shortcut is a
- Skew: shortcut is d, as in "deform"
- Opacity: shortcut is o
- Amount: shortcut is w, as in "weight",
- Visible: shortcut is v
- Blending Mode: shortcut is b
Folding/unfolding layers and parameters
By pressing the shortcut e, you can fold or unfold the selected layers.
During this process, if you have previously unfolded specific parameters, such as a layer Source, Autograph will remember which parameters were unfolded. This way, you can fold a layer just to make more room in the Stack, then unfold it and return to the same viewing configuration.