Physical Sky
To create a sky, simply follow these steps:
- In the menu at the top of your interface, select Create / Physical Sky / Physical Sky.
- In the Object Manager, double-click on the newly created Sky object, click on the "Load Weather Preset" button and select one of the available skies from the menu.
- If necessary, enter the time of day (in the Beginner tab’s Time settings) your simulation should take place. In the City setting, select the city nearest your simulation’s location. Now the position of the sun in your simulation has clearly been defined.
- If desired, clouds can be created as well. To do so, enable the Clouds option in the Sky Manager.
You have already created the most important attributes: The sky itself with 2D clouds, and the sun.
All additional effects can now be set in the Sky Manager. By switching to the Advanced mode in the Object tab, you can access all effects Sky has to offer.
Physical Sky can simulate many weather and sky effects.
- Clouds (2D and 3D)
- The stars and planets of our solar system
- Rainbows
- Fog
- Sunbeams
ProRender does not support all of the functions offered by the Physical Sky (for details read here).
Which light sources does Physical Sky use?
After Physical Sky has been selected, internal light sources will automatically be placed into the scene. These light sources can only be edited to a certain degree.
These light sources are:
- A sun light source, similar to an Infinite Light, whose properties are automatically defined by the time of day with respect to position, color, and brightness. Hard shadow and area shadow are located in the Sky Manager’s Sun tab.
- A moon light source, similar to an Infinite Light, whose properties are automatically defined by the time of day with respect to position and brightness. It uses a Hard shadow.
- A large, semi-spherical Area Light that simulates the light a sky would radiate. This light source’s color is the average of the color of the sky (without clouds), and casts no shadows. It will be turned off if you use GI.
- Only relevant for GI: The sky itself, consisting internally of a Sky object, also emits light for each (internal) Luminance material channel.
Sun and moon light sources can be replaced with your own light sources (see Sun Light Tab).
Of course you can place light sources as you see fit, but they will not influence the Sky effects. As is so often the case, there is an exception to the rule: you can light volumetric clouds with your own light sources (see Volumetric).
Follow these steps to quickly create useful shapes for volumetric clouds:
- Create a sphere primitive and make it editable (C-key)
- Create a cloud (Create / Physical Sky / Cloud) and set the sphere’s position to that of the cloud’s by using the Transfer function (Tools / Arrange / Transfer). Scale the cloud to the desired size.
- Flatten the sphere by scaling it along the Y axis only.
- Switch to the point mode and select Mesh / Set Point Value. In this tool’s Attribute Manager, set All to Crumple Radial and enter a value for Val. so the sphere’s points are dispersed radially in a random fashion.
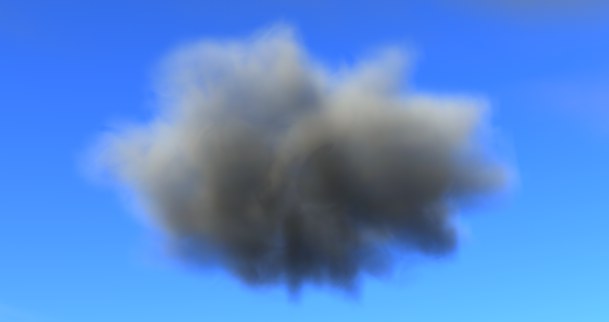
- Drag the sphere onto the Cloud object and make the Cloud object a Child of the Sky object. Voila, you should have an image similar to the one below:

Since Physical Sky and PyroCluster are both volumetric effects, using them at the same time could cause problems because they both use the Environment object.
This is especially true when a volumetric cloud is positioned in the camera’s line of sight and in front of a PyroCluster volume tracer, or the other way around.
In order to avoid this, you can assign a cube to the PyroCluster volume tracer, which will then calculate the volume for PyroCluster.
What you should definitely avoid, though, is a spatial overlapping of volumetric clouds with PyroCluster clouds. There is no work-around for this.
Physical Sky cannot be output separately as a Multi-Pass.