Dresser
All attributes in the Dresser tab are tools used for creating clothing - seams can be defined, initial states set, points fixed, clothing fitted and much more.
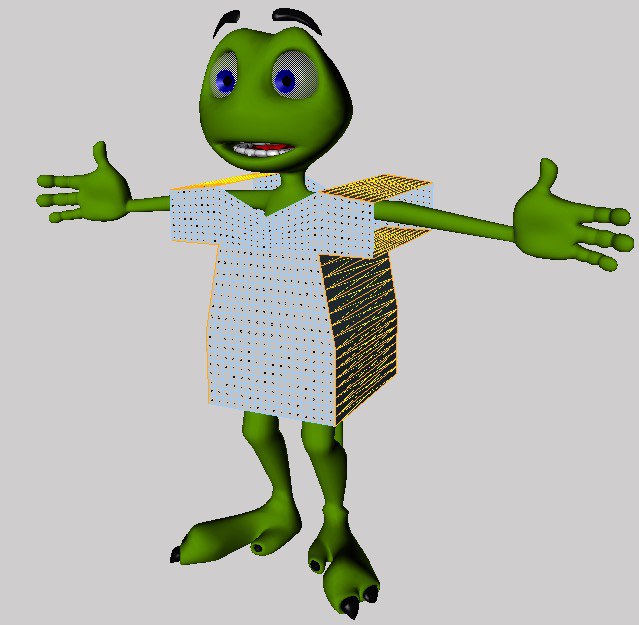
Once a garment has been assigned its dress state (the original polygonal model) this mode will become active. While in this mode, the Cloth tag will display all seams that have been created with a yellow cross-stitch for the affected polygons. The Cloth tag will change its icon in the Object Manager when this mode is active.
This command is similar to the Dress-O-Matic function, with the exception that it takes only Forces tab parameters into consideration. When using the Dress-O-Matic button to drape the cloth onto the colliding character, the properties that define the cloth are taken into account and not forces like Gravity. The Relax button will allow the user to apply real world forces during the dressing state to the cloth object. An Initial State for the garment must be established before running this command.
At any time during the draping simulation pressing the
This determines the number of times that the cloth engine will sample as it applies gravity and wind forces onto the garment. The higher that this number is, the longer the forces will affect the cloth object for.
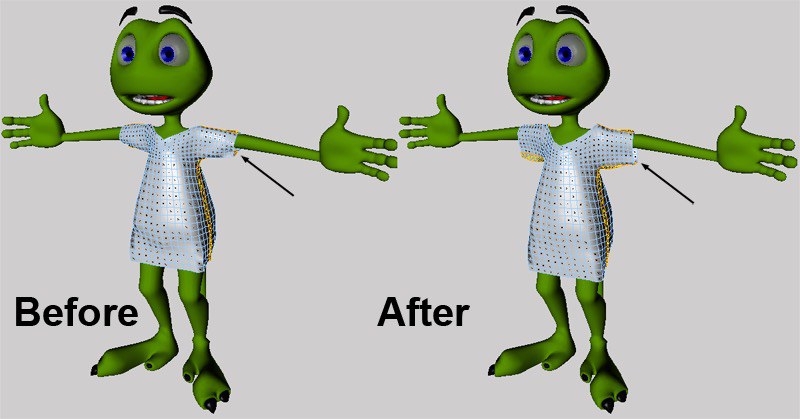
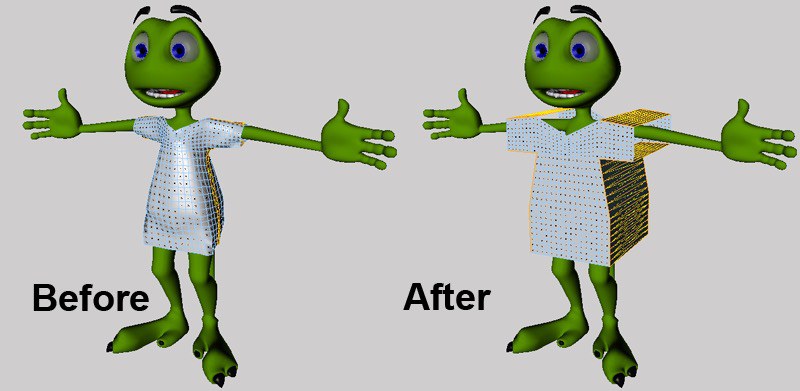
This is the command that actually drapes the garment onto the character. When this command is executed, the cloth engine will shrink the seam to the defined Width setting. As the Cloth engine shrinks the seam of the garment to that width, all points of the garment will drape with the seam. How the points move with the seam as it is draped will be determined by parameters such as Stiffness, Flexion and Rubber. This can also be stopped at any time by hitting the
This field determines the number of times that the cloth engine will sample as it drapes the garment onto the character. The higher the number, the longer it will take the cloth engine to calculate the simulation, but the smoother the cloth garment will be.
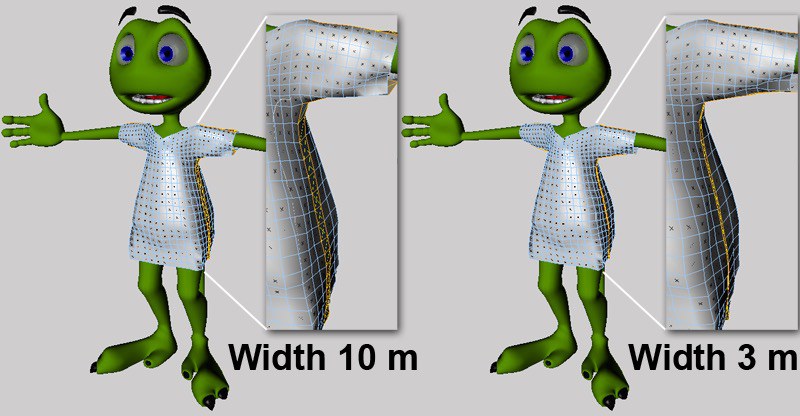
This value determines the goal distance that the polygons of the seam will rest at. With a value of 10 m, the cloth engine will shrink the seam so that the polygons are 10 m in size.
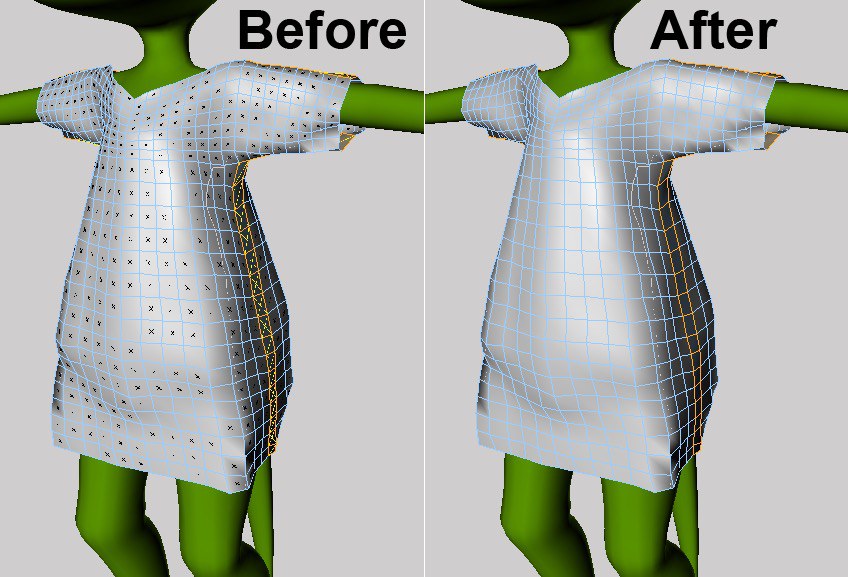
After the cloth garment has been dressed on the character using this command, the cloth engine will now use this current state of the cloth as its starting pose. After using this command, Dress Mode will be automatically disabled allowing for the cloth simulation to run.
If you want to edit (e.g., move, scale, etc.) a piece of clothing (e.g., after having fixed points): Deactivate the Activate option in the Base tab, edit the piece of clothing, then click on Init State: Set. Finally, reactivate the Cloth Engine option.
If at any point during the simulation an error is encountered, or the simulation just needs to be restarted, using this command will return the cloth object to its initial state, which was defined by the Set Initial State command.
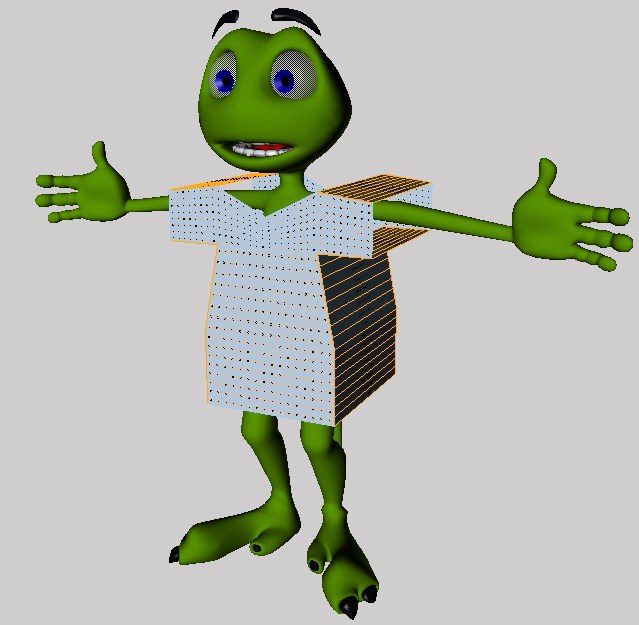
After modeling the clothes, using the Set Dress State command will determine the model’s original shape. Once this original state is specified, the cloth engine can then drape the garment onto the colliding character when told to do so. Using this function will automatically enable Dress Mode. This can easily be identified in the viewport as each polygon will have a black X on its surface. These will be removed once an initial state has been defined.
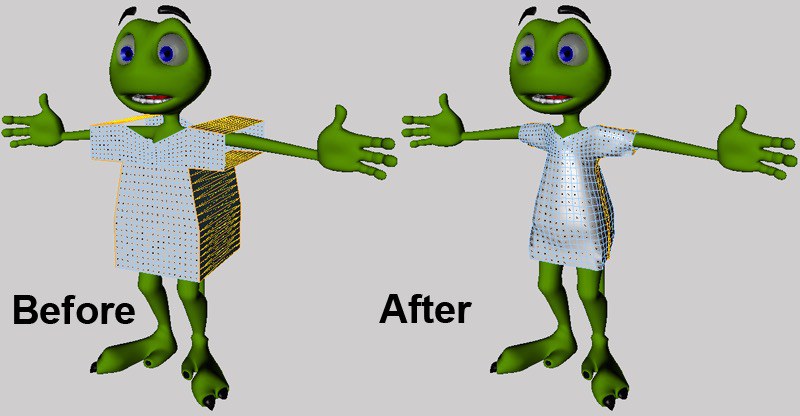
If the garment has already been draped onto the character and the outcome is not the desired result, using this function will return the garment to its original dress shape. This will allow for parameters to be adjusted and then the garment can be draped back onto the character.
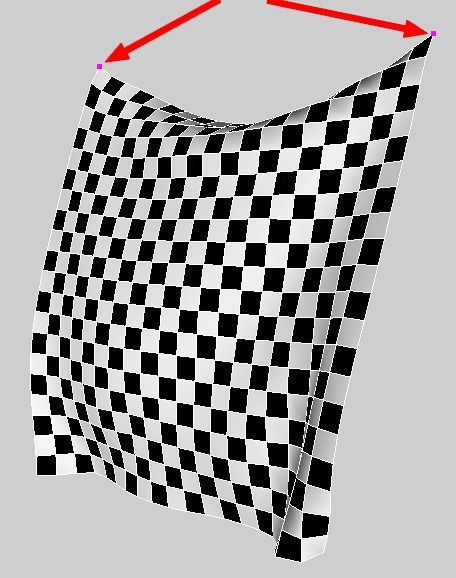
In reality, cloth objects such as curtains are usually pinned using a curtain rod. The Set Fix command does essentially the same thing: it will fix the selected points at their current position, allowing for the cloth to be pinned in place. To fix points just select the desired points of the cloth object with a selection tool and execute the Set Fix Points command.
Much like the other Clear buttons, executing this function will remove any points that have been previously fixed for the cloth object.
Using this command will show the selection of points that the cloth object is being fixed from.
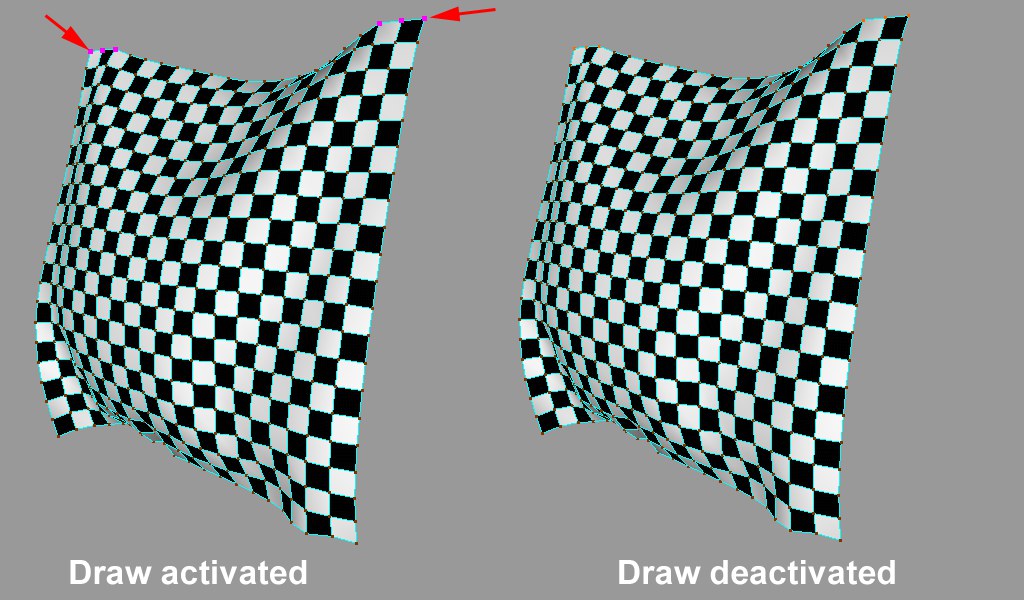
Enabling this option will highlight the fixed points in the viewport. This will clearly identify any points that have been fixed for the cloth with large purple dots. Disabling the option will remove those fixed points from the view of the viewport.
Use fixed points whenever possible. This will improve playback and performance because the Cloth engine can simulate the cloth object from these fixed points
Most clothes are stitched together using seams. This cloth engine uses that same approach. As the tutorial will show, garments are created with a front and back plane that are connected together. The connection of these two planes of geometry will be considered as the seam. To define a seam, select all of the polygons that connect the front and back planes and use the Set Seam command. This will be visually identified in the viewport with yellow cross-stitches for the selected polygons. If the Seam is identified before a dress state is defined for a garment, the garment’s current state will be stored as the Dress State. The Dress Mode checkbox will be enabled as well after hitting the Set Seam Polys.
Using this function will clear any polygons that have been previously set as the seam.
This displays the selection of polygons that define the seam for the garment.
Before defining the seam of the garment, select the polygons for both the front and back planes and use the Subdivide command to increase the resolution of the garment. The seam will be identified by the point order of the garment, so setting the seam before increasing the subdivision would cause the seam to break because point orders would change after subdividing.