Caps
Enable this option to add caps to the cone’s top and base.
 Caps enabled (left) and disabled (right)
Sets the number of subdivisions of the caps in a radial direction. The subdivision along the circumference of the caps is set from the value defined in Rotation Segments.
If you have chosen to fillet the top or bottom of the cone, use Fillet Segments to define the degree of filleting. The greater the value, the finer (or more rounded) the fillet becomes. To chamfer, set Fillet Segments to 1. Below is a truncated cone whose upper extent has been filleted. To the left is a chamfer, in the center a rough fillet and, on the right, a fine fillet.
 From left to right: Fillet Segments set to 1 (a chamfer), 3 and 10.
Enable Top and/or Bottom according to where you want to apply the fillet or chamfer.
Radius [0..+∞m]
Radius [0..+∞m]
Height [0..+∞m]
Height [0..+∞m]
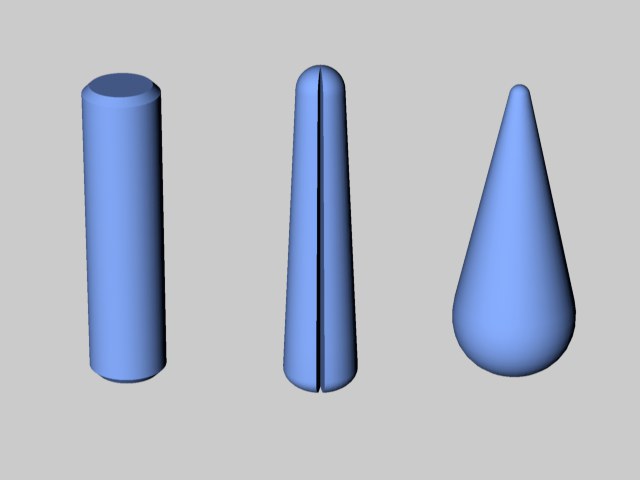
Radius and Height define the shape of the rounding. If both values are the same, the rounding is circular; otherwise, the rounding is elliptical. The following illustration shows a few of the shapes you can quickly achieve with the cone primitive.