Object Properties
Width [0..+∞m]
Height [0..+∞m]
These settings define the width and height of the flat surface. If the recipient is larger than the flat surface, it will wrap onto and beyond the cyan curved surface. If the recipient is smaller than the flat surface, it will wrap on to and within the curved surface (it will not cover the entire curved surface). To change the transform area interactively, drag the orange handles on the X axis and Y axis.
This value defines the radius of the cylinder or sphere (see below) around which the recipient is wrapped.
Determines whether the recipient is wrapped around a sphere or a cylinder.
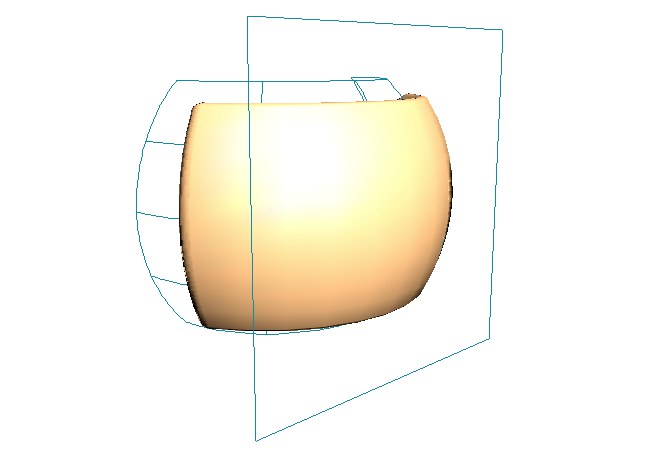 Spherical wrap.
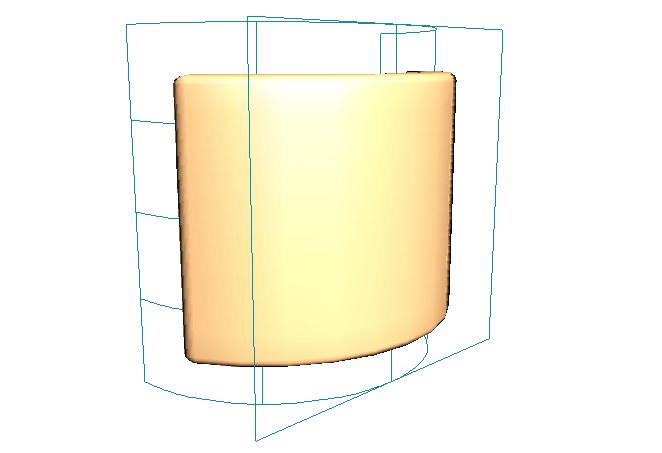 Cylindrical wrap.
 Longitude Start [-∞..+∞°]
Longitude End [-∞..+∞°]
These angles define the horizontal span of the curved surface. If Start is set to 180° and End to 360°, the curved surface forms half of the cylinder or sphere in the horizontal direction.
Latitude Start [-90..90°]
Latitude End [-90..90°]
These angles define the vertical span of the spherical surface. If Start is set to -45° and End to 45°, the curved surface forms the middle half of the sphere in the vertical direction.
You can use this value to specify a movement in the Y direction. This causes the object to wrap in a spiral fashion. You can use a positive value to spiral up or a negative value to spiral down.
Use this value to simulate the flattening that usually happens when a real-life flexible object is stretched. If you enter 50% instead of 100%, the object will be flattened by 50% in the Z direction. You can enter values greater than 100% if you would like the object to expand on wrapping.
This setting enables you to define the strength of the wrap effect. You can set values from 0% to 100%. You can animate the Tension to animate the wrap deformation. To wrap the object completely, set Tension for the first key to 0% and Tension for the second key to 100%. To reverse the wrap effect, swap the keys around.
This might be the best thing since sliced bread. A simple click on this button will adjust the size of the Deformer object to the Parent object to be deformed (i.e. to its bounding box). The object will be enclosed entirely and deformed as a whole. This means that the Deformer’s size must no longer be tediously adjusted manually (click here for additional information).
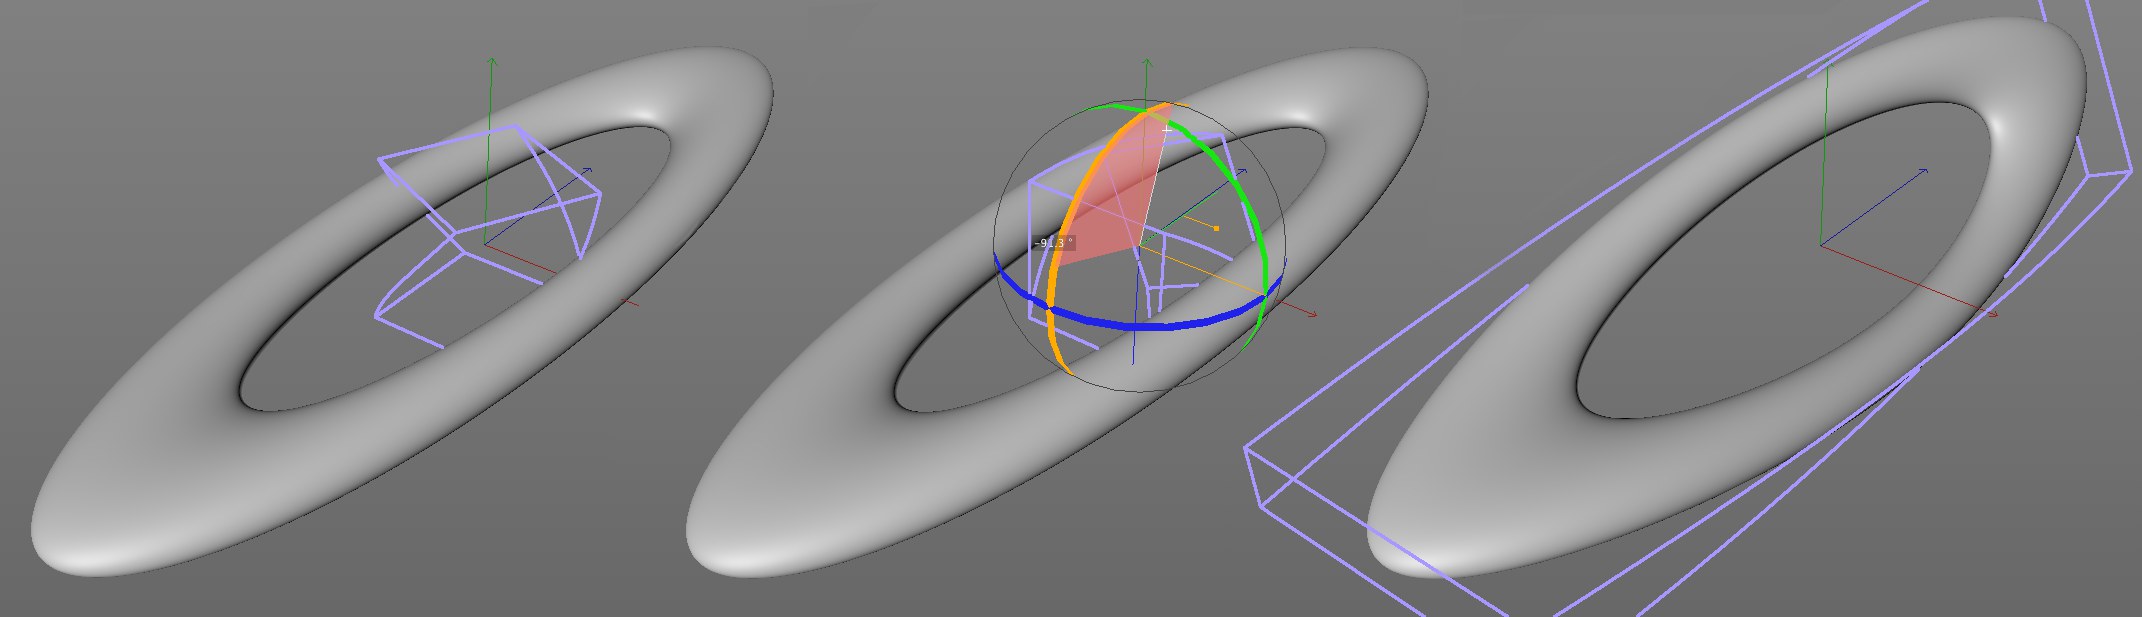 Create a Deformer object, position it and click on Fit to Parent to fit it to the object to be deformed.
Furthermore, Deformer objects’ axes will be fitted to the axes of the nearest Parent object, i.e., you rotate the Deformer object interactively in the direction in which its effect should be exerted, click on the Fit to Parent button and the Deformer object will snap to the nearest axis (it will simultaneously assume this as its origin).
For some Deformer objects (e.g., Squash & Stretch), only the origin or other useful parameters will be fitted to the Parent object, depending on the function selected.