Smoothing
After having painted a cloud, its density is consistently even. This is not as realistic as it could be and may result in visible artefacting at the cloud’s edges. In fact, the cloud’s density should fade at its edges, and this is exactly what Smooth Borders does.
In the image below, Quality (Display tab) was set to 100%, which ensures that every cloud density point is displayed. This can be seen best in the editor.
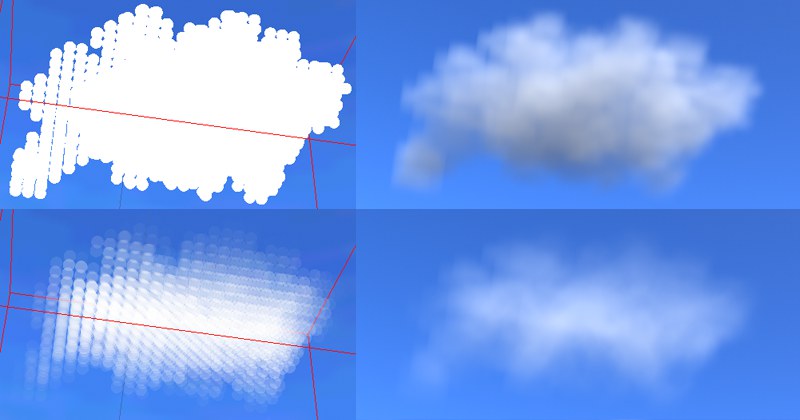 Top: A newly painted cloud; bottom: The same cloud after several clicks on Smooth Borders.
Defines the distance – according to the Shape graph’s settings – that the transparency of the density points will be affected, starting from the edge of the cloud outwards.
Randomly varies the Distance value.
Edit the graph to define the transparency of the cloud’s edge.
As soon as you click on this button, the cloud’s edges will be made transparent, as described above. This effect increases with each click of the mouse.
The following settings affect the entire cloud, not only its edges; density points may also be added. Smoothing makes clouds more fluffy, more cotton-like, as in the example below:
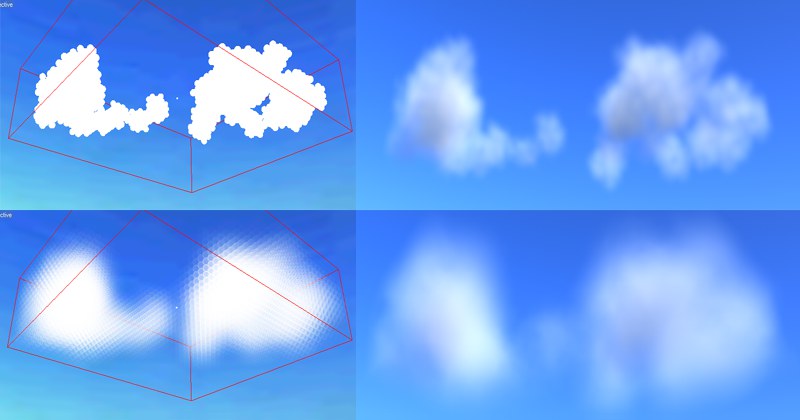 At top: A newly painted cloud. At bottom: The same cloud after clicking on Smooth All several times.
Sets the strength (increases each time the button is clicked) with which smoothing should be applied to the selected cloud.
Sets the degree of irregularity with which Smoothing is applied.
Clicking this button will smooth the entire cloud in accordance with the two aforementioned settings. Click this button several times to increase its effect.
Use parameter Remap Spline function graph to help redefine the cloud density dispersion. The curve shown above will cause cloud densities of 0% and 100% to be set to 0% and densities of 50% to be set to the maximum.
The setting will take effect once the Remap Spline button has been pressed.
If clouds have been smoothed too much, use the Remap function graph to undo this command. Remap can also be used to achieve other interesting effects:
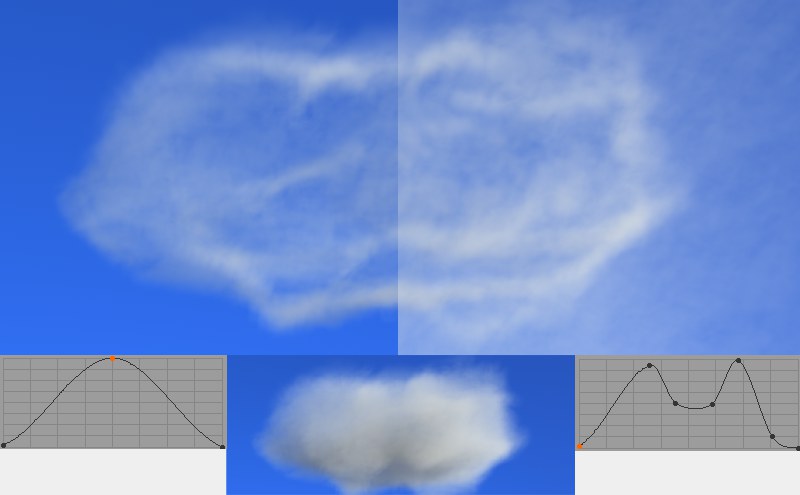 Various Remap functions were applied to the cloud in the center.