Symmetry
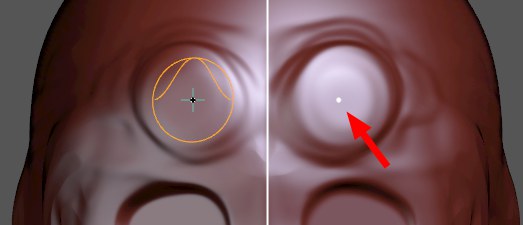
 If enabled, the base of the horn will also be created on the opposing (right) side. Black line: mirror axis. Gray point: preview position of mirrored brush.
Very often symmetrical objects must be edited when sculpting. For example, it would make no sense to model each of a character’s ears separately. Instead, enable the Symmetry function to create an eye or an ear, and the second one will be created automatically (enable the Link Symmetry function at the top of the Stamp tab’s menu and it will apply to all brushes).
Note that the symmetry functions described here can also be combined.
Use this setting to define the coordinate system that will be used as a basis for the Symmetry function’s mirror planes (as well as the following three options). The following coordinate systems can be used:
- World: World coordinate system
- Local: Object coordinate system
- Workplane: Coordinate system defined by the Workplane
Use this setting to define on which axis the mirror plane should be placed vertically. For elements that are not rotated, for example, this would be X. The mirror plane is displayed in parenthesis.
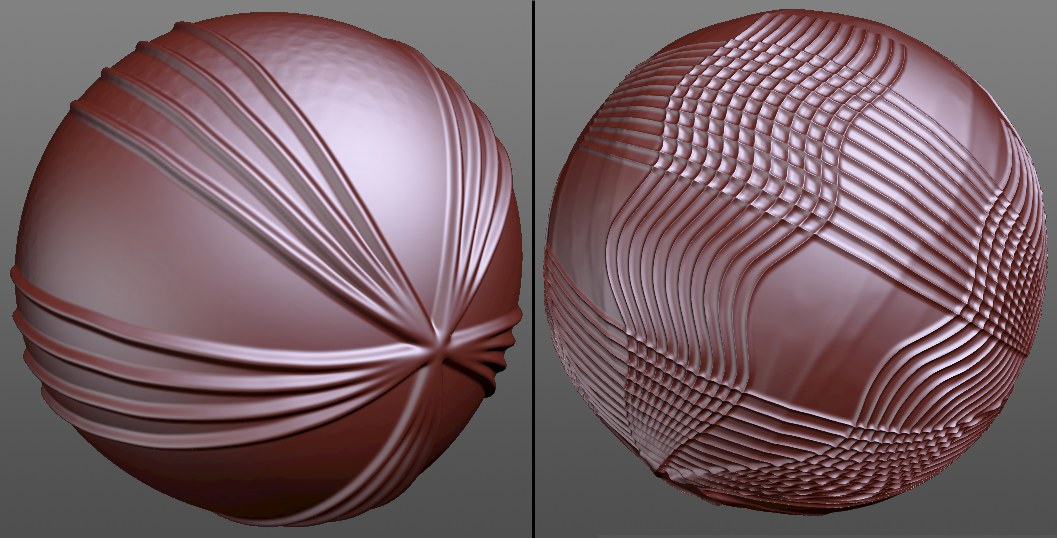
 The brush strokes pictured here, for example, can be created using radial symmetric mirroring. The radial symmetrical center point can be positioned freely (see next option).
Enable this option to create radial symmetrical effects, e.g., those requiring rotational angles, spatial repetition, etc. The brush stroke will then be duplicated around a defined axis, depending on the settings chosen. In the preview window below you will see a preview of the radial effect, which gives you an idea how the brush will behave when applied.

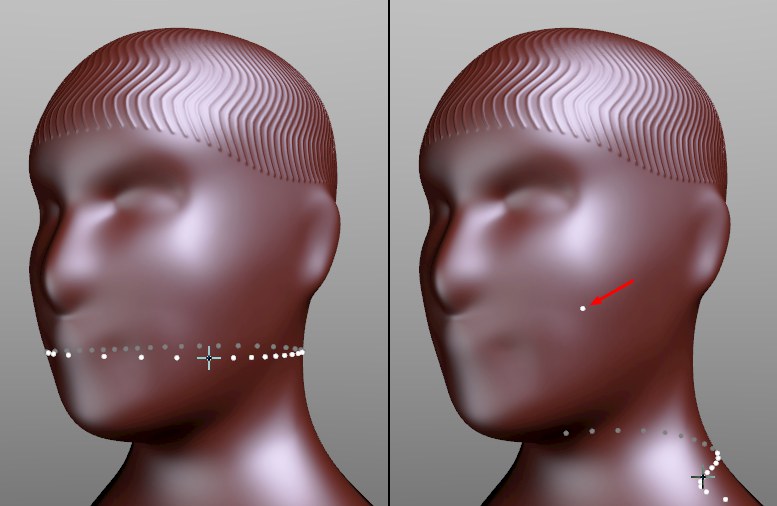
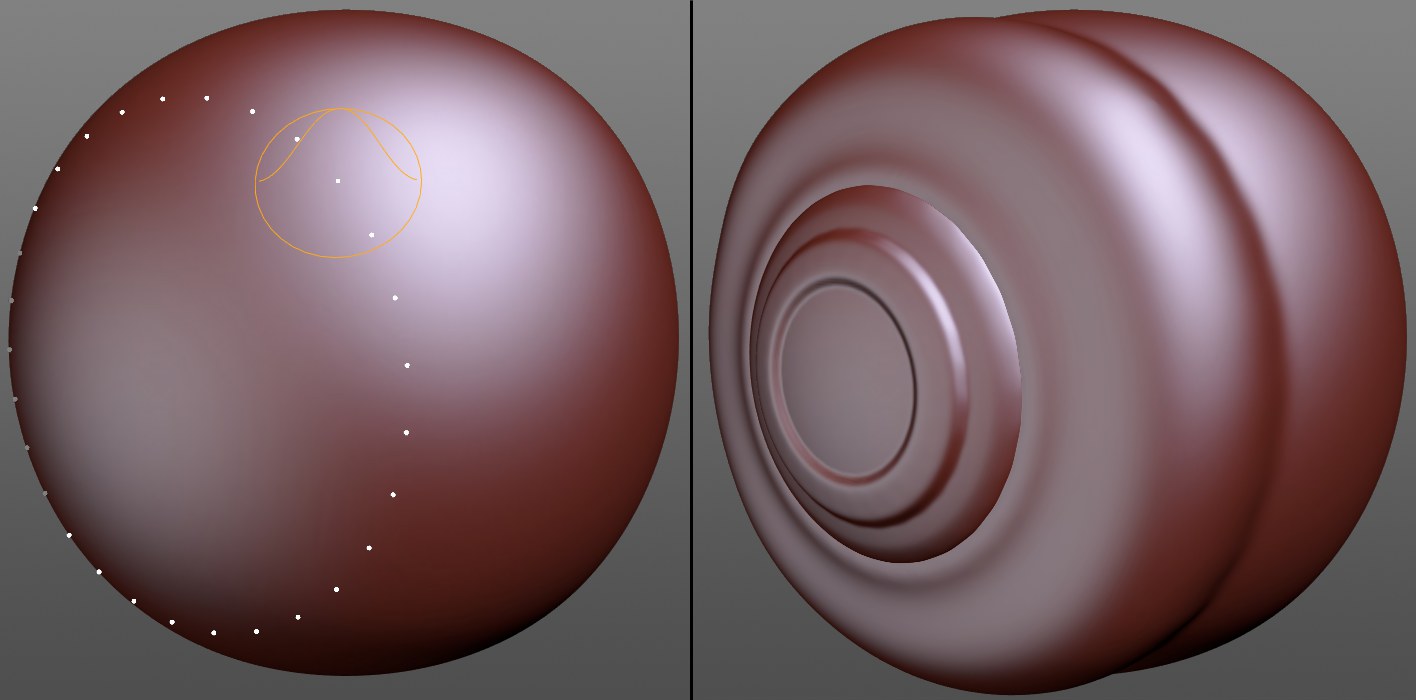
When in this mode, a circular dispersion of the brush’s effect on the Layer will occur. The radius that will be used is the distance between the cursor at the start of the brush stroke and the object’s center point. As long as the cursor hovers over the Sculpt object (without clicking!) the radial symmetry positions will be displayed in the preview. If the cursor enters regions in which the brush stroke would lie outside of the Sculpt object due to the brush’s radius, the object’s center point (marked in the image above) will be displayed (Attention: The object axis cannot be moved of a Sculpt tag has already been applied!).
When in this mode, the brush stroke will be duplicated radially (star-shaped) around the starting point of the brush stroke.
At the bottom of the menu settings is a preview window in which you can see approximately where and how the brush stroke will be applied.
If Radial Symmetry Mode is set to Point you can define the center point of the radial symmetrical brush stroke with a right-click.
Number of Radial Strokes [2..2147483647]
Use this setting to define the number of brush strokes that can be applied simultaneously.
With a higher value, rotationally symmetrical, intertwining shapes can be created:


Using this setting, gaps can be added to the otherwise evenly dispersed radially symmetrical brush strokes if a value greater than 0° is entered. Brush stroke groups (each with Number of Radial Strokes) will be created according to the following scheme: If, for example, 45° is defined, the brush stroke group will be spread evenly over 45°, followed by a 45° gap, followed by brush strokes spread evenly over 45° and so on.