Spline
If the Mode parameter is set to
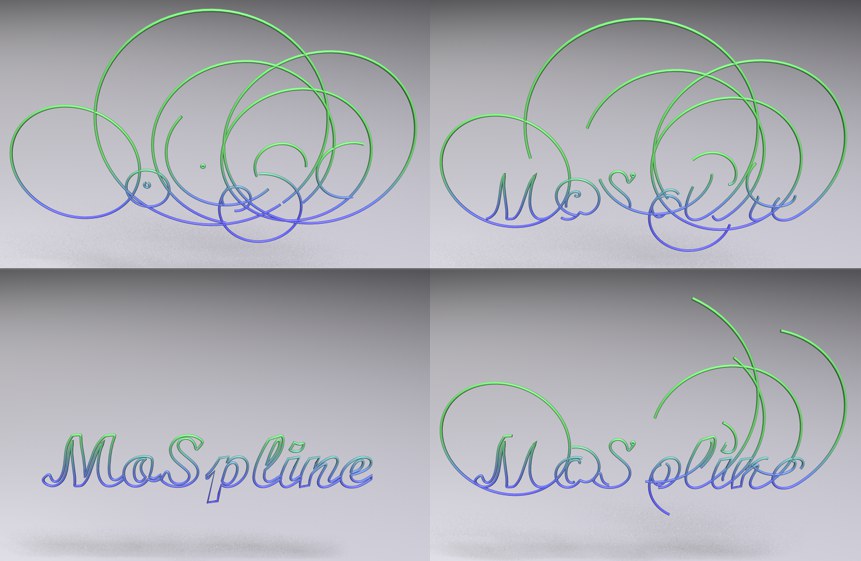
This mode lets you use a normal Spline as a "source" for a MoSpline, which can in turn be animated along as well as beyond the Source Spline.
This mode defines (internally) where and how the MoSpline will arrange its points (which will be linked linearly) along the source spline.
The four available modes behave almost exactly like the four corresponding modes of the Cloner object when it arranges clones along a source spline. The only difference is that the MoSpline strings its points together instead.
 The Text spline pictured at the top left is the source spline and is "copied" by the MoSpline. At the bottom are various generation modes with both splines superimposed.
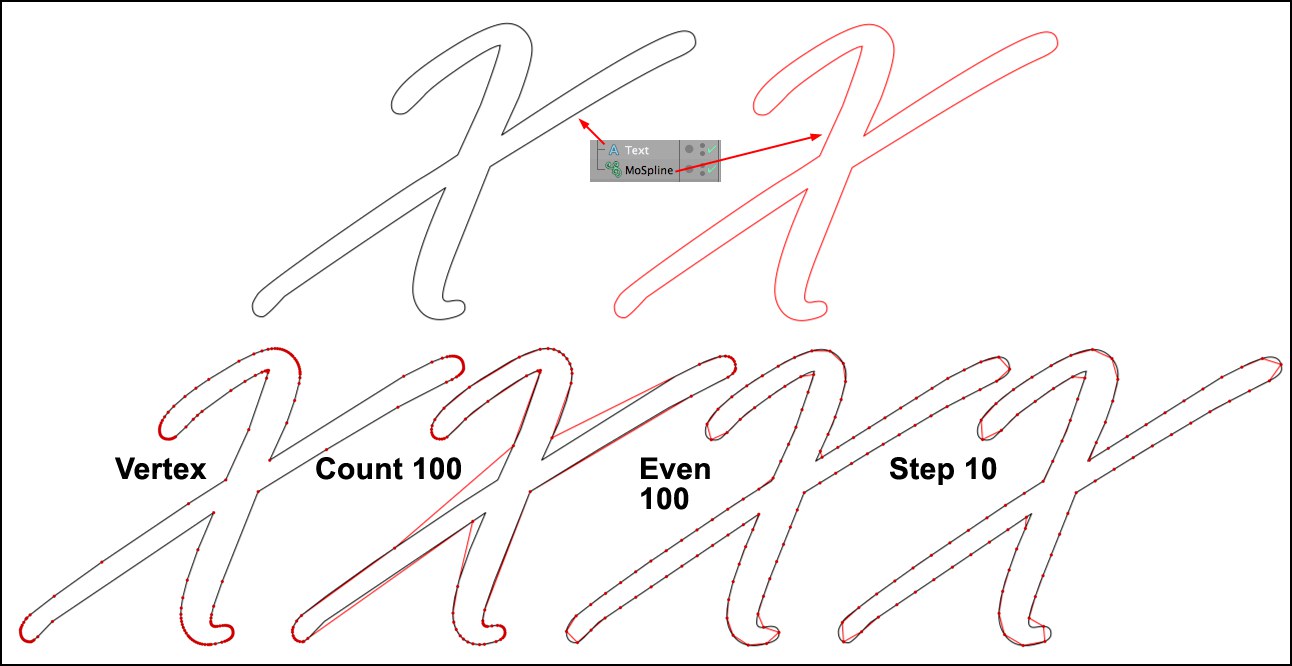
As the image above shows, the four respective modes do the following:
- Vertex: The MoSpline arranges its points exactly on the source spline, creating an exact copy.
- Count: An adjustable number of points is arranged in accordance with the source spline interpolation.
- Even: An adjustable number of points is arranged on the source spline in identical intervals.
- Step: Defines the interval between the MoSpline points with which the source spline will be "filled".
Use the Even or Step modes if Start, Endand Offset animations should all have the same speed since these modes use constant intervals.
For jagged splines (e.g., a star) or splines with few points, the Point does not work will when used in conjunction with a Sweep object. Use one of the other modes instead.
Knowing the above it will be easier to, for example, predictably create spiraling shapes (see Extend Start). Spirals are created by extending the source spline’s start or end points. The corresponding last four points will be used. If you were to extend the MoSpline in our example above using the Offset parameter almost straight lines will be generated because almost no curvature is present at either end of the spline. Therefore, you have to make sure that the start and end points lie in curved regions.
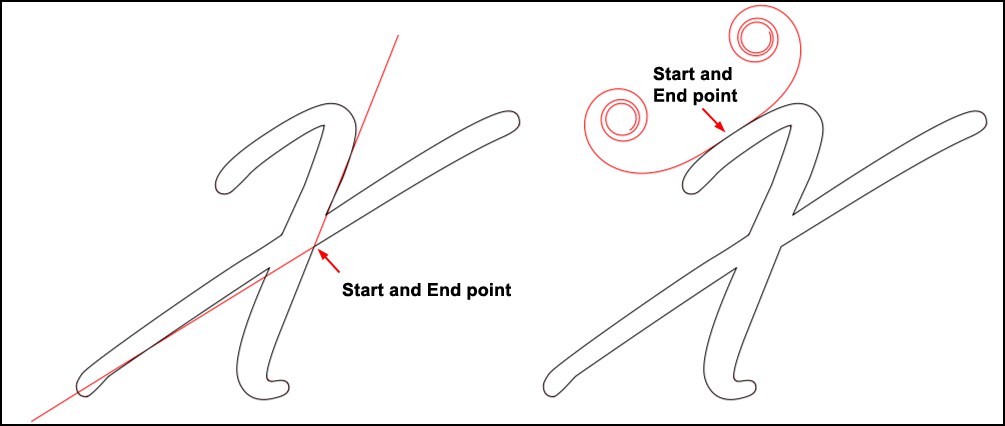 A source spline’s offset start and end points can be used to generate nice-looking spiral shapes.
Fine-tune either the Generation Mode or (what you can do in most cases) use the ![]() Move Up Sequence
Move Up Sequence
When in this mode (or in Even mode) the number (
When in this mode you can define the distance between MoSpline points, which will be used to emulate the Source Spline. Lower values offer more accurate results.
Drag the Spline to be emulated into this field.
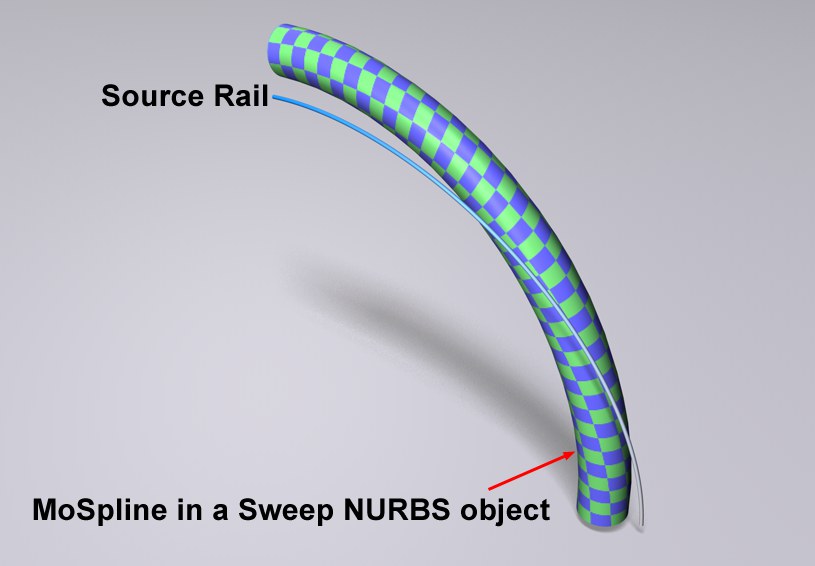
This parameter can be used to define an additional Rail Spline, which however will only influence the shape of the MoSpline’s outer hull.
Most MoSplines end up being made a Child object of a Sweep Object. This setting, and not the source spline, is used to define the diameter of the Sweep Object.
This and the following setting can be used to adjust the Sweep Object’s diameter along the length of the segments. See also Spline.
See Formula.