Trapcode Particular
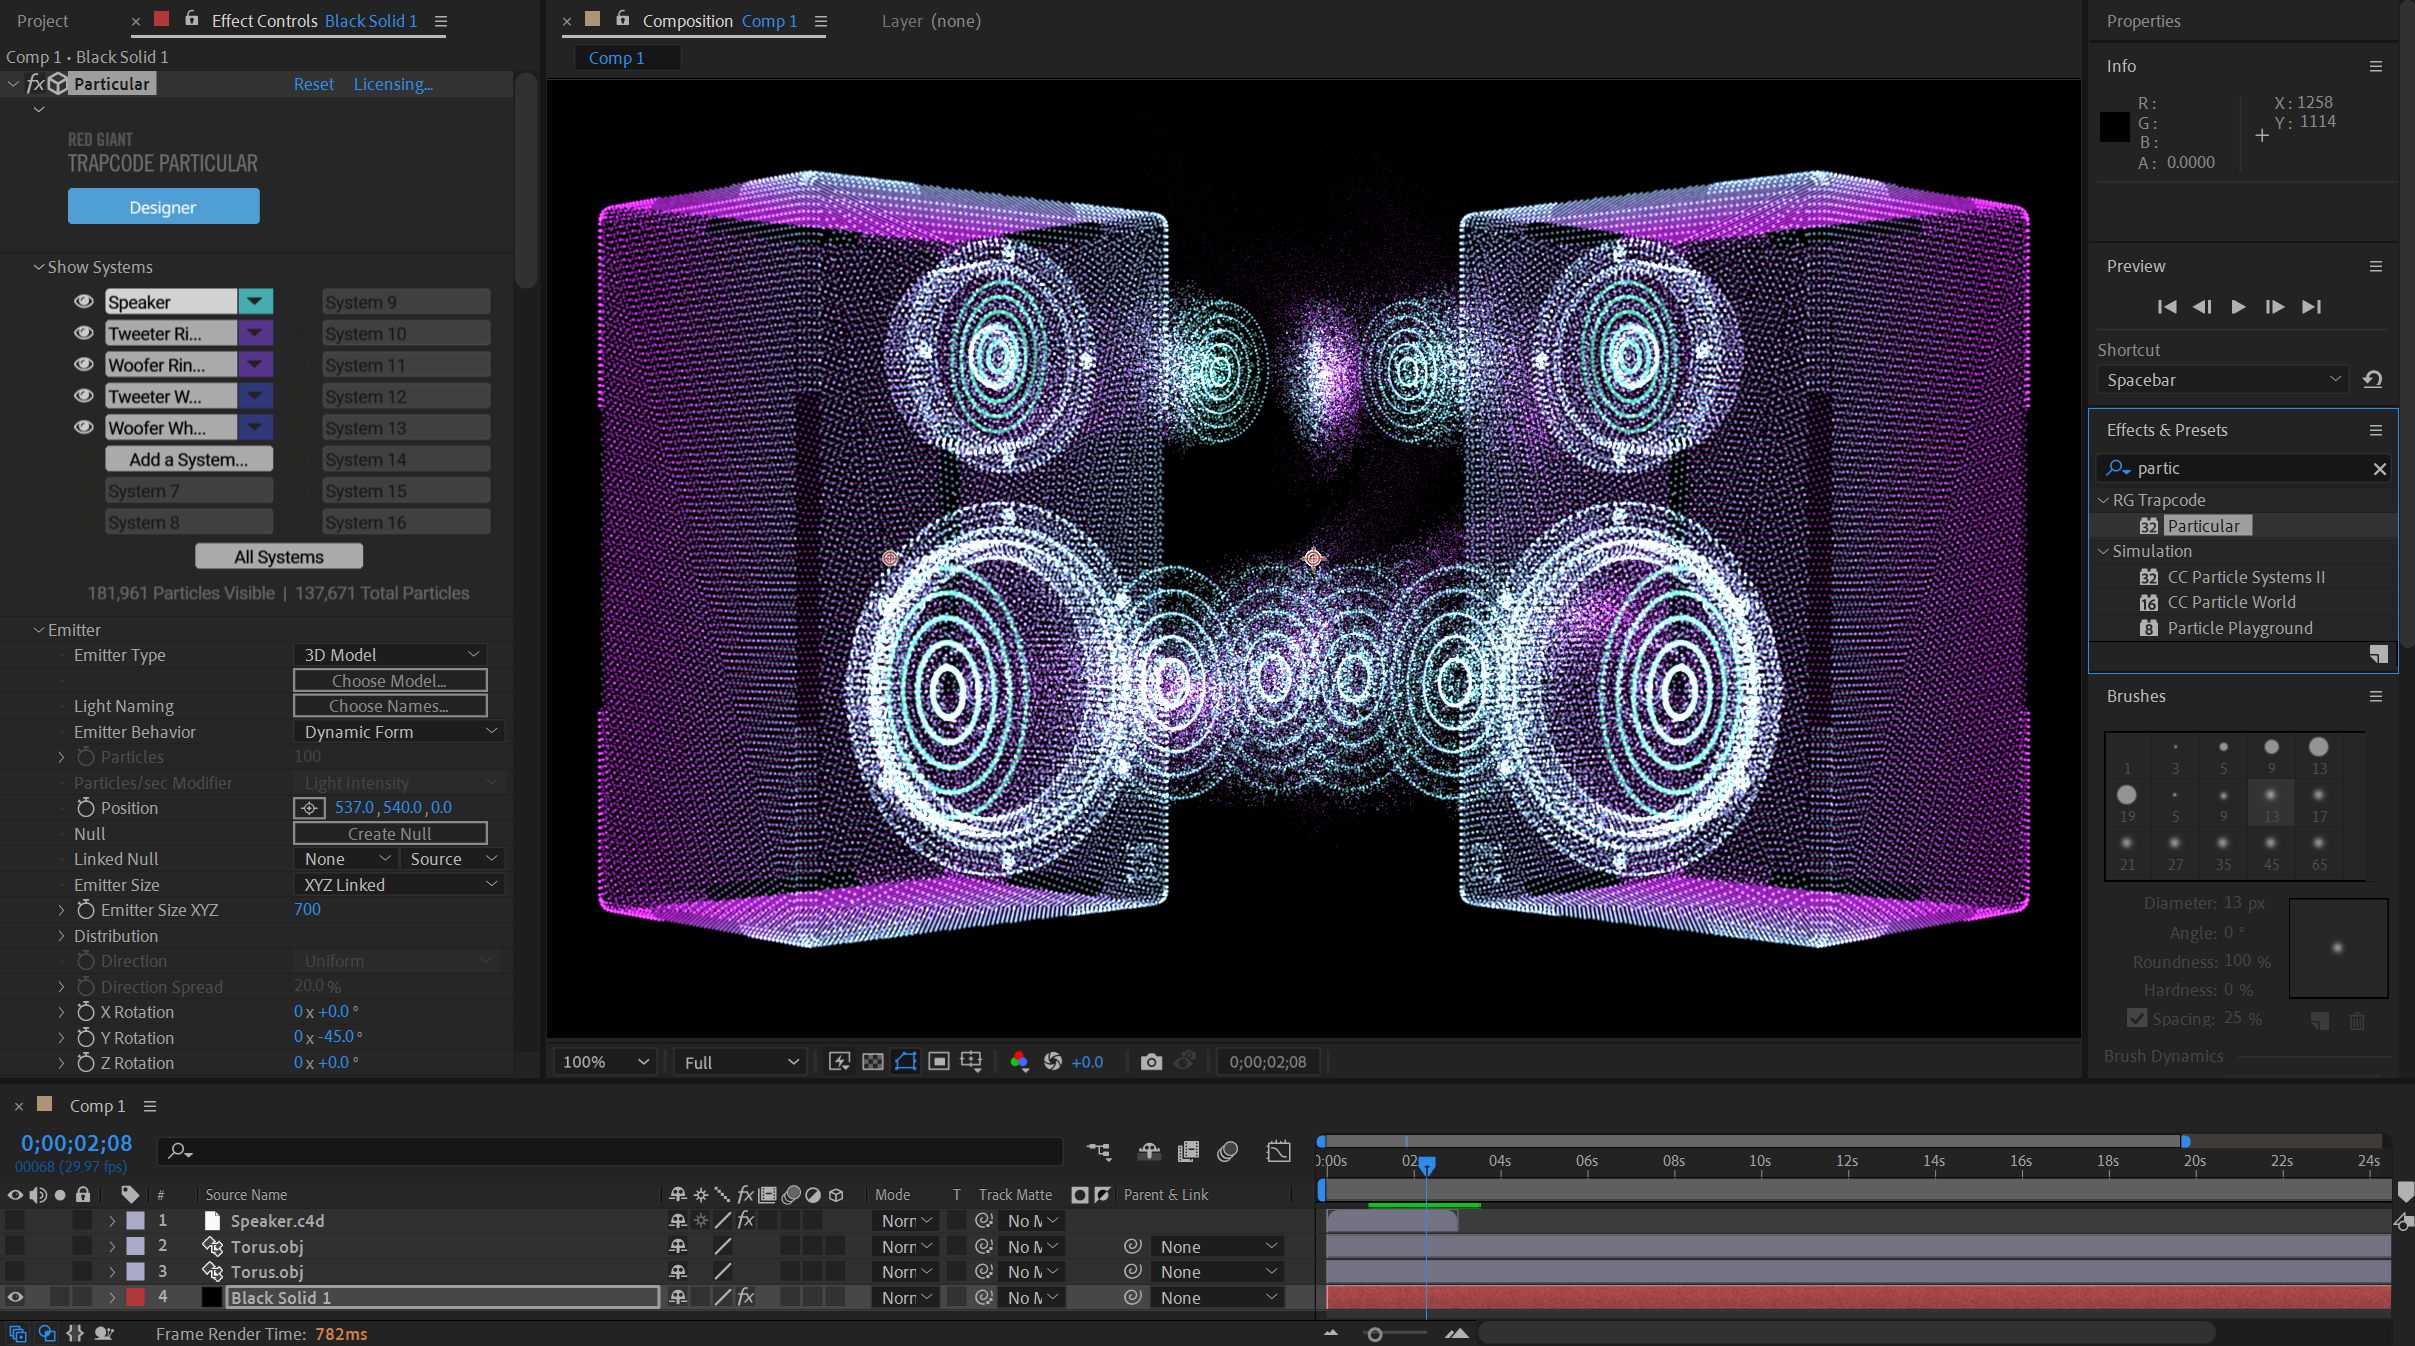
Near the top of the Trapcode Particular ECP interface waits a blue button labeled Designer... This button launches a separate interface window that offers an alternative, more graphically rich way of building Particular effects.
The Designer provides a simplified, interactive, and more visual Particular experience based on the concept of building blocks. By applying a block, you apply an attribute to your particles. Each block is contained within a category that corresponds to the main plugin's groups, and each block offers a subset of the plugin's controls. You can combine blocks to create an "effects chain" that delivers a unique visual result, then save that chain as a new preset.
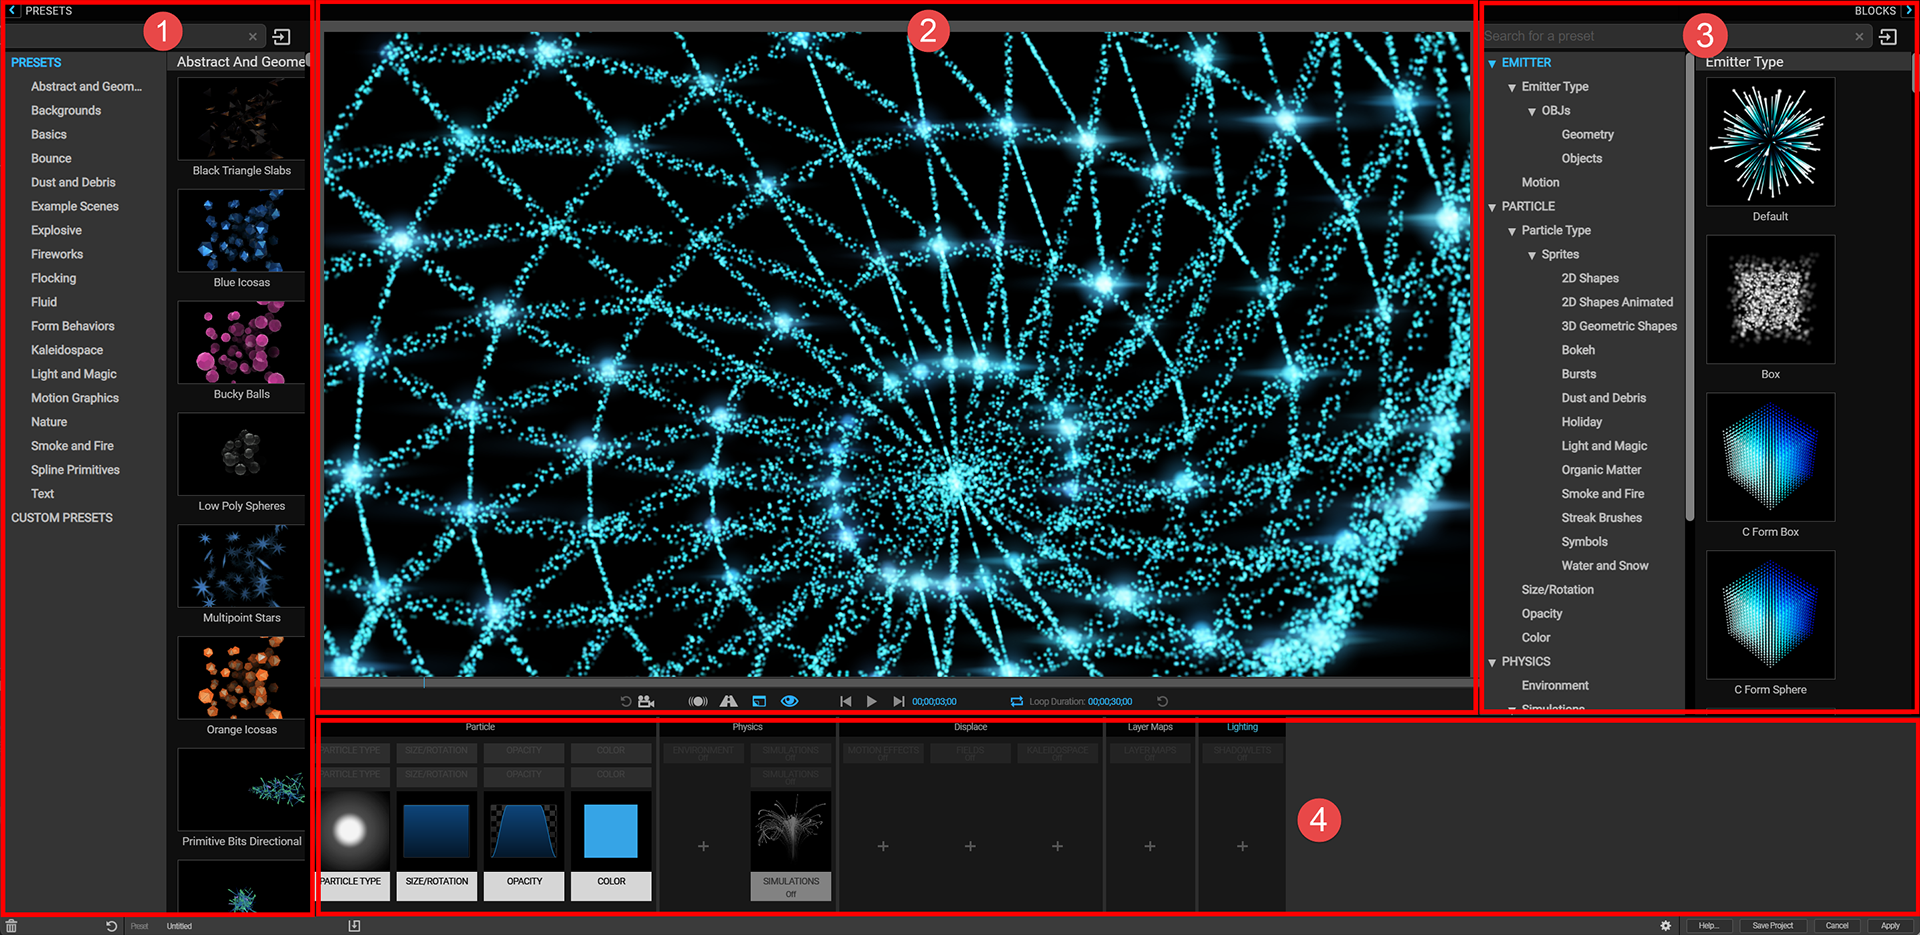
Particular Designer sections: 1) Presets, 2) Preview, 3) Blocks/Controls, 4) Effects Chain
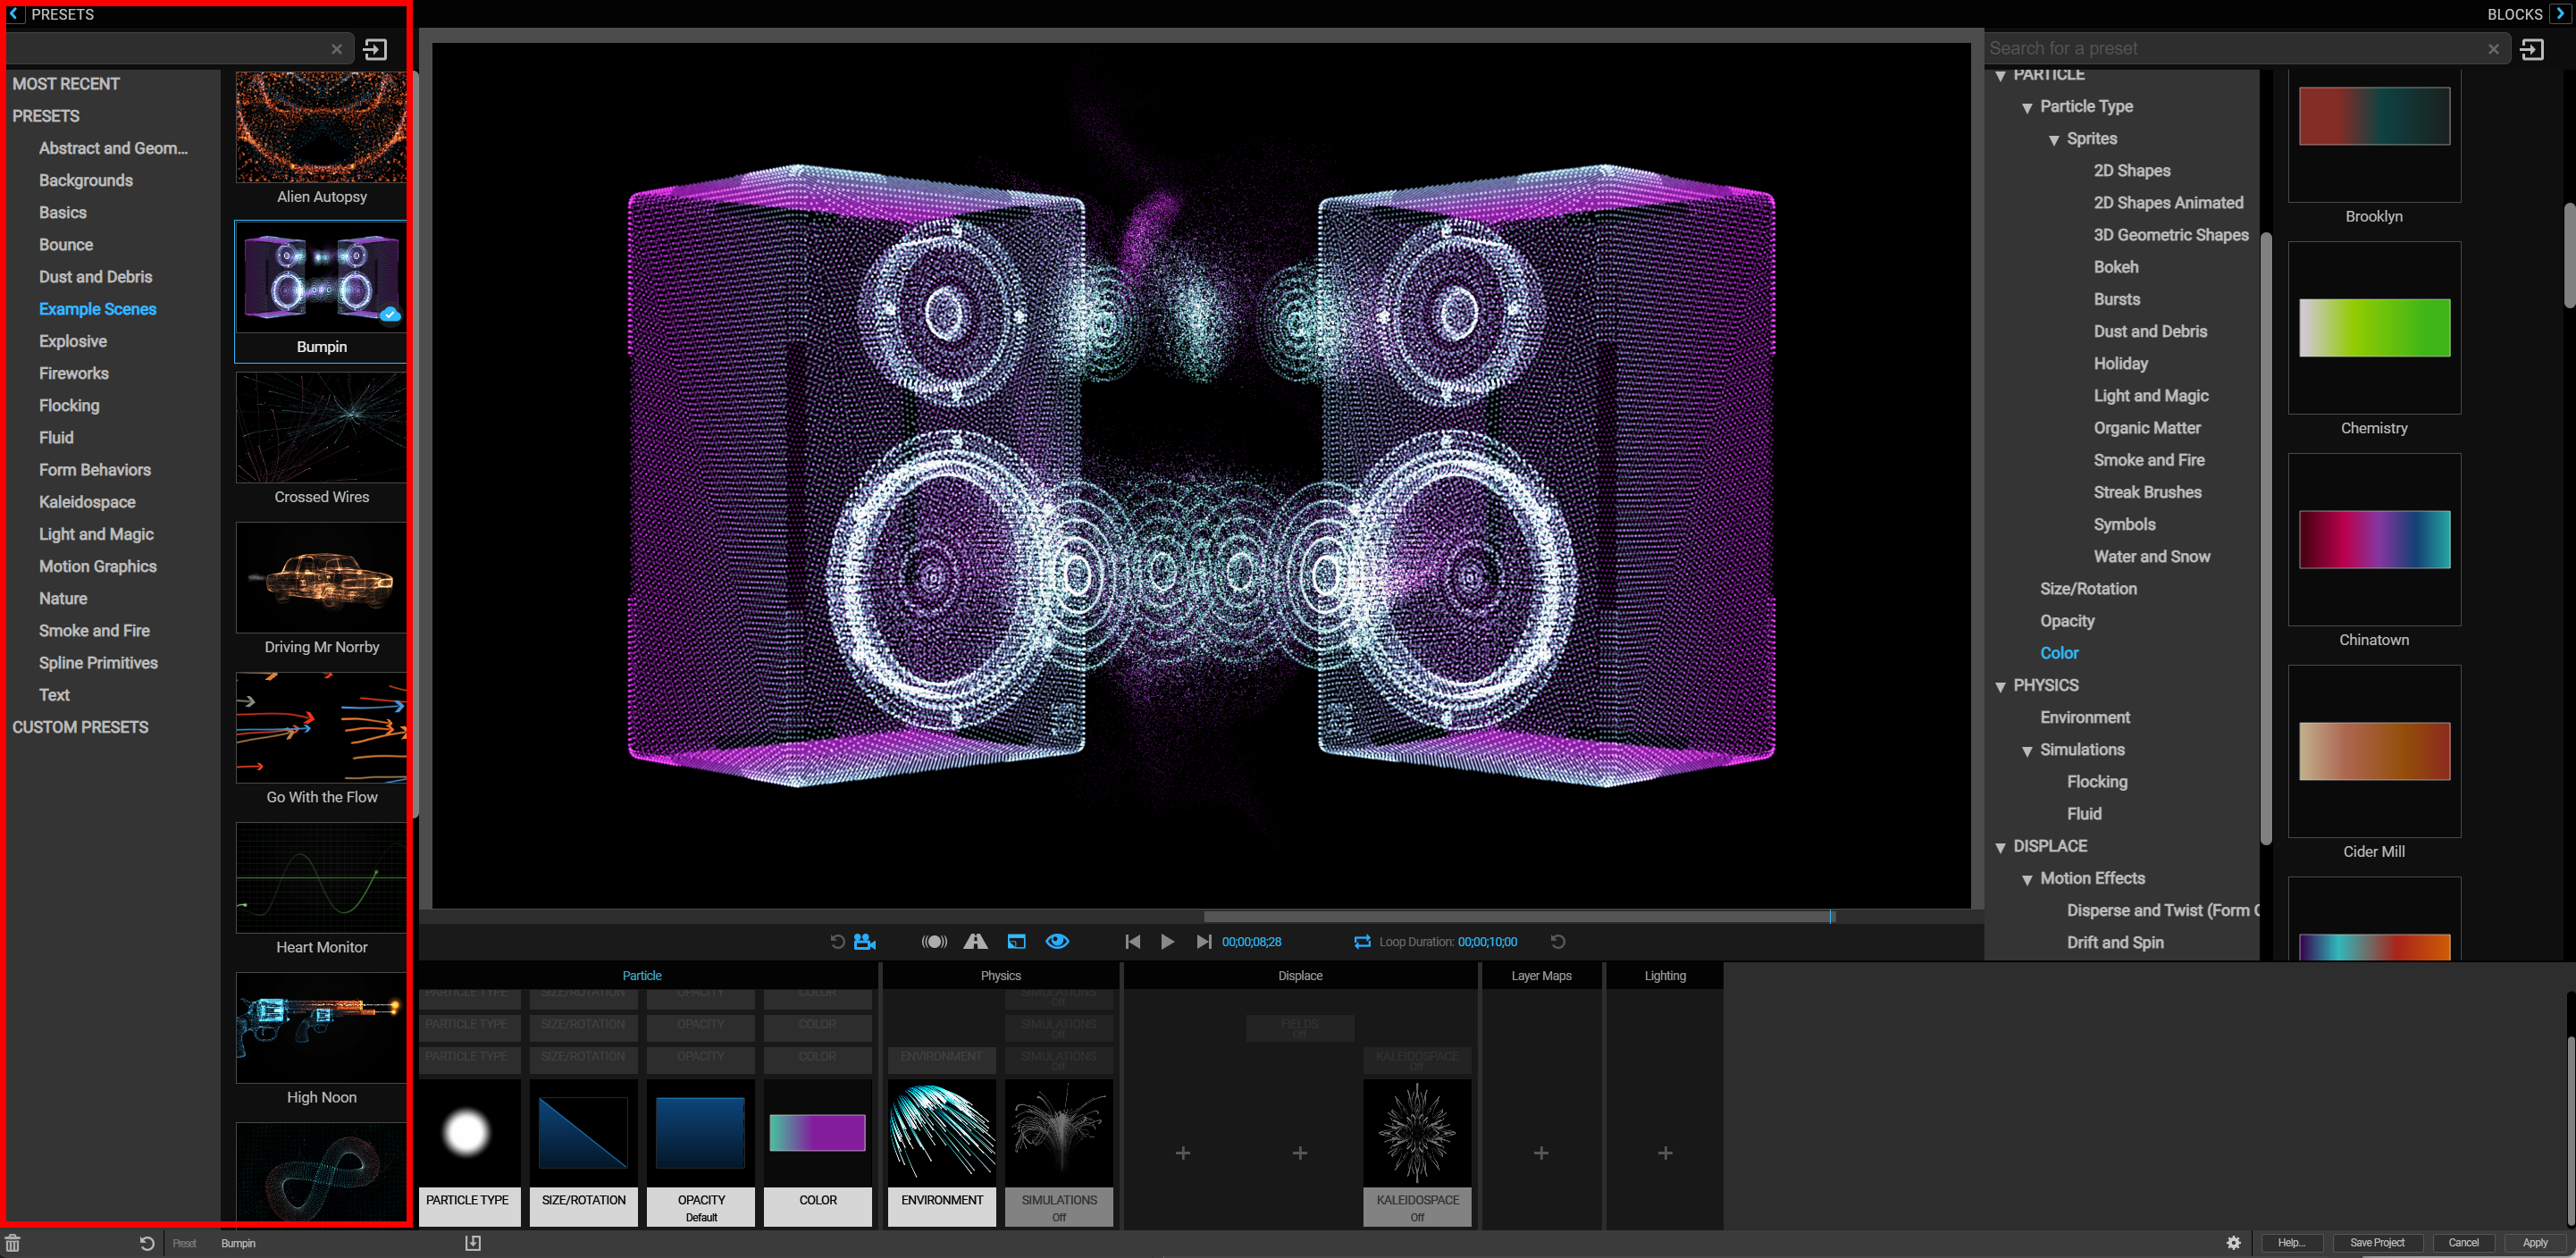
After opening the Designer, select a preset as your starting point (as we did with the Bumpin preset shown below), or just start exploring and creating using blocks to build your own custom effects. See the Presets in the Designer section for more detailed information.
To simplify the process of creating a particle system, blocks are organized into categories: Emitter, Particle, Physics, Displace, Layer Maps, and Lighting. Each block provides controls that allow you to further customize the effect. See the Blocks in the Designer section to learn more about working with blocks.
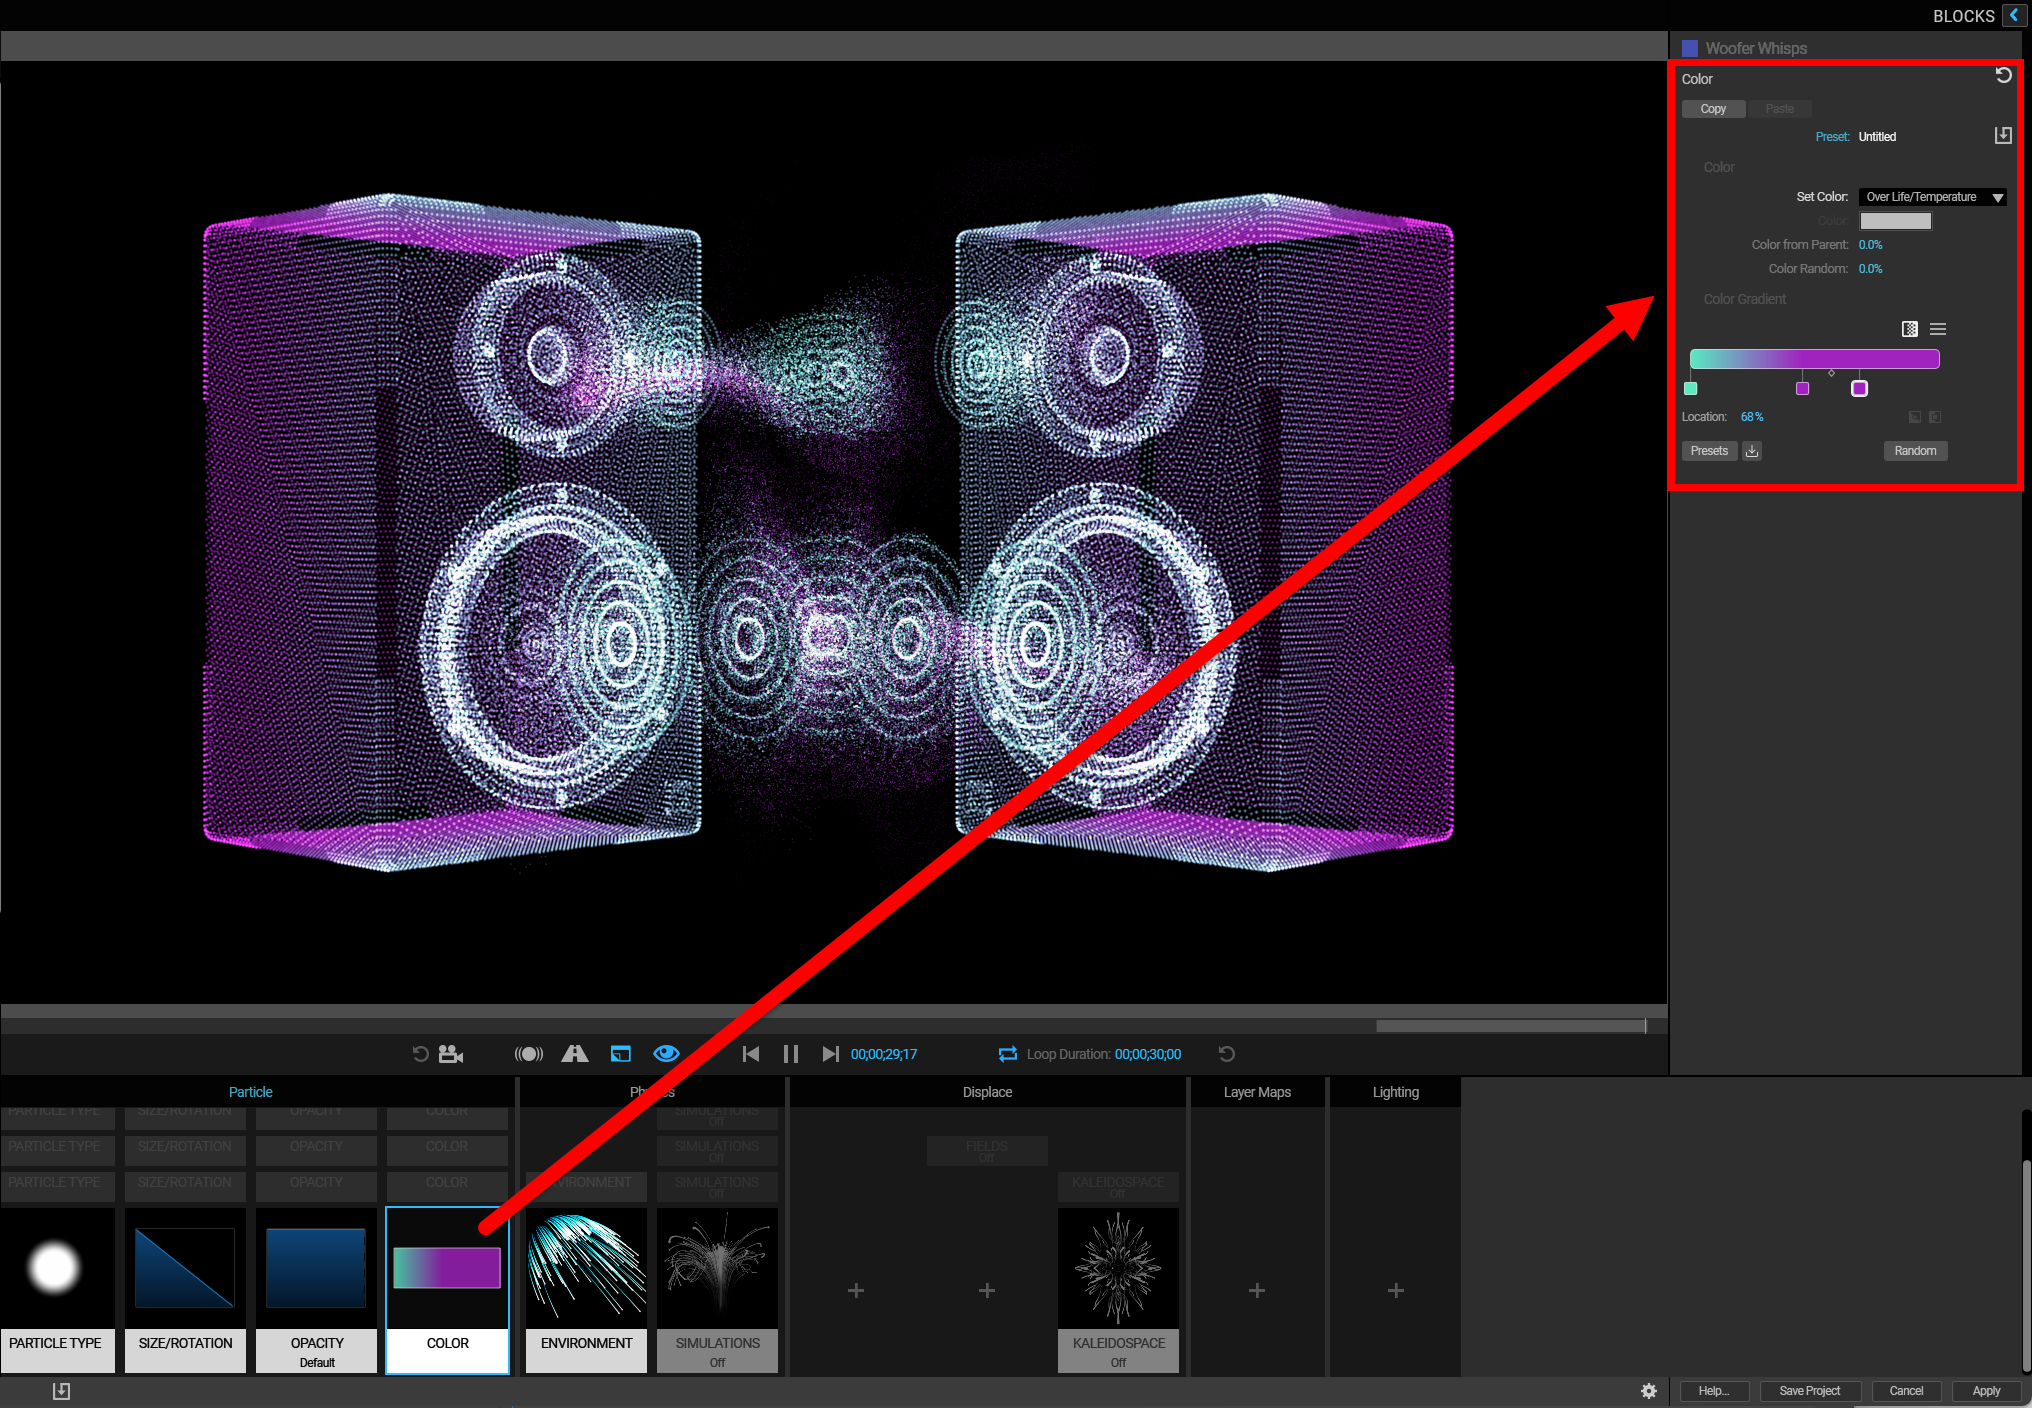
Below is an example of a color block's controls that can be used to preview and adjust particle color when selected in the Designer's Effects Chain. The Effects Chain also lets you control the attributes of each system in multiple systems. (A system is an individual collection of particles that can interact with other such collections. You can add up to 16 systems in each Particular instance.) The Effects Chain page in this user guide's Designer section goes into greater depth about using blocks within the Effects Chain.
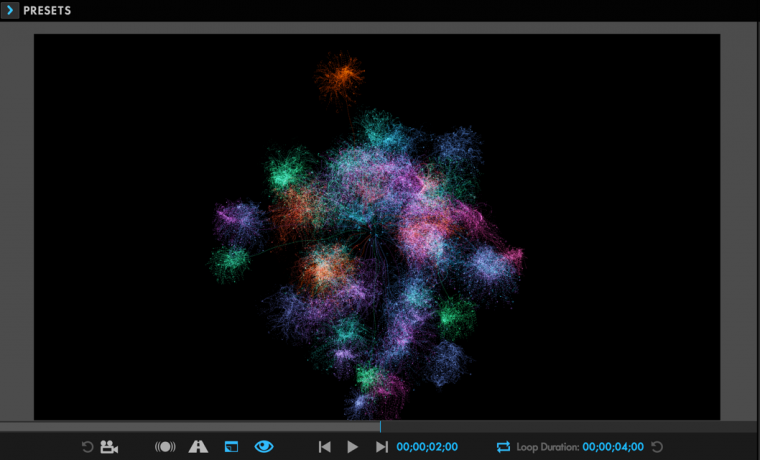
The preview window shows what you are creating. The effect will only fully render in your After Effects timeline after you hit the Apply button and return to After Effects. For more information on the Preview pane, see the Preview Pane page in the Designer section of this user guide.
You can always save your in-progress Particular work from the ECP, but the Designer provides a handy Save Project button in the lower-right corner, so you don't have to leave the UI.
Once you like what you have created, click the Apply button in the Designer's bottom-right corner. This will take you back to After Effects, where you can further refine the controls in Particular and render your creation in the After Effects timeline. If you'd rather not apply the effect, hit the Cancel button (to the left of the Apply button) to return to After Effects with no changes applied to Particular.

After applying the effects made in Designer, you will see your settings in the Particular UI within After Effects' ECP. You can make additional changes in the ECP interface or go back to the Designer. Changes preserve as you go back and forth between them. For more information about round tripping between the Designer and the main UI, refer to the Effects Chain in the Designer section of this user guide.