Diffusion

The Diffusion page lets you darken and lighten the material in specific areas using a diffusion map. Diffusion maps are especially useful for making material look dirty and more realistic. You can use either a normal texture or a shader as the diffusion map. (If the texture is colored, it will still be treated as a grayscale map.) The darker a pixel in the diffusion map, the darker the corresponding region of the material.
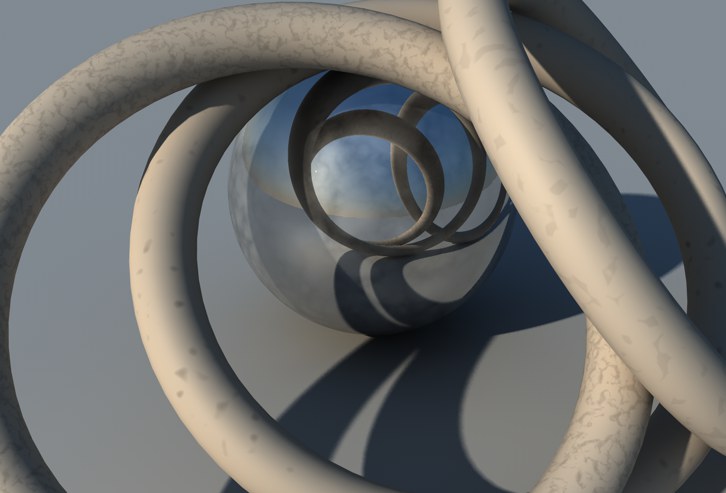 Objects with different Noise values in the Diffuse channel
Use this slider to adjust the brightness of the channel’s color. The brightness functions somewhat like a multiplier.
Enable the Affect Luminance option if you want the diffusion map to affect the luminance property. The darker a pixel in the diffusion map, the darker the corresponding region of the luminance. This helps you add irregularities to the luminance to achieve a more natural look.
If the Affect Specular option is enabled, the diffusion map is applied to the specular property in the Reflectance channel as well. This will reduce the material’s specular values where the diffusion map is dark. This option is enabled by default since it adds to the realism considerably.
Enable Affect Reflection if you want to apply the diffusion map to the reflection and environment properties for an even more natural look. The darker a pixel in the diffusion map, the darker the corresponding region of the reflection.
Here an image texture or a 2D shader can be defined. Refer to the Textures chapter for details.
Use these parameters to mix the color and texture panes using one of four modes. The default mode for all channels is Normal, except for the Environment page, which uses Multiply as the default mode. Not all channels have Mix settings. If you load a texture or a 2D shader, it is placed on a layer above the color (i.e. the texture is placed on top of the color).
In normal mode, the Mix Strength sets the opacity of the texture. If the value is set to 100%, you will see the texture only (remember, the texture is the top layer, so if it is opaque you will not see the color underneath). If the value is set to 70%, the result is 70% of the texture and 30% of the color.
For example, if a texture pixel of RGB 255/0/0 (red) is used with a color value of RGB 255/255/0 (yellow) with the Mix Strength set to 50%, the resultant color is 255/128/0 (orange).
The texture’s RGB value is added to the color’s RGB value.
No values will be clamped (e.g., to 255/255/255)
The color’s RGB value is subtracted from the texture’s RGB value. Thus if a texture pixel is RGB 255/255/255 (white) and the color value is 255/0/0 (red), subtracting with Mix Strength set to 100% gives the result 0/255/255 (cyan).
The RGB value of the texture is multiplied by the RGB value of the color. For example RGB 255/128/0 (orange) multiplied by RGB 0/255/0 (green) results in RGB 0/128/0 (dark green).
Mix Strength defines the mixing proportion between the texture and color panes or between the brightness and transparency (depending on which mode is selected) of the texture to be mixed.