Illumination
PyroCluster effects can be lit in several ways using the options on this page.
The illumination of atmospheric effects is one of the keys to successful and believable animation. Without light, there’s nothing to see.
The type of illumination used can dramatically change the look of a PyroCluster effect.
 Light off Light off |  Light on Light on |
Use this option if you want to employ a diffuse lighting method. The examples above show the difference between the different illumination models. Diffuse lighting spreads the light within the puff itself.
 Diffuse Diffuse |  Ray angle Ray angle |
Enable this option if you want to use the Ray Angle lighting method. The example on the right, above, shows how Ray Angle illuminates according to the line of sight to the light source.
 Diffuse Diffuse | 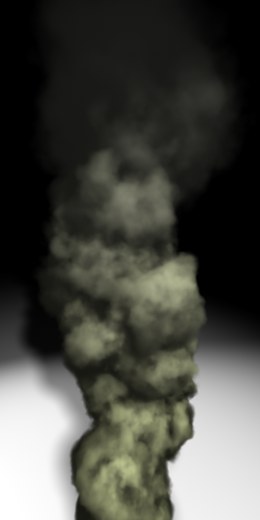 Ray angle Ray angle |
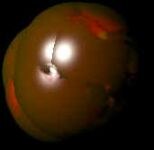
Choose Bump to set the Volume Tracer engine into a special volumetric bump shading mode (also known as voxel rendering). This method uses true phong shading algorithms (adopted for volume tracing) to render the 3D volume.
To create a specular highlight only (without any bump structure), set the Bump value at the bottom of the page to 0% or use Ray Angle only. See also Bump below.
Bump shading example (Puff Rendering):
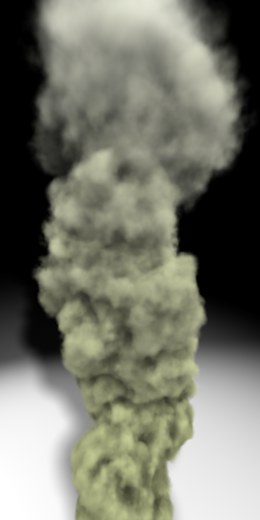
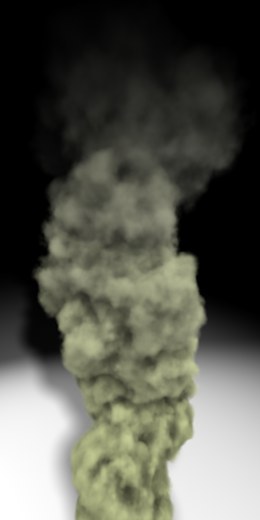
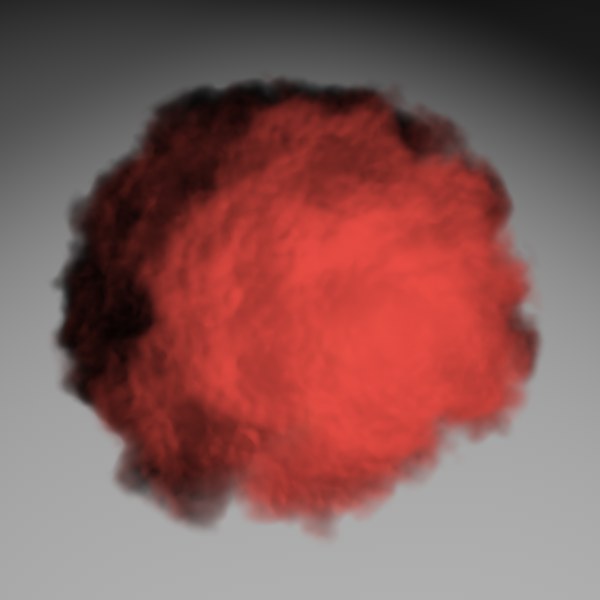
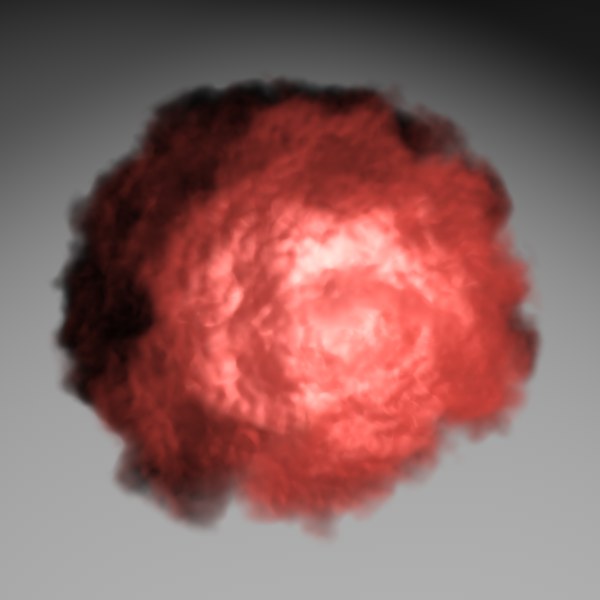
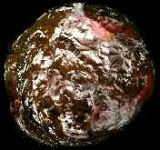
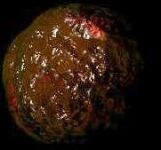
If you increase the Self Illum. value above 0, PyroCluster will add light to each rendered puff even when the cloud is completely in shadow. A value of 100 means that the puff color set on the Globals tab is drawn regardless of the influence of any other light on the puff. If you set this value to 50, only half of the puff’s color intensity is taken into account, while the other half of the brightness is generated by the light source. This feature is useful when you are working with attenuated lights. If you leave this value at 0, cloud areas with no light will be drawn as pure black.
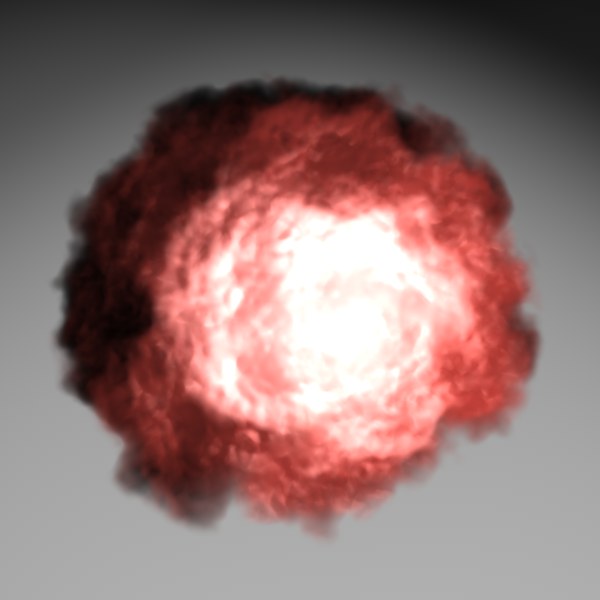
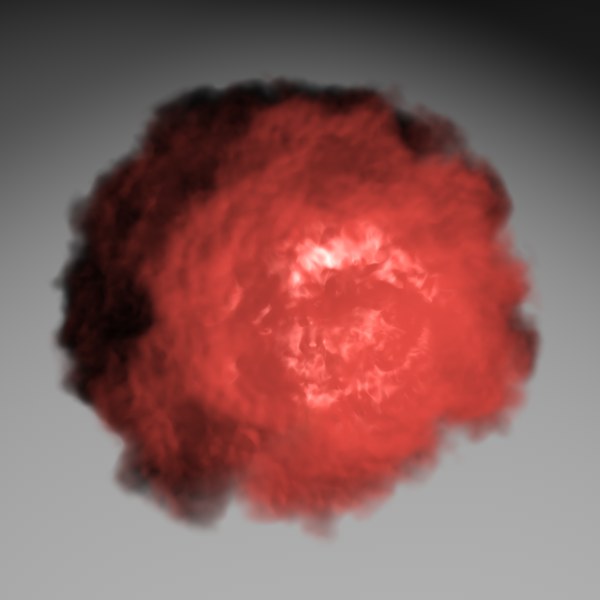
Each of the following images depicts the same cloud:
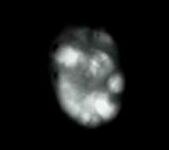 Self Illum. 0%
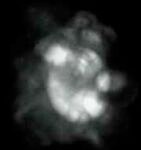 Self Illum. 10%
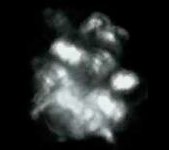 Self Illum. 100%
In each image above, a spotlight is aimed at the center of the cloud..
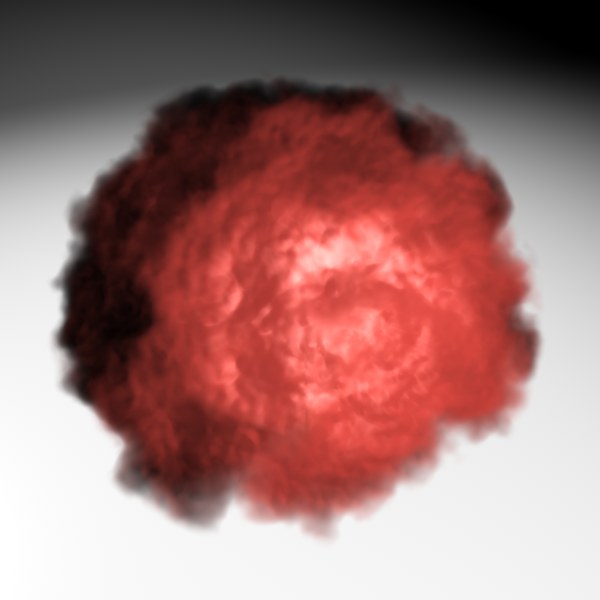
Trans. Illum. set to 0% (left), 50% (center) and 100% (right).
Many rendering systems interpret a surface that receives no light as a pure black surface. This makes sense for 3D geometry and in some cases it is also good for gas or cloud effects. But if you take a close look at the images above, you will see that there are situations when it looks wrong if that rendering method is used.
In the examples above, a smoke cloud is rendered on a grey background; there is one spotlight that illuminates the smoke. As you can see in the top image below, the edges of the cloud are, by default, pure black. Trans. Illum. helps you to soften areas in the volume that do not receive light, such as these edges.
A value of 0 will render all areas, regardless of their illumination level. Set Trans. Illum. to its maximum value of 100 and it will only render those areas that are totally in the hot spot of the light cone.
 Trans. Illum 0%
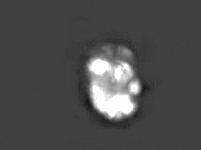 Trans. Illum 50%
 Trans. Illum 100%
The Shininess value controls the amount of glaze on the volume’s surface. Increasing the Shininess value will reduce the size of the specular highlights.
If you use very transparent effects, strange highlights may appear due to the volumetric nature of the volume tracer.
 Shininess = 0% Shininess = 0% | 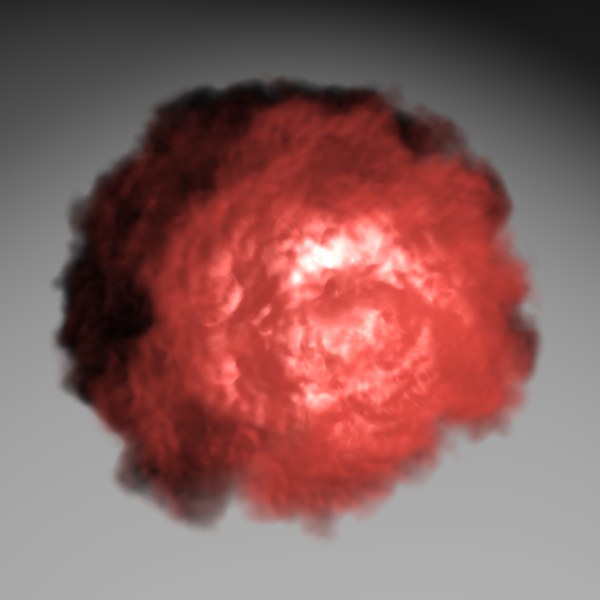 Shininess = 33% Shininess = 33% |
 Shininess = 66% Shininess = 66% |  Shininess = 100% Shininess = 100% |
Strength controls the intensity of the specular highlight. Higher values will result in brighter (whiter) specular highlights (Reflectance channel).
 Strength = 0% Strength = 0% | 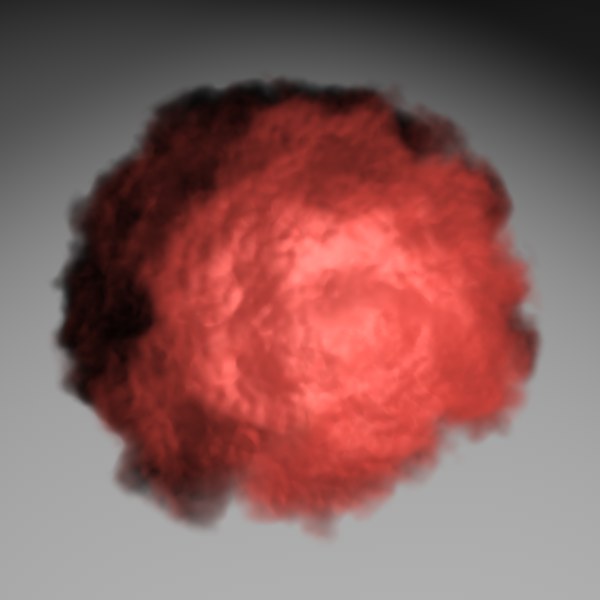 Strength = 33% Strength = 33% |
 Strength = 66% Strength = 66% | 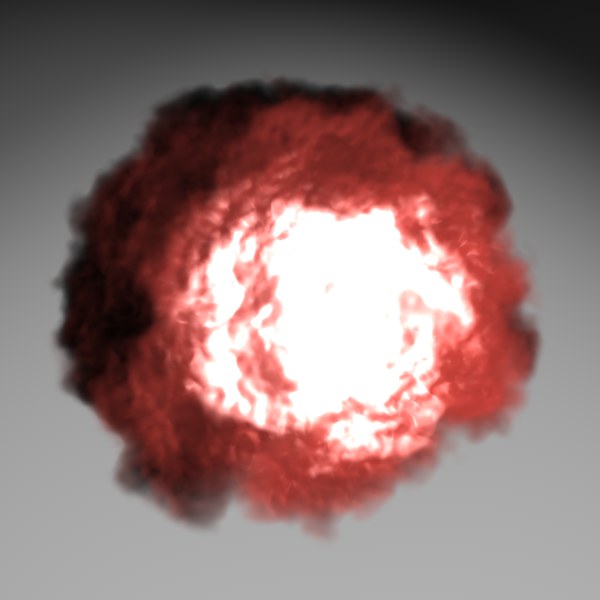 Strength = 366% Strength = 366% |
When Strength is high and Shininess is low you might see harsh backlight effects. Increasing the Soften value will smooth out the regions affected.
This effect will be visible only when using more than one light.
 Soften = 0%
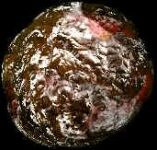 Soften = 50%
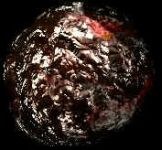 Soften = 100%
The Bump value has the most impact on the overall look of the final effect. Higher values will result in more surface deformation. This value can also be set negative to invert the effect.
 Bump = 0% Bump = 0% | 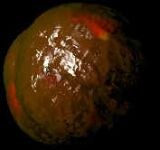 Bump = 33% Bump = 33% |
 Bump = 66% Bump = 66% | 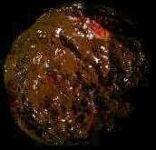 Bump = 100% Bump = 100% |