The Plugins Page
The Plugins Page is Maxon Studio's home for the entire Red Giant and Universe plugin catalog — Studio is now your nexus to all Red Giant tools. Long-time Red Giant and Universe users will be familiar with the expanse of plugins offered by these two product families. And if you recall the Universe Dashboard, guess what: all those plugins and all that Dashboard content is now available through Studio's Plugins Page.
The Plugins Page provides its own search and filtering, and category navigation. Or you can scroll through the Red Giant effect categories and navigate through the thumbnails. We'll detail this below.
Meet the Plugins Page
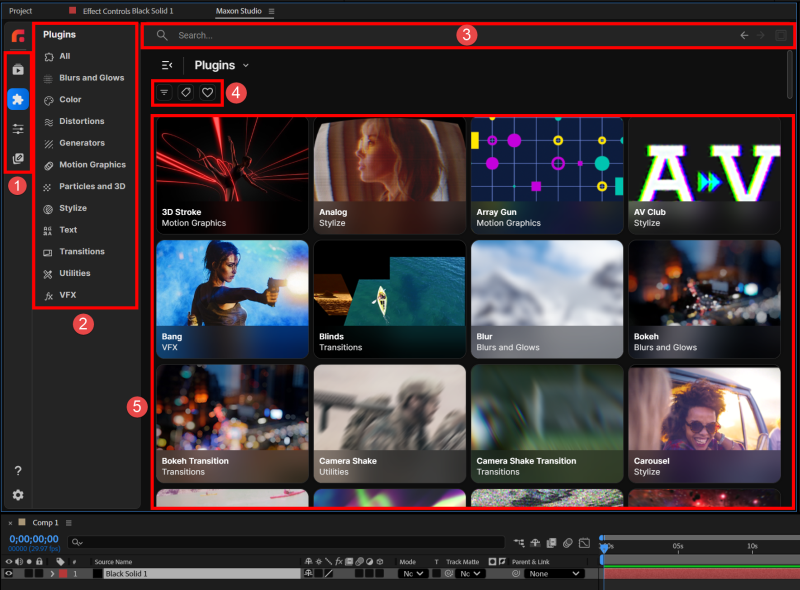
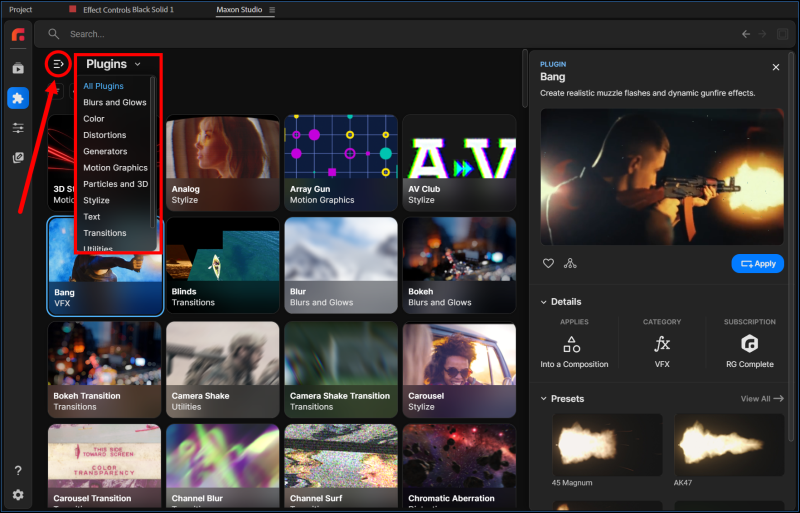
As you see above, the Plugins Page contains a few key areas.
-
The page tabs. (We excluded the Red Giant logo because it's just there to look cool.) From top to bottom, these buttons open the Capsules, Plugins, Edit, and Create pages.
-
Categories. You can still access all of Red Giant's tools via the Effects & Presets hierarchy, like so:
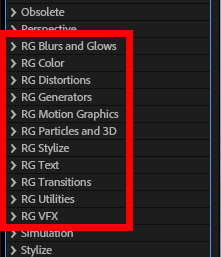
Red Giant tools in the After Effects Effects & Presets panel. However, if you'd like a more intuitive approach to the same plugin groupings, try the Categories list here. Note that when you click on a category, the plugins filter accordingly, as shown below:
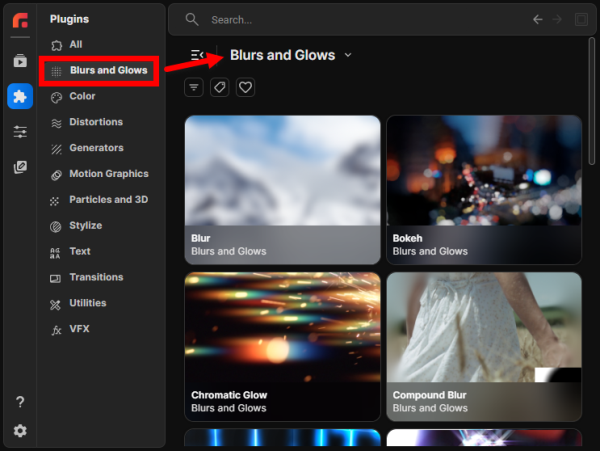
Clicking a category filters the plugin grid to only plugins in that group. -
The search bar. If you enjoy the search bar on the Capsules Page, this will be like meeting an old friend. Note that on the right edge of the search bar, you'll see back and forward arrows for navigating through your search history. And on the far right, there's the Apply Options button, but it's disabled here in the Plugins Page.
-
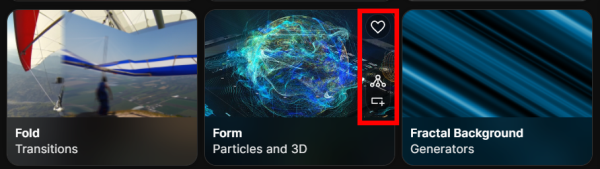
Filter buttons. You have three icons here. The first, Filter Settings, provides the option to display All Plugins or only Recently Applied. The License icon lets you View All plugins or filter specifically for Universe plugins. (Predictably, this is handy if you only have the Universe license.) The heart-shaped Favorites icon filters for plugins that you have tagged as favorites.
-
The plugin grid. This is your thumbnail gallery of all Red Giant plugins. You can sort/filter these results as noted above.
Now, observant users might notice that there are, in fact, two Categories menus on this page if you click on the Plugins pull-down (the second red box below).
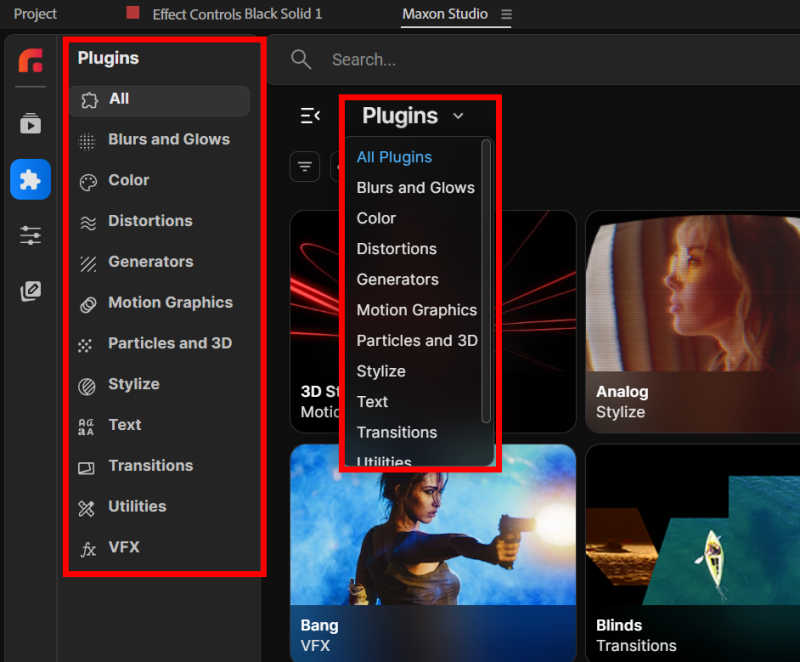
Why would Red Giant do something so seemingly redundant? Because sandwiched between these two menus, you see the little "collapse" icon (pointed out below). Use this to collapse the main Categories menu and free up more space for, say, additional grid columns or the plugin details panel. The second menu then becomes your still-convenient navigation tool without sacrificing prime Studio real estate.
The Plugin Details Panel
When you select a plugin thumbnail, the details panel appears to the right of the plugin grid. The Plugin Page's details panel echoes the Capsules Page's Profile Panel, but there are a few interesting differences to call out.
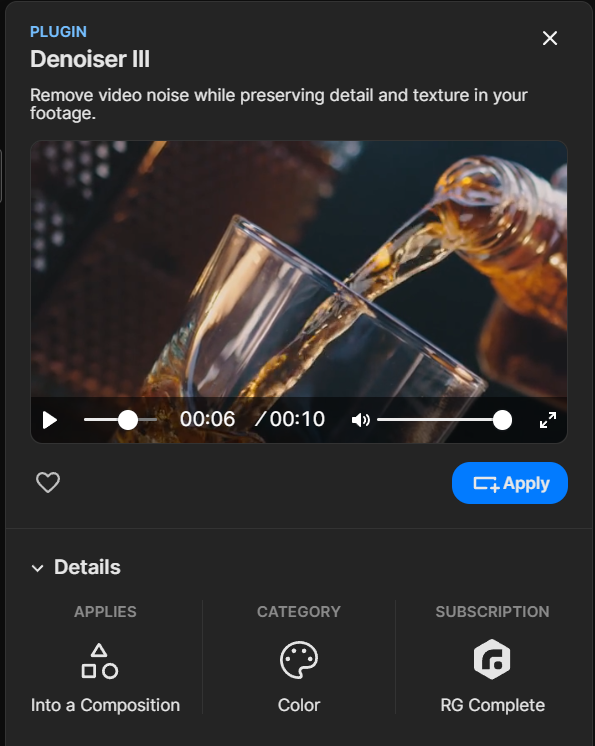
Below the plugin name, find a short description of the plugin's function followed by a short demonstration clip that cycles within an embedded video player. Like what you see? Consider clicking the heart icon to "favorite" it. If your plugin has presets, you'll see a small, triangular icon to the right of the favorites heart. (Find more on presets below.) And if you know the plugin is definitely destined for your comp, go ahead and click the Apply button.
Every plugin has three items in its Details section.
-
Applies. A Studio capsule can apply into a comp or a layer. With the addition of the Create Page in Studio, users have the ability to construct the latter, and third-party layer capsules are expected to become increasingly common.
-
Category reminds you of the plugin category from which this tool came.
-
Subscription indicates the minimum Maxon subscription required to use a given plugin. For example, Long Shadow (in the Stylize category) shows a Universe subscription. You could also use it with the more inclusive Red Giant or Maxon One subscriptions, but you need at least Universe to apply it.
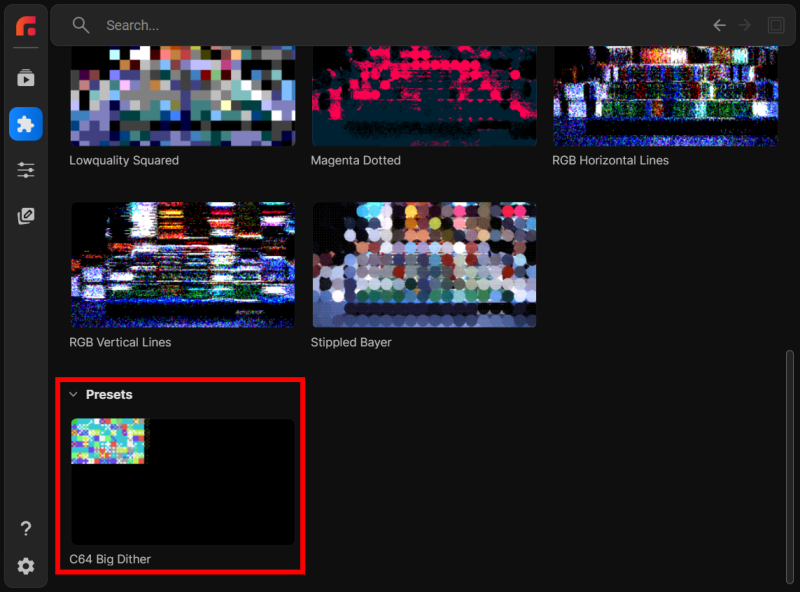
Presets
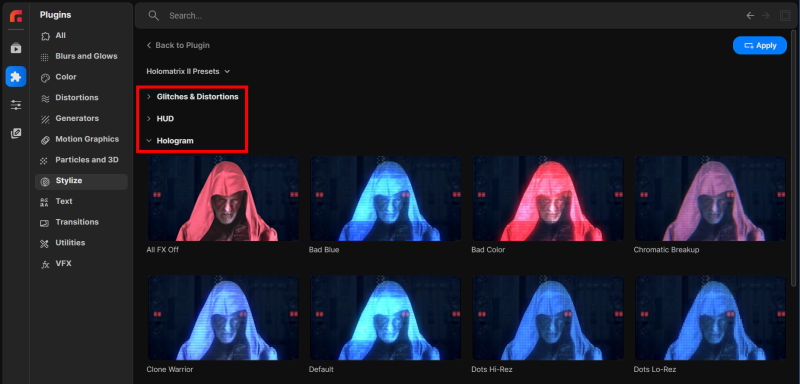
If you have experience with the Universe toolset, you're probably well acquainted with the collection of browsable preset settings that accompany most plugins. Presets, with their sometimes-animated thumbnail previews, provide extremely convenient shortcuts to certain effect look/behavior configurations so you don't have to build each plugin result from scratch.
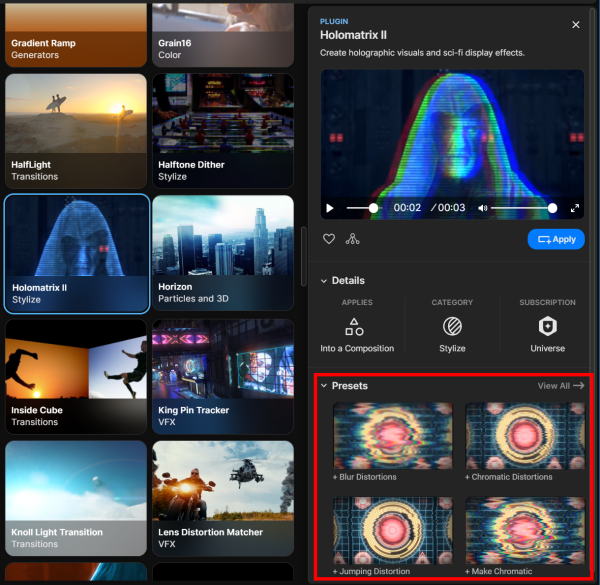
In the top-right of the Presets section, find the View All link. (The triangular icon next to the Favorite heart under the preview viewer also provides View All functionality.) As shown below, this allows the presets gallery to expand over the area normally occupied by the plugins grid and details panel. Note how some plugins have multiple preset subcategories. Be sure to browse and expand these to get a better sense of each plugin's possibilities.
As with the old Universe presets dashboard, you can customize your own presets and save them. When you do, they will immediately populate into your plugin's presets collection under the Presets subcategory, like so:
Nifty Notes
-
For a long, long time, you needed to create a base layer (for example, a solid or text layer) in After Effects, then apply a plugin to that layer. Today, Studio saves you that step. If you start with a layer-less comp and apply a Studio plugin, Studio will automatically generate a layer on which to apply the effect. Better still, Studio is smart enough to know which plugins need a solid layer and which need an adjustment layer because you're working with footage.
-
Studio plugin thumbnails offer some extra functionality when you hover on them.
Plugin thumbnails reveal Favorite, presets, and Apply Plugin icons on hover. In the example above, you see three icons. The first is the heart used for "favoriting" a plugin. Next is the triangular icon that spawns the full presets gallery for that plugin. And at the bottom waits the Apply Plugin icon. Note that you won't see the presets icon if a given plugin has no presets.
-
What if you like the Plugins Page sooooo much that you want to see it first every time you open Studio? Easy. Click on the gear icon (bottom-left of the UI, under the page tabs) to access Studio's Settings menu. For the Page to view on open: option, select Plugins (or any other page you prefer).
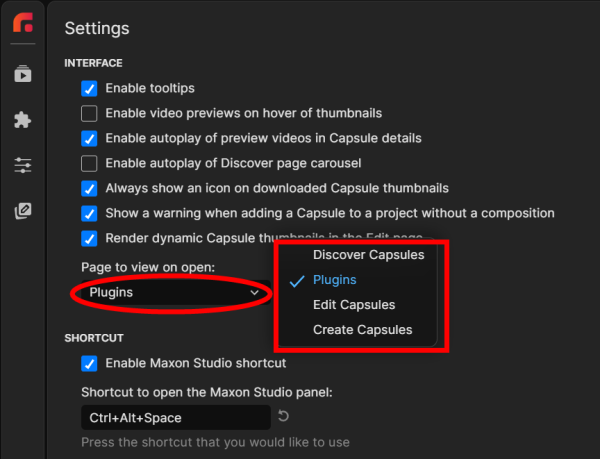
Set the Plugins Page as Studio's default landing page in Settings.
Frequently Asked Questions
What is the Plugins Page in Maxon Studio?
The Plugins Page is Studio's home for the entire Red Giant and Universe plugin catalog, including the content that used to live in the old Universe Dashboard. It provides category navigation, search, filtering, and a details panel with preview clips, descriptions, and preset browsing for every plugin.
Where did the Universe Dashboard go?
The Universe Dashboard has been absorbed into Studio's Plugins Page. All the plugins and Dashboard content Universe users are familiar with — including browsable presets and custom preset saving — is now available through the Plugins Page in Maxon Studio.
How do I filter or search for a specific plugin?
The Plugins Page offers several filtering methods: a Categories list on the left for browsing by plugin group, a search bar with back/forward history navigation, Filter Settings to show All Plugins or only Recently Applied, a License filter to show only Universe plugins, and a Favorites filter for plugins you've marked with the heart icon.
How do I know which subscription I need for a given plugin?
Each plugin's Details section in the details panel includes a Subscription field that indicates the minimum Maxon subscription required. For example, Long Shadow shows a Universe subscription, meaning you need at least Universe — though more inclusive subscriptions like Red Giant or Maxon One will also work.
Can I make the Plugins Page open by default when I launch Studio?
Yes. Click the gear icon at the bottom-left of the Studio UI (under the page tabs) to open Settings, then set the Page to view on open option to Plugins. Studio will land you on the Plugins Page every time it opens.