Backlit Color
 In this example, one light source was placed in front of the hair, another behind the hair. Color in the Color channel was set to red, color in the Backlit color channel was set to blue.
This channel is responsible for coloring hair, when lit, that lies behind other hair.
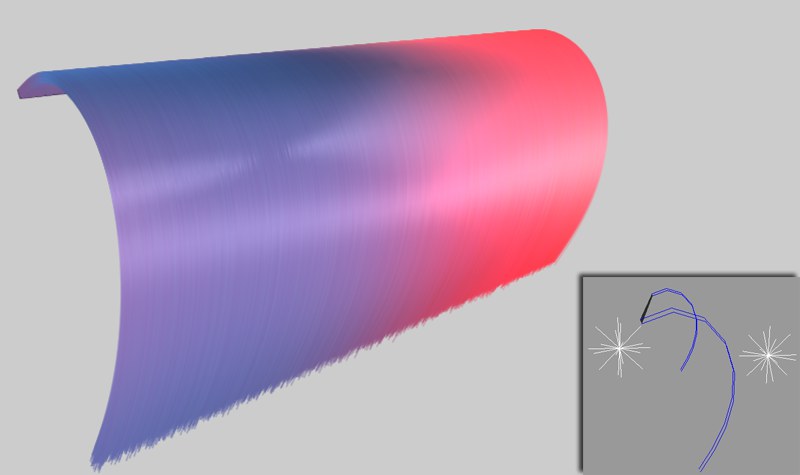
These settings are exactly the same as in the Color channel, with only two exceptions (explained below).
As you can see in the image above, it’s possible to give hair that is lit from behind a completely different color from the hair that lies in front of it.
The next two settings are available in addition to the settings described in The Color Channel:
Here you can define how the backlit color should be blended with the color of the hair (Color channel). All blend modes are described under Blend Modes.
The Mix setting lets you define to what degree the backlit color should be mixed with the color of the hair (Color channel).
This gradient defines the color of the hair along the entire length of the hair. The left end of the gradient represents the hair root, the right the tip.
Use this setting to adjust the overall brightness. A value of 0 results in black hair.
Load the texture here that you want projected onto each individual hair. You can find more details regarding this here.
See Blend Modes.
See Blend Modes.
Var:
H [0..100%]
S [0..100%]
V [0..100%]
Use this setting to vary the hair’s H/S/V values. This prevents the overall color of the hair from being too uniform and results in a more realistic look. Even real hair does not have a uniform color.
![]() Roots
Roots
Use the Roots channel to define how color(s) should be distributed over a given area. The tips will assume the color of the roots. This can, though, be changed using the Tips channel, which is explained next.
See Blend Modes.
See Blend Modes.
![]() Tips
Tips
If the As Roots option is active, the tips of the hair will assume the color of the roots.
If you want to use a different texture for the tips, deactivate this option and load the desired texture into the Tips channel. The color(s) between the root and tip will then be interpolated along the length of the hair.
See Blend Modes.
See Blend Modes.
![]() Tint
Tint
If a texture is loaded into the Tint channel, it will define the color of the mixed in hair across the hair-covered surface.
See Blend Modes.
See Blend Modes.
![]() Surface
Surface
The Surface settings are specially designed for rendering fur. Surface uses hair color, illumination and, if applicable, cast shadows to generate a fitting color for the fur. These settings (described below) will then be blended with the existing hair color.
The Additive blend mode will blend the least.
Activate this setting if you want the object’s surface to assume the color of the hair.
If this setting is active, the color of the object will be assumed. If this setting has been deactivated, the fur will be rendered in the color defined.
Here you can define if the color should be affected by the scene lighting.
Deactivate this setting if you do not want to include any cast shadows (see image here: Color).
See Blend Modes.
See Blend Modes.
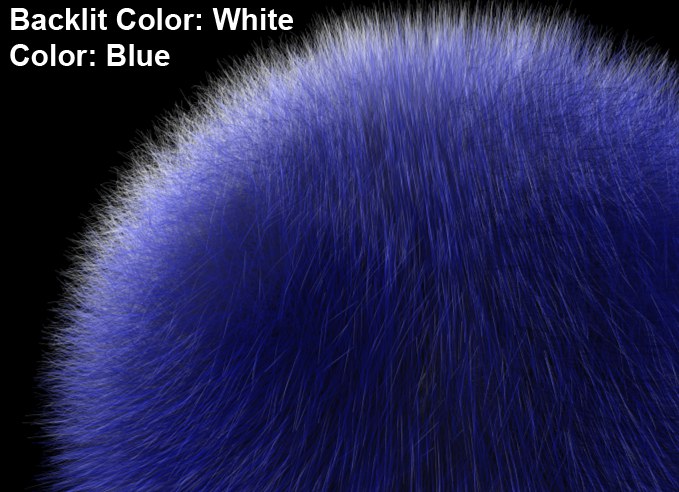 A white backlight color was selected to brighten the hair that is lit from behind.